A beginner-friendly guide to setting up and managing virtual machines using Proxmox VE.
11 avqust 2025
Proxmox Virtual Environment (Proxmox VE) is a powerful open-source platform for managing virtual machines and containers. It's widely used in production, but it's also perfect for creating a study lab to experiment and learn.
In this tutorial, we'll go one step deeper and run Proxmox inside QEMU/KVM. This 'nested' setup lets you try Proxmox without needing a dedicated server - all you need is a Linux host with virtualization enabled.
By the end of this guide, you'll have Proxmox installed and running in QEMU/KVM, plus two fully working virtual machines inside it: one Debian server and one Windows machine. You'll learn how to set up networking, upload ISOs, and configure your VMs from scratch.
1. First we should download the iso image file from Proxmox's official website. For this we can use the terminal command: wget https://enterprise.proxmox.com/iso/proxmox-ve_8.4-1.iso or you can visit https://www.proxmox.com/en/downloads and download the current version.
2. Run the terminal command 'virt-manager' and create 'New virtual machine'. Set up 6GB RAM and 75GB hard drive (if you have more ram and hard disk capacity you can set up more). In the 'Operating system' section, choose Debian 12. Other sections leave 'default'. Start installation. After start you should see the Proxmox VE installation menu. Choose 'Install Proxmox VE(Graphical)'. (Image 1)
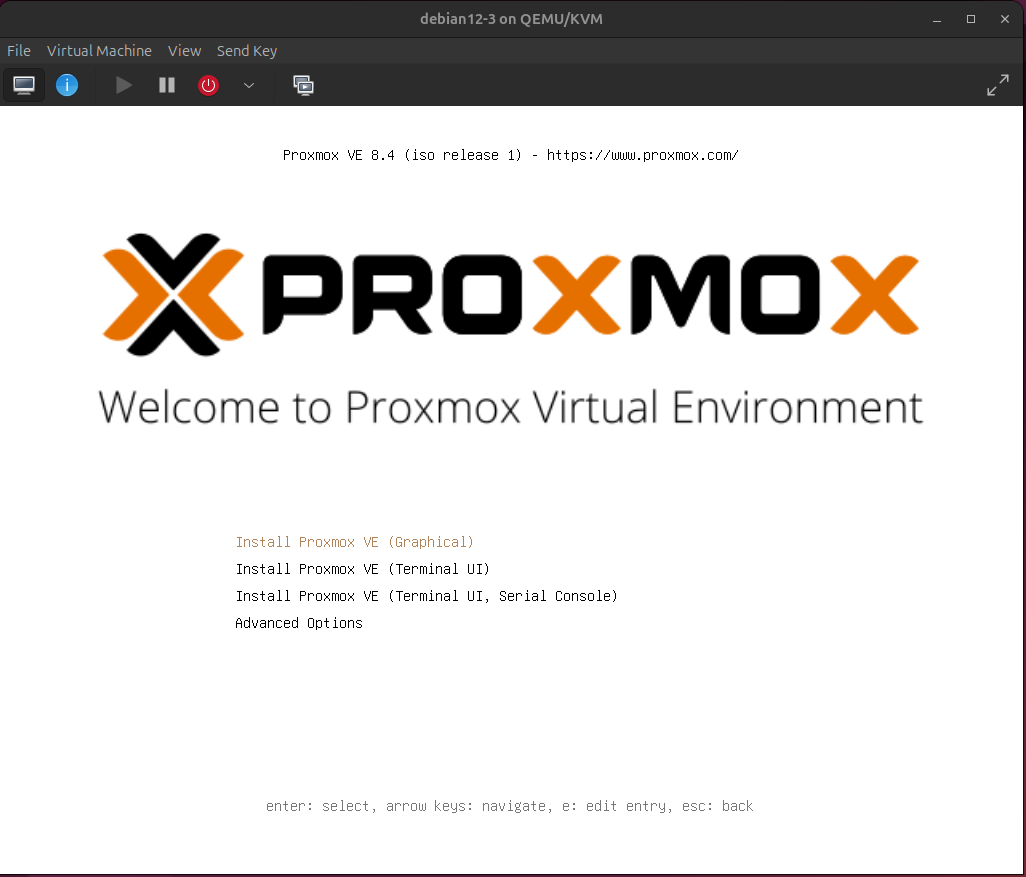
Image 1
3. Read the 'End user license agreement' and press 'I agree'. ( Image 2)

Image 2
4. Choose 'Target Harddisk' and press 'Next'. ( Image 3)
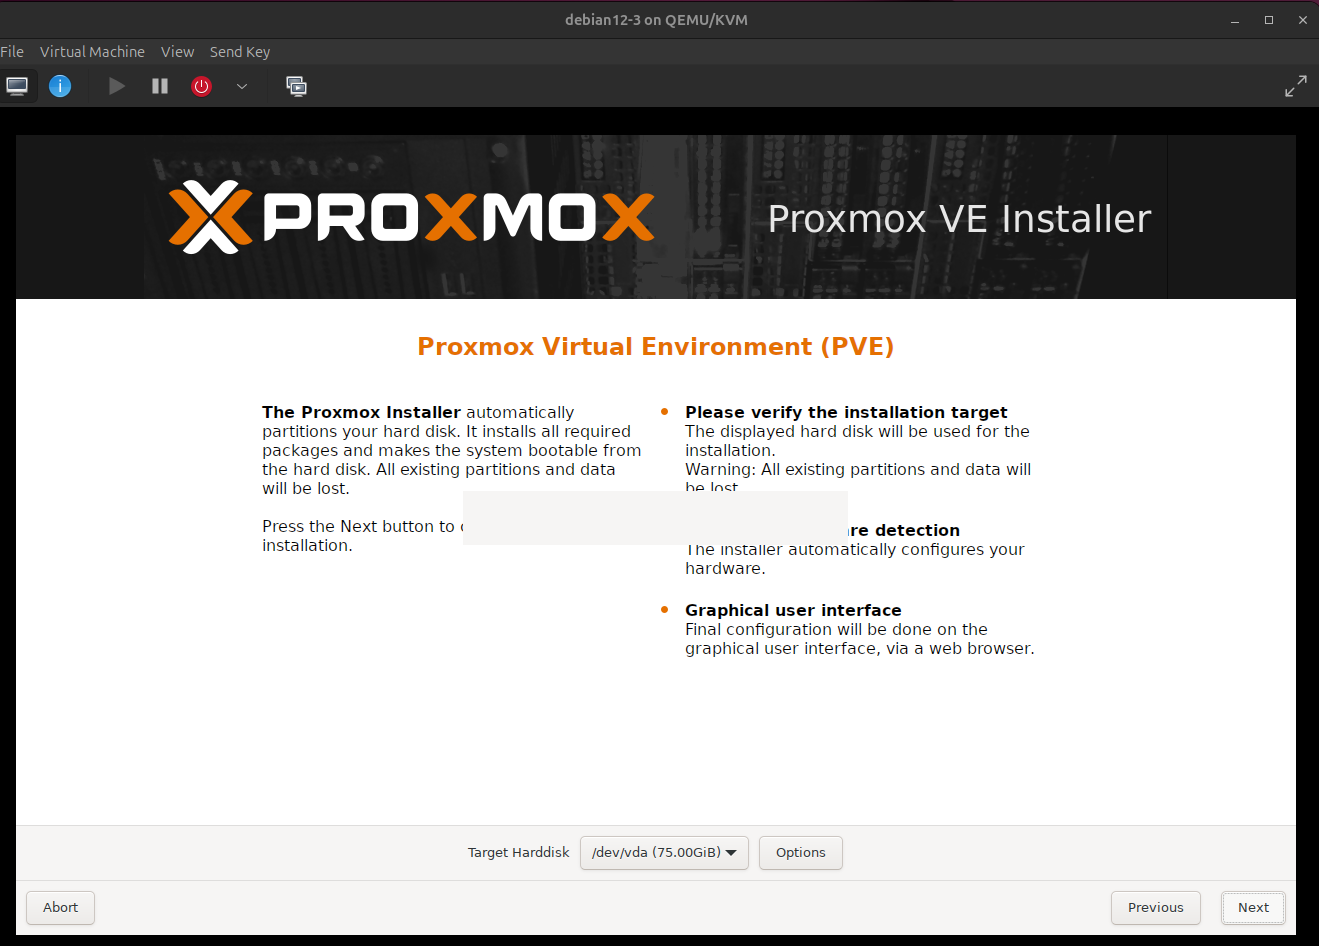
Image 3
5. Select the 'Country', 'Time zone' and 'Keyboard layout' and press 'Next'. ( Image 4)
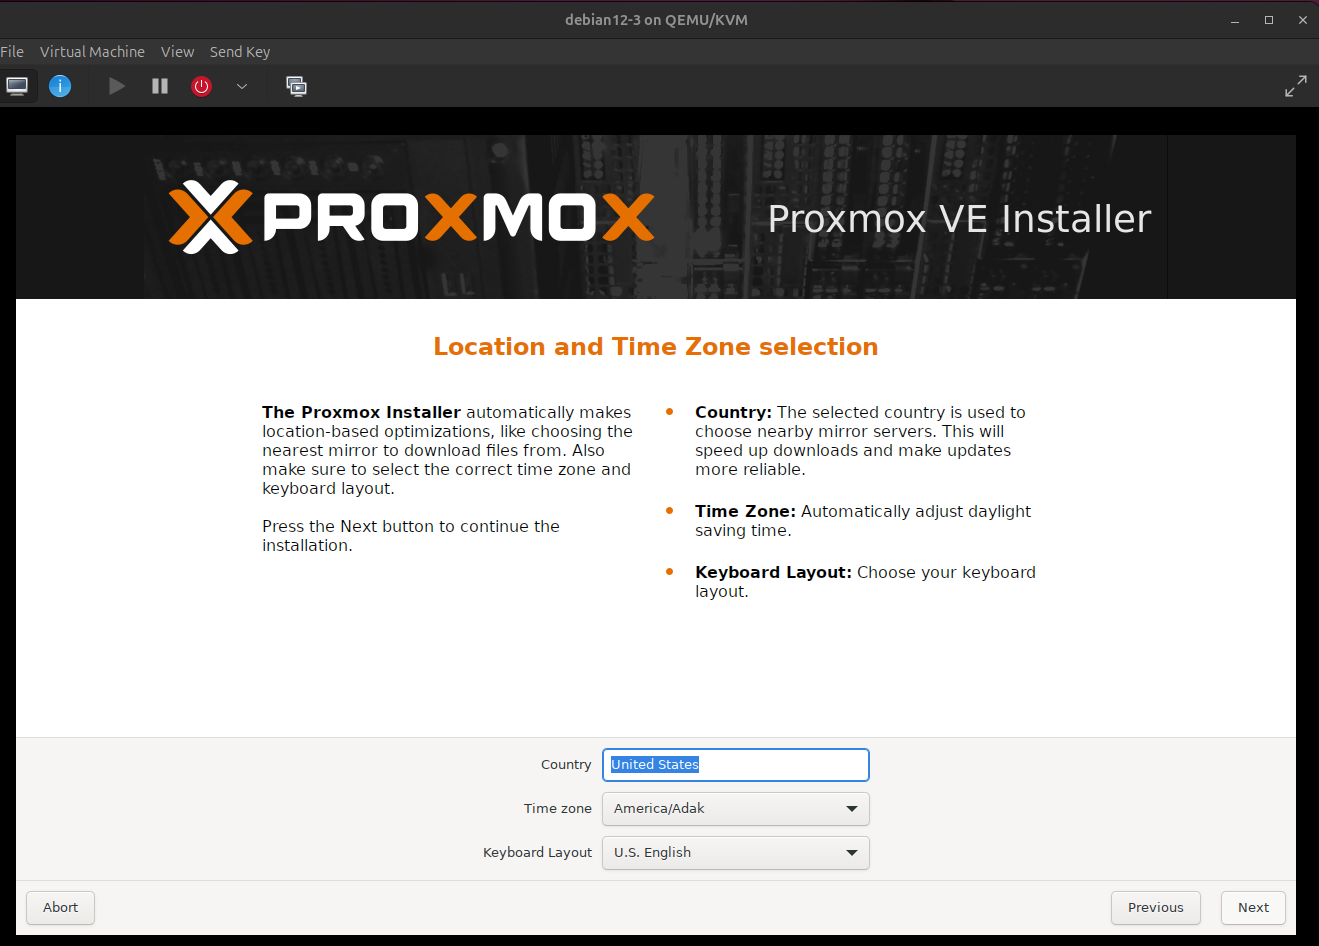
Image 4
6. Enter administration password and valid email address, then press 'Next'. ( Image 5)

Image 5
7. Select 'Management Interface', if you have FQDN, write it either just leave the default. Other network options just leave the default, then press 'Next'. ( Image 6)

Image 6
8. Check the 'Summary' and press 'Install'. ( Image 7)
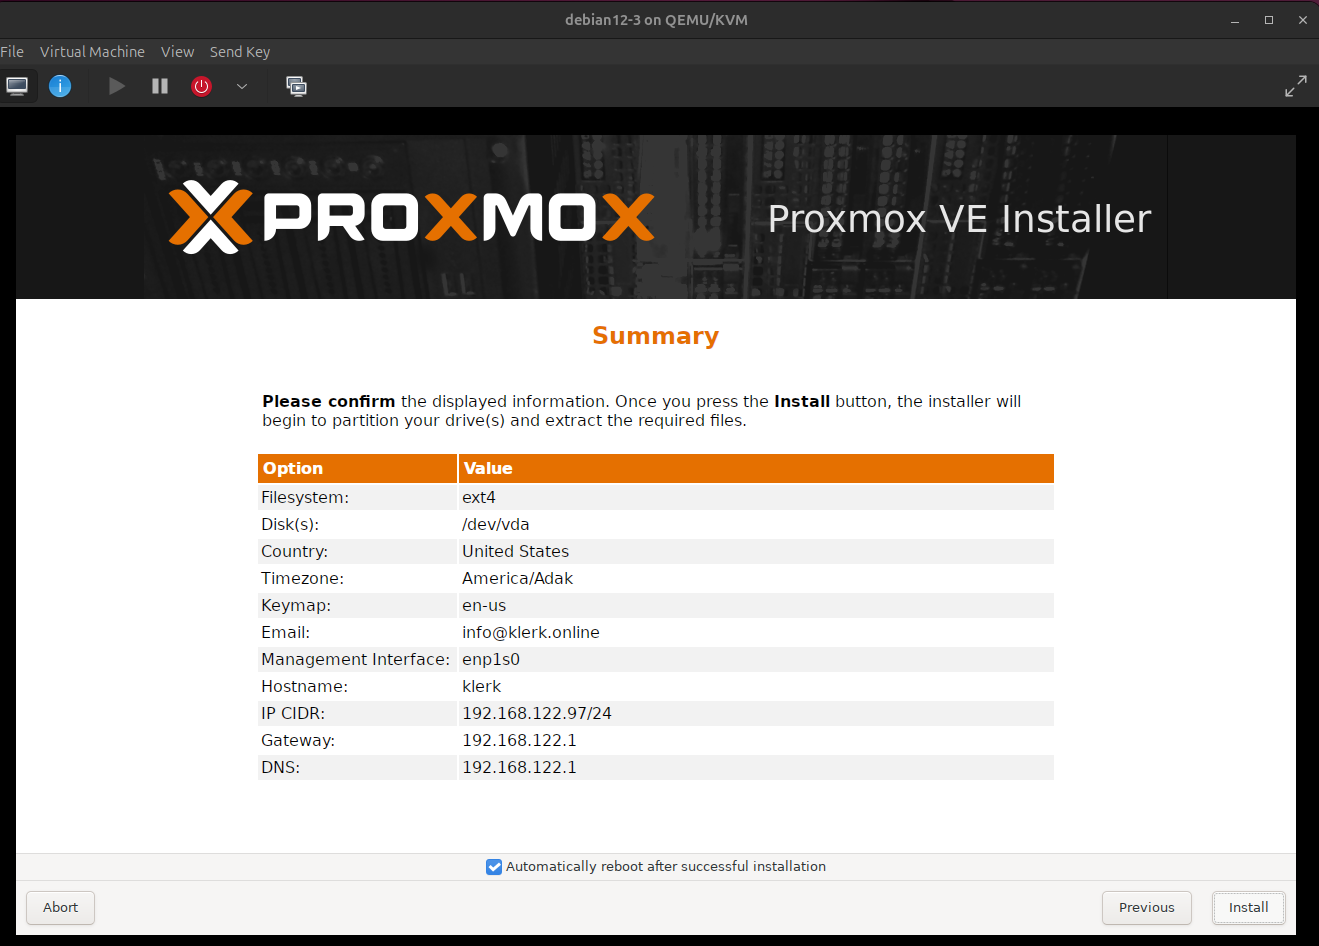
Image 7
9. The installation process. ( Image 8)
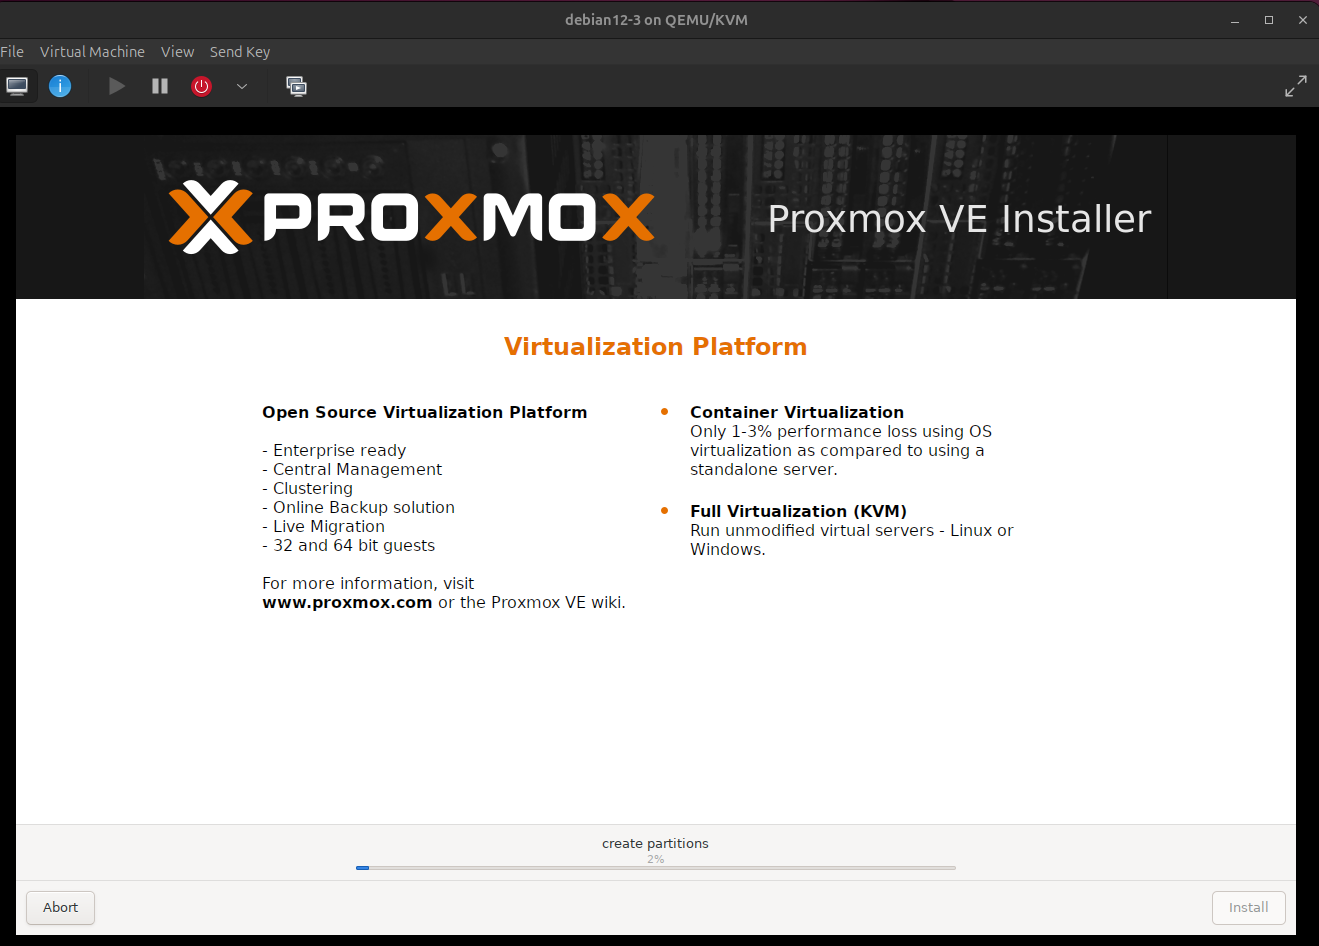
Image 8
10. After installation, you should see the IP address and port number. It will automatically reboot. ( Image 9)
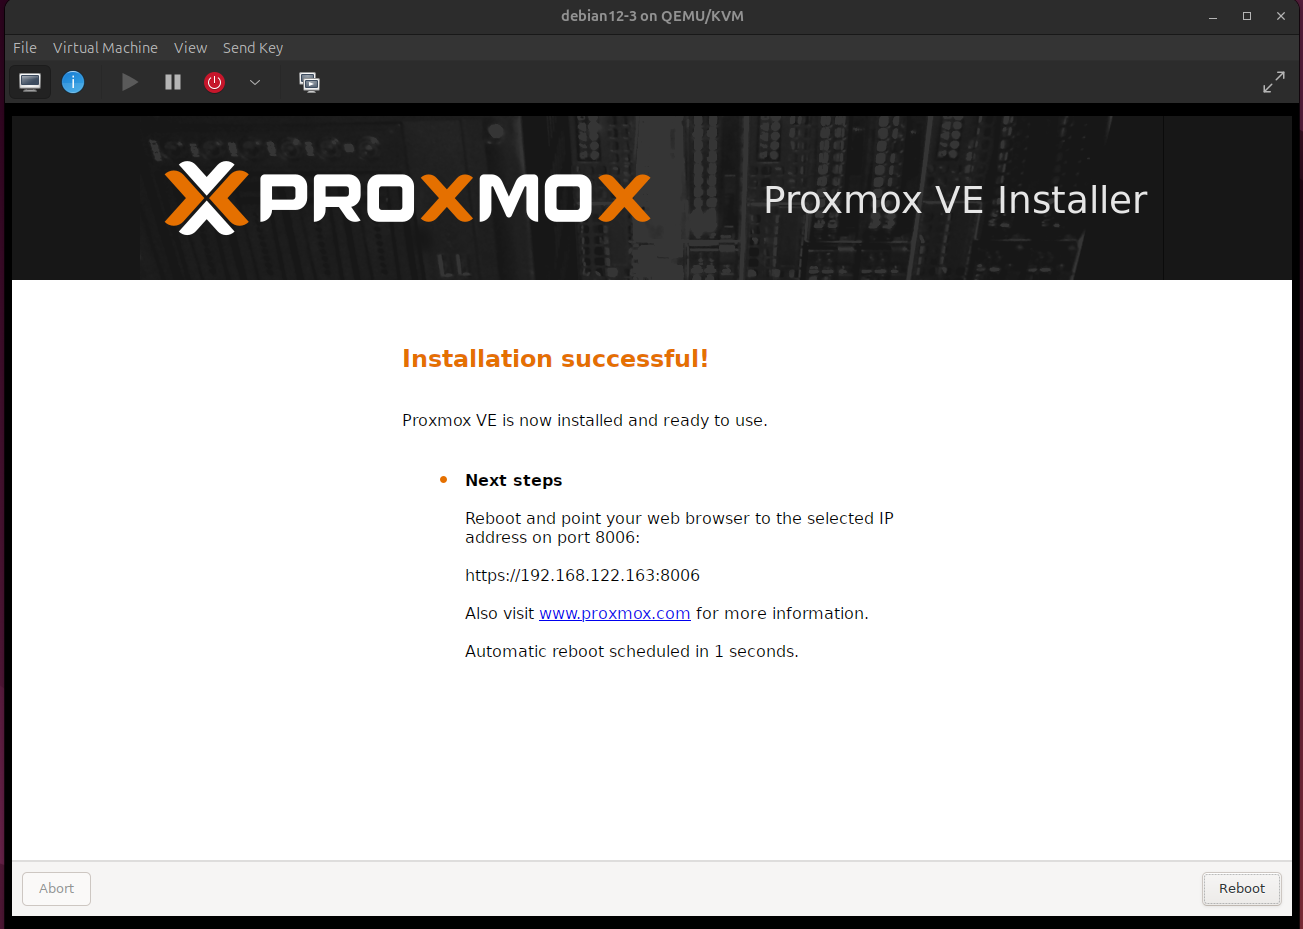
Image 9
11. After reboot it will run in command line mode. Open on your host machine web browser and access the IP address and port which have been given before. ( Image 10)
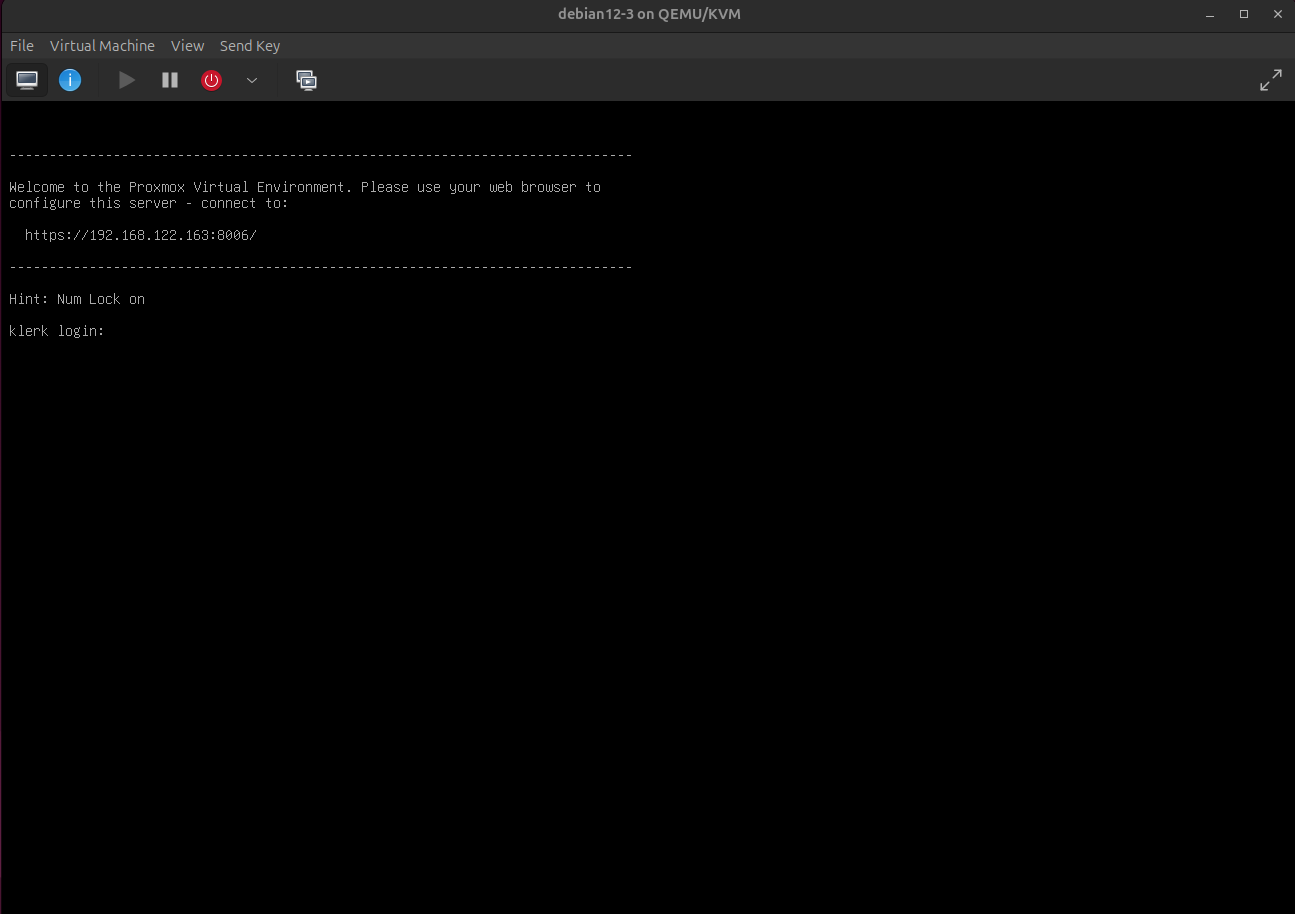
Image 10
12. It will open Proxmox VE login window. In the username field enter 'root', in the password field enter your password, then press 'login'. ( Image 11)
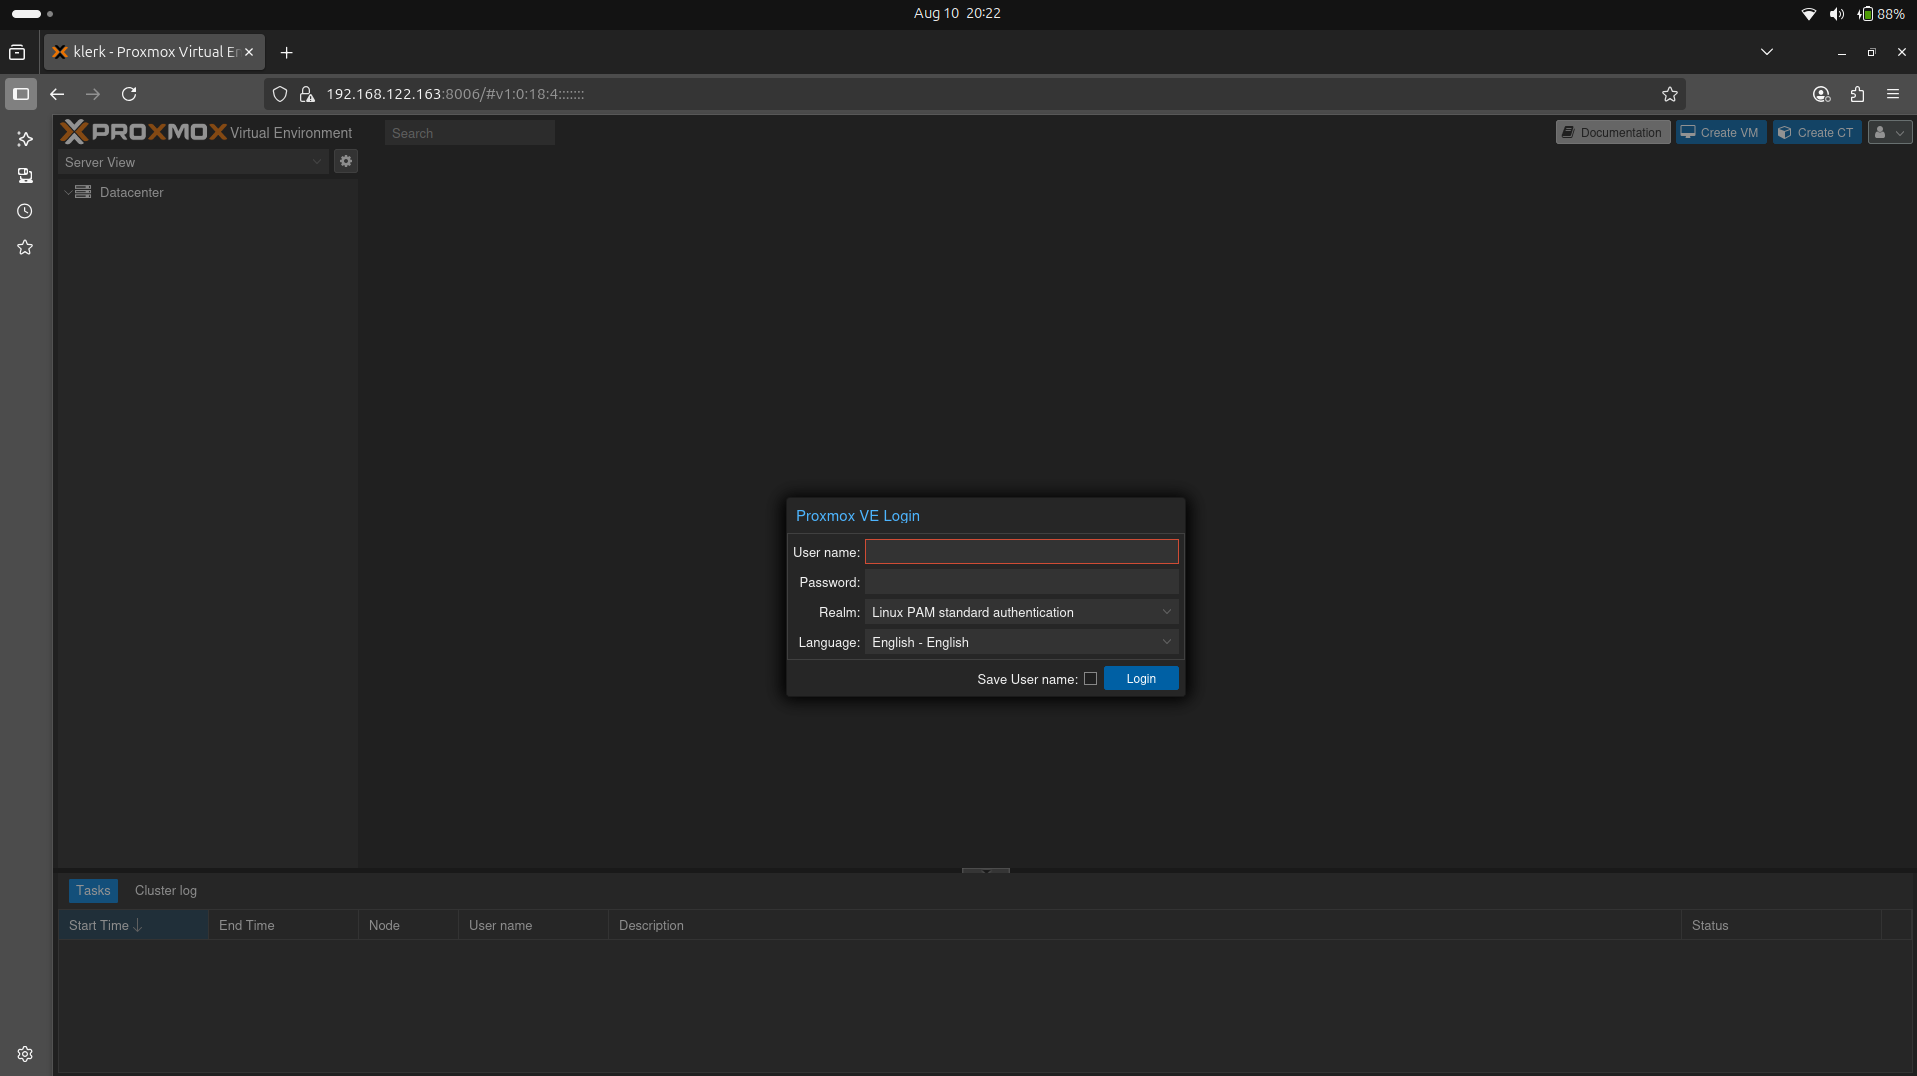
Image 11
13. Whenever you start Proxmox VE, the 'No valid subscription' window always shows up, just press 'OK'. ( Image 12)
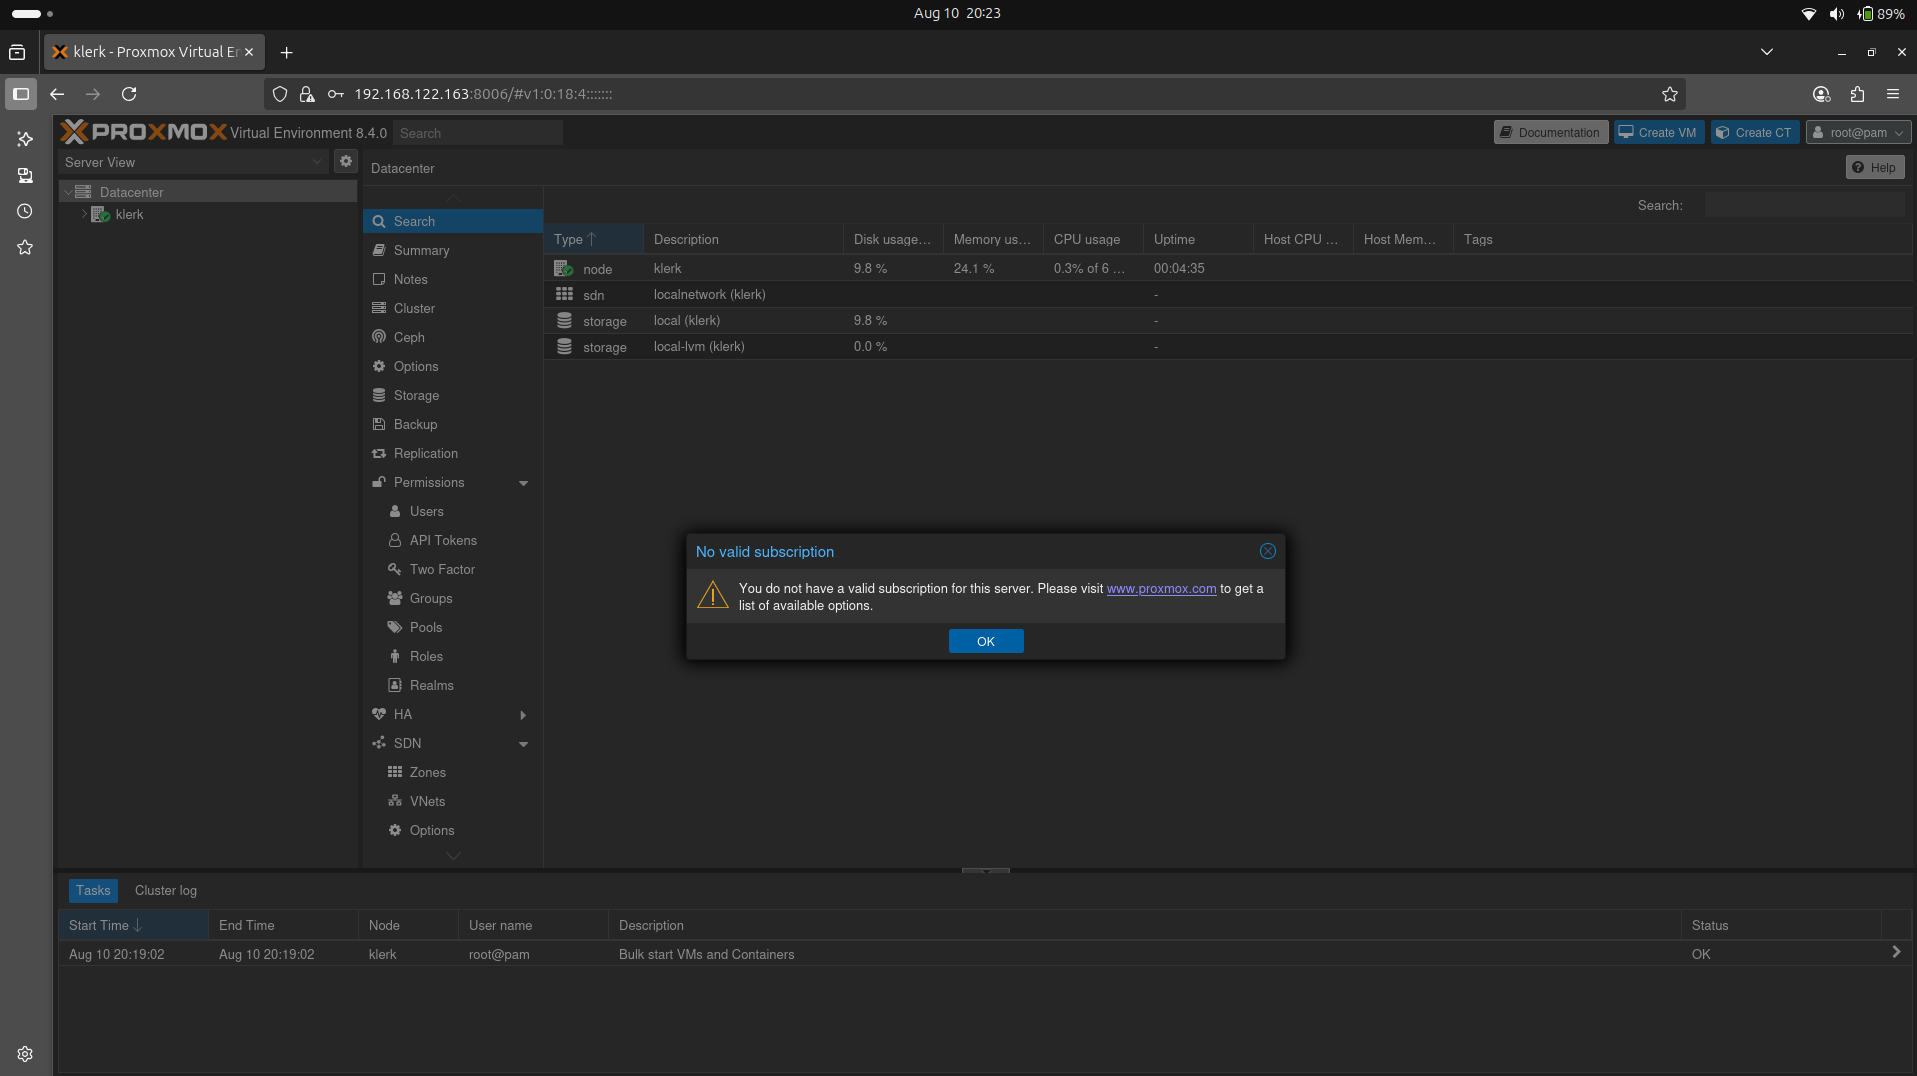
Image 12
14. Click the storage 'local' on node to see 'Summary'. ( Image 13)
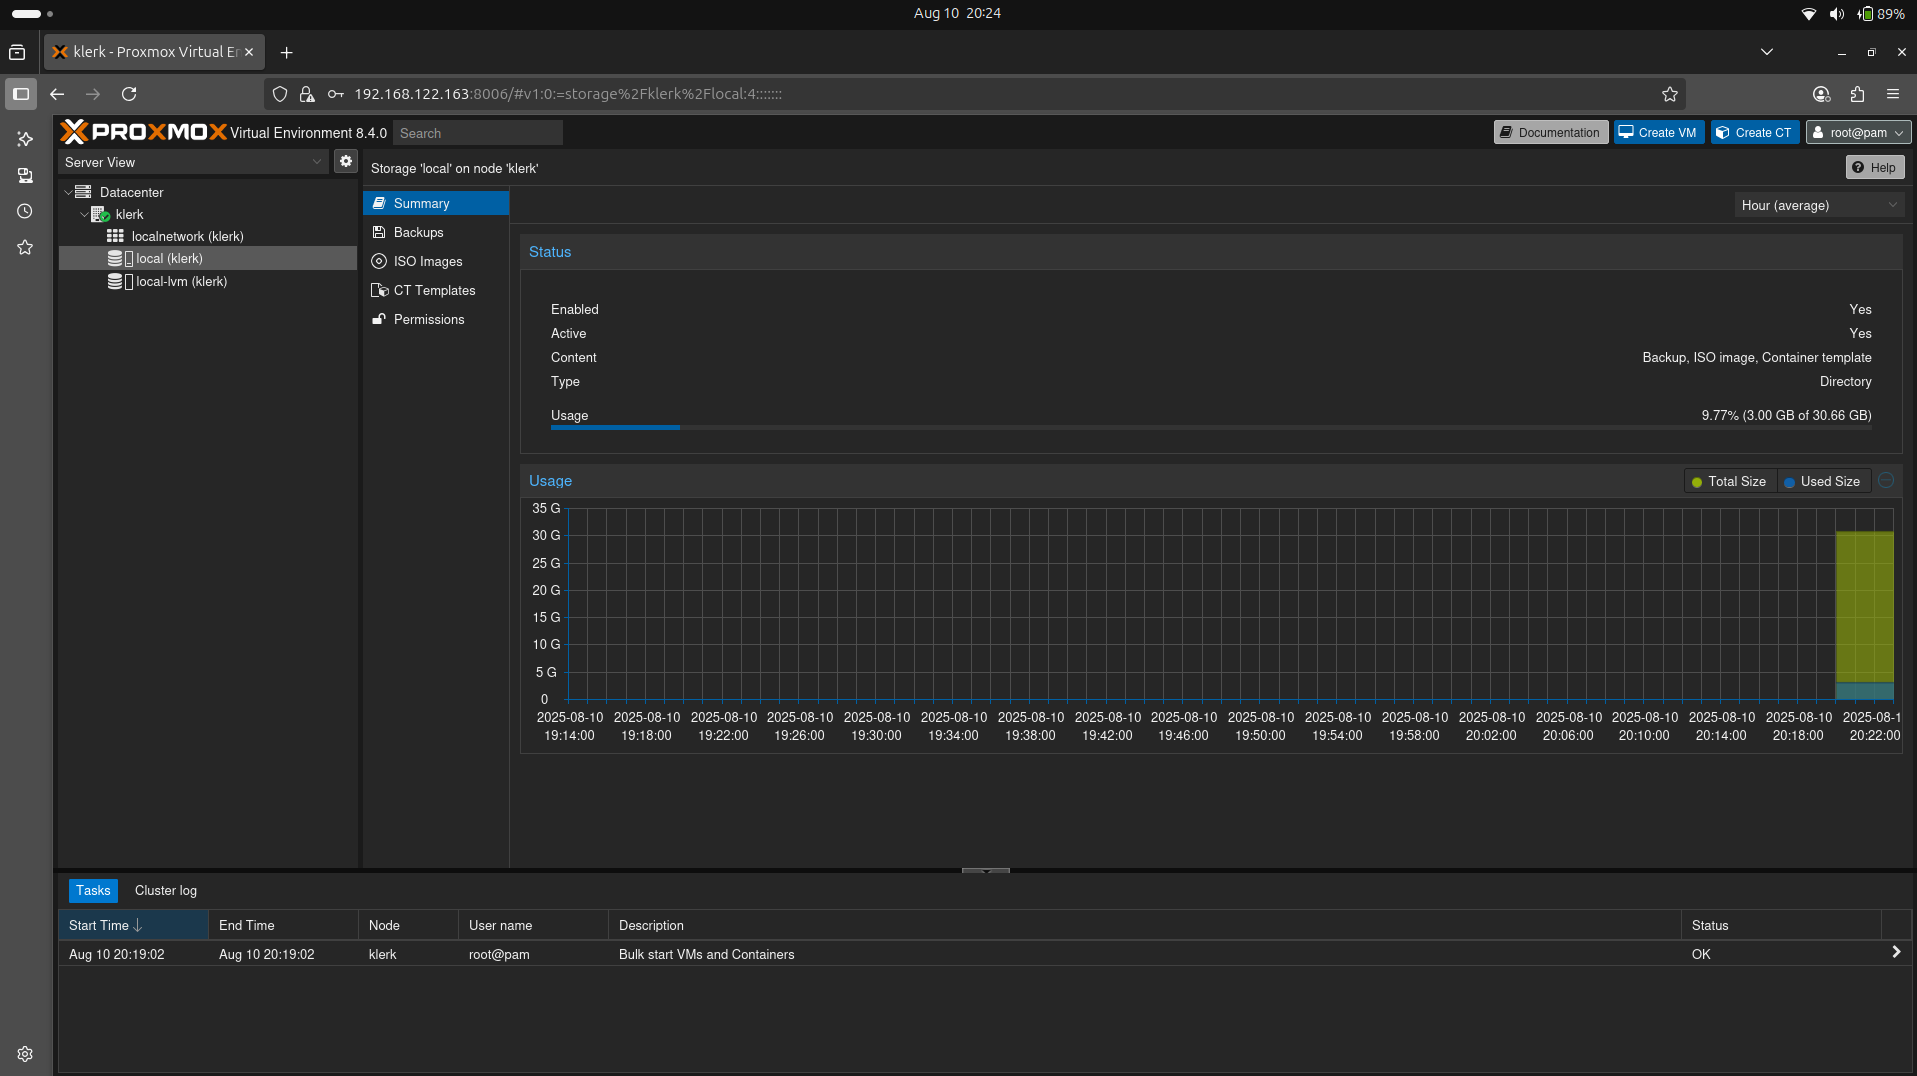
Image 13
15. Click the 'ISO Images' to see uploaded images. ( Image 14)
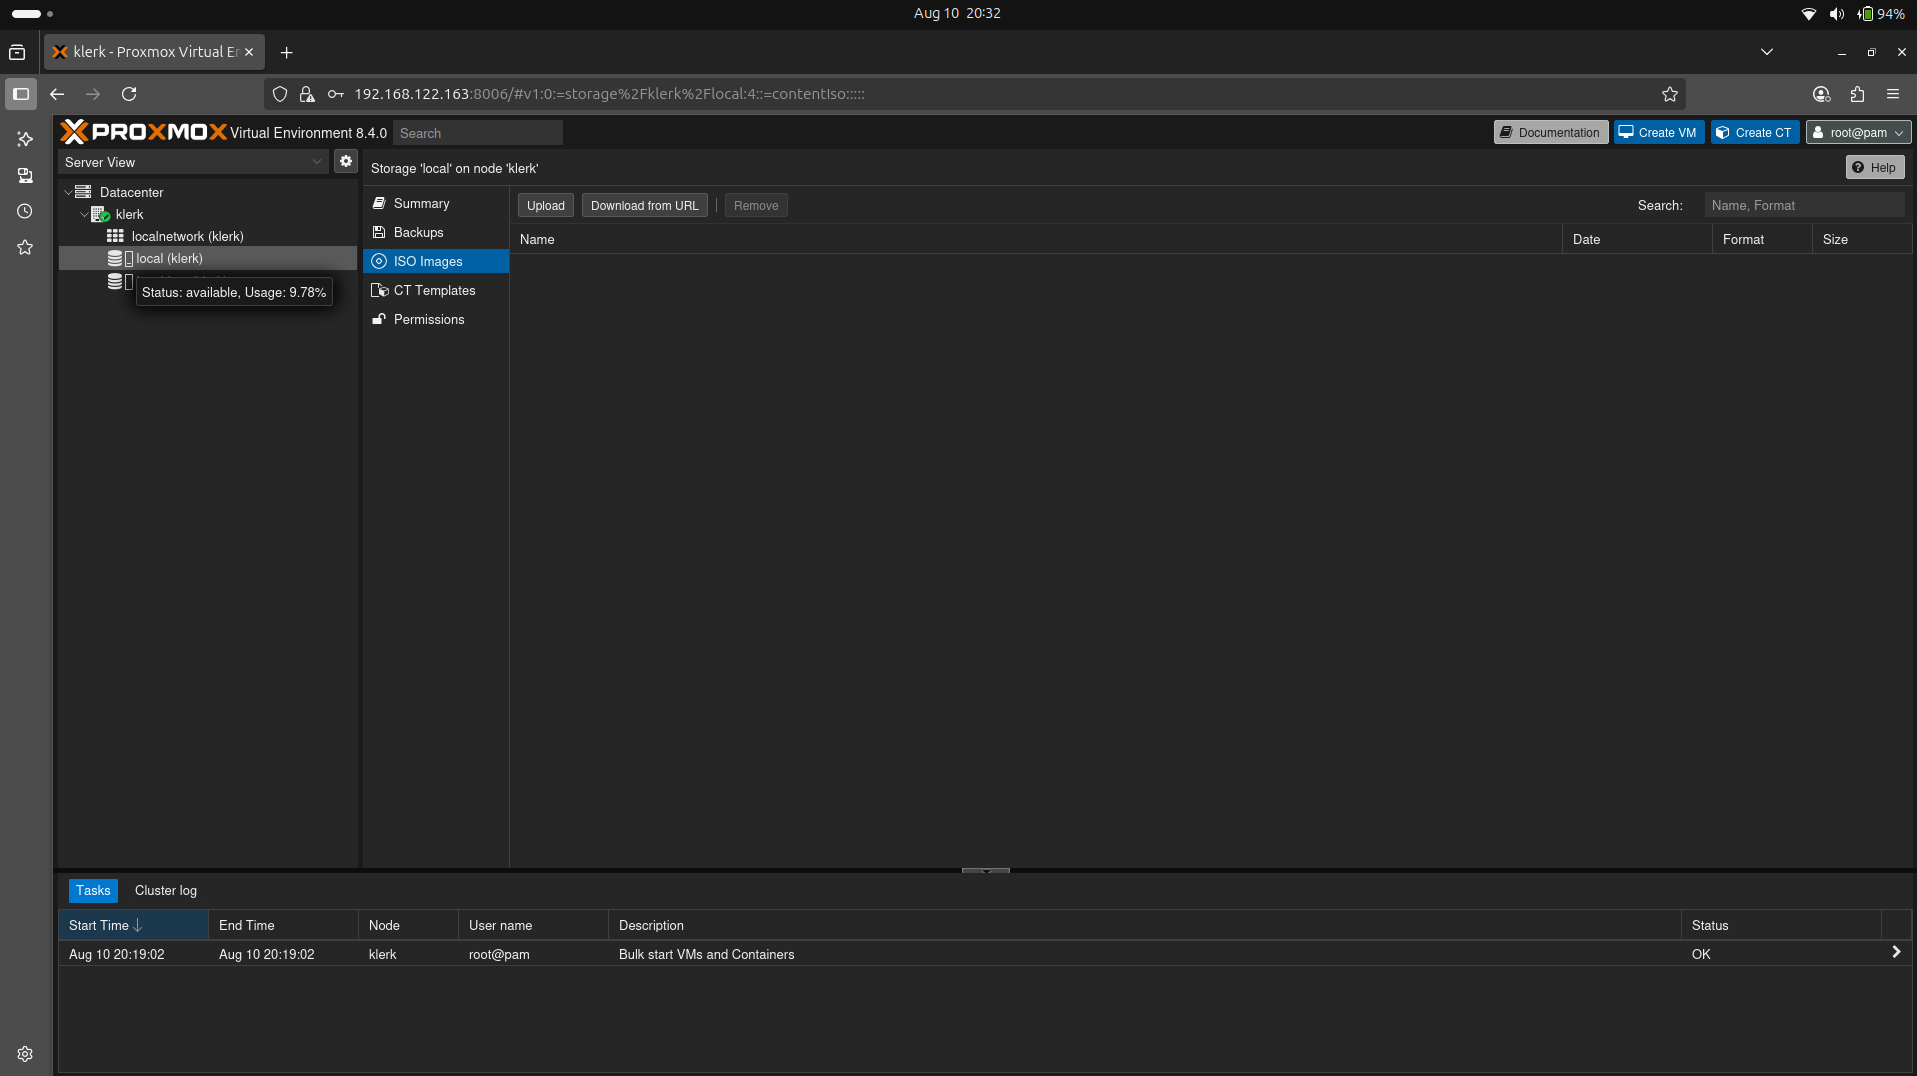
Image 14
16. Click on 'Upload', it will open the 'Upload' window, press 'Select' to select iso from local files. ( Image 15)
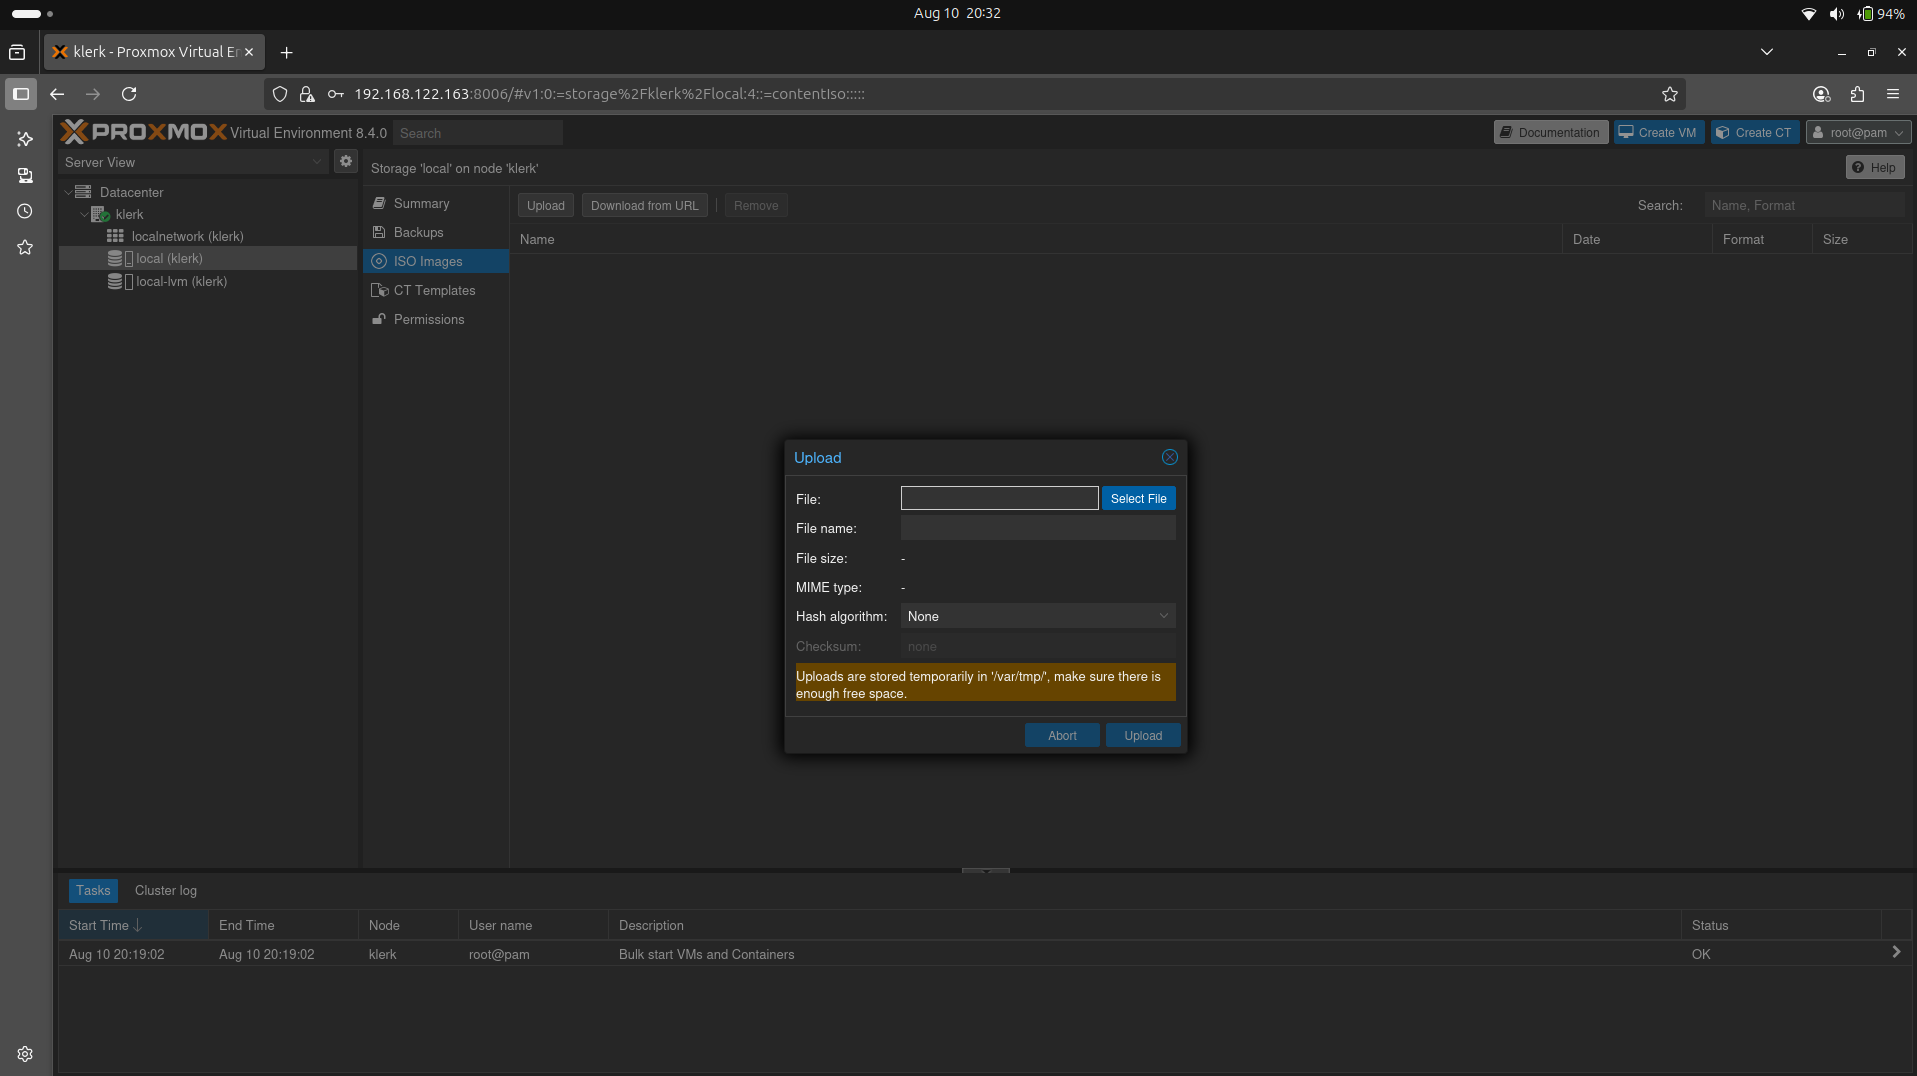
Image 15
17. It will show uploadable file. ( Image 16)
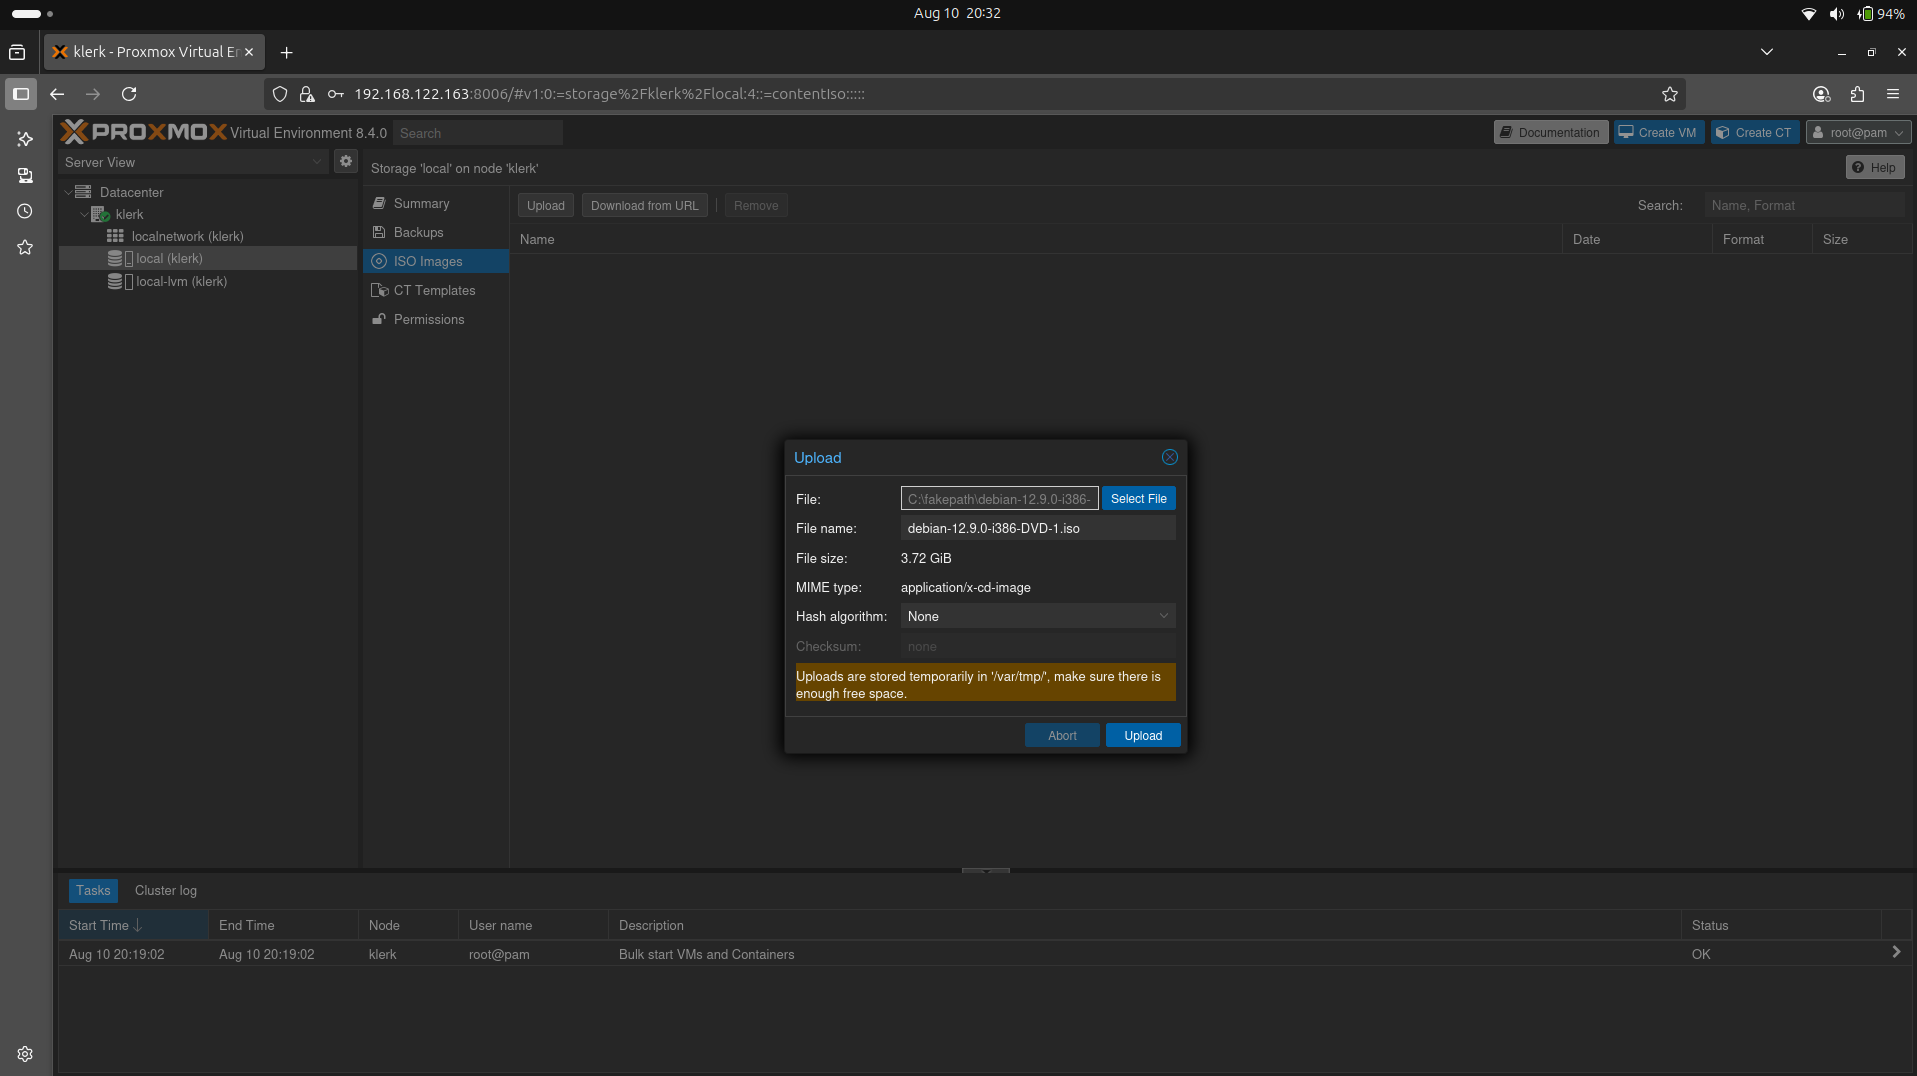
Image 16
18. If you see 'error', try to change the ownership of the file. ( Image 17)
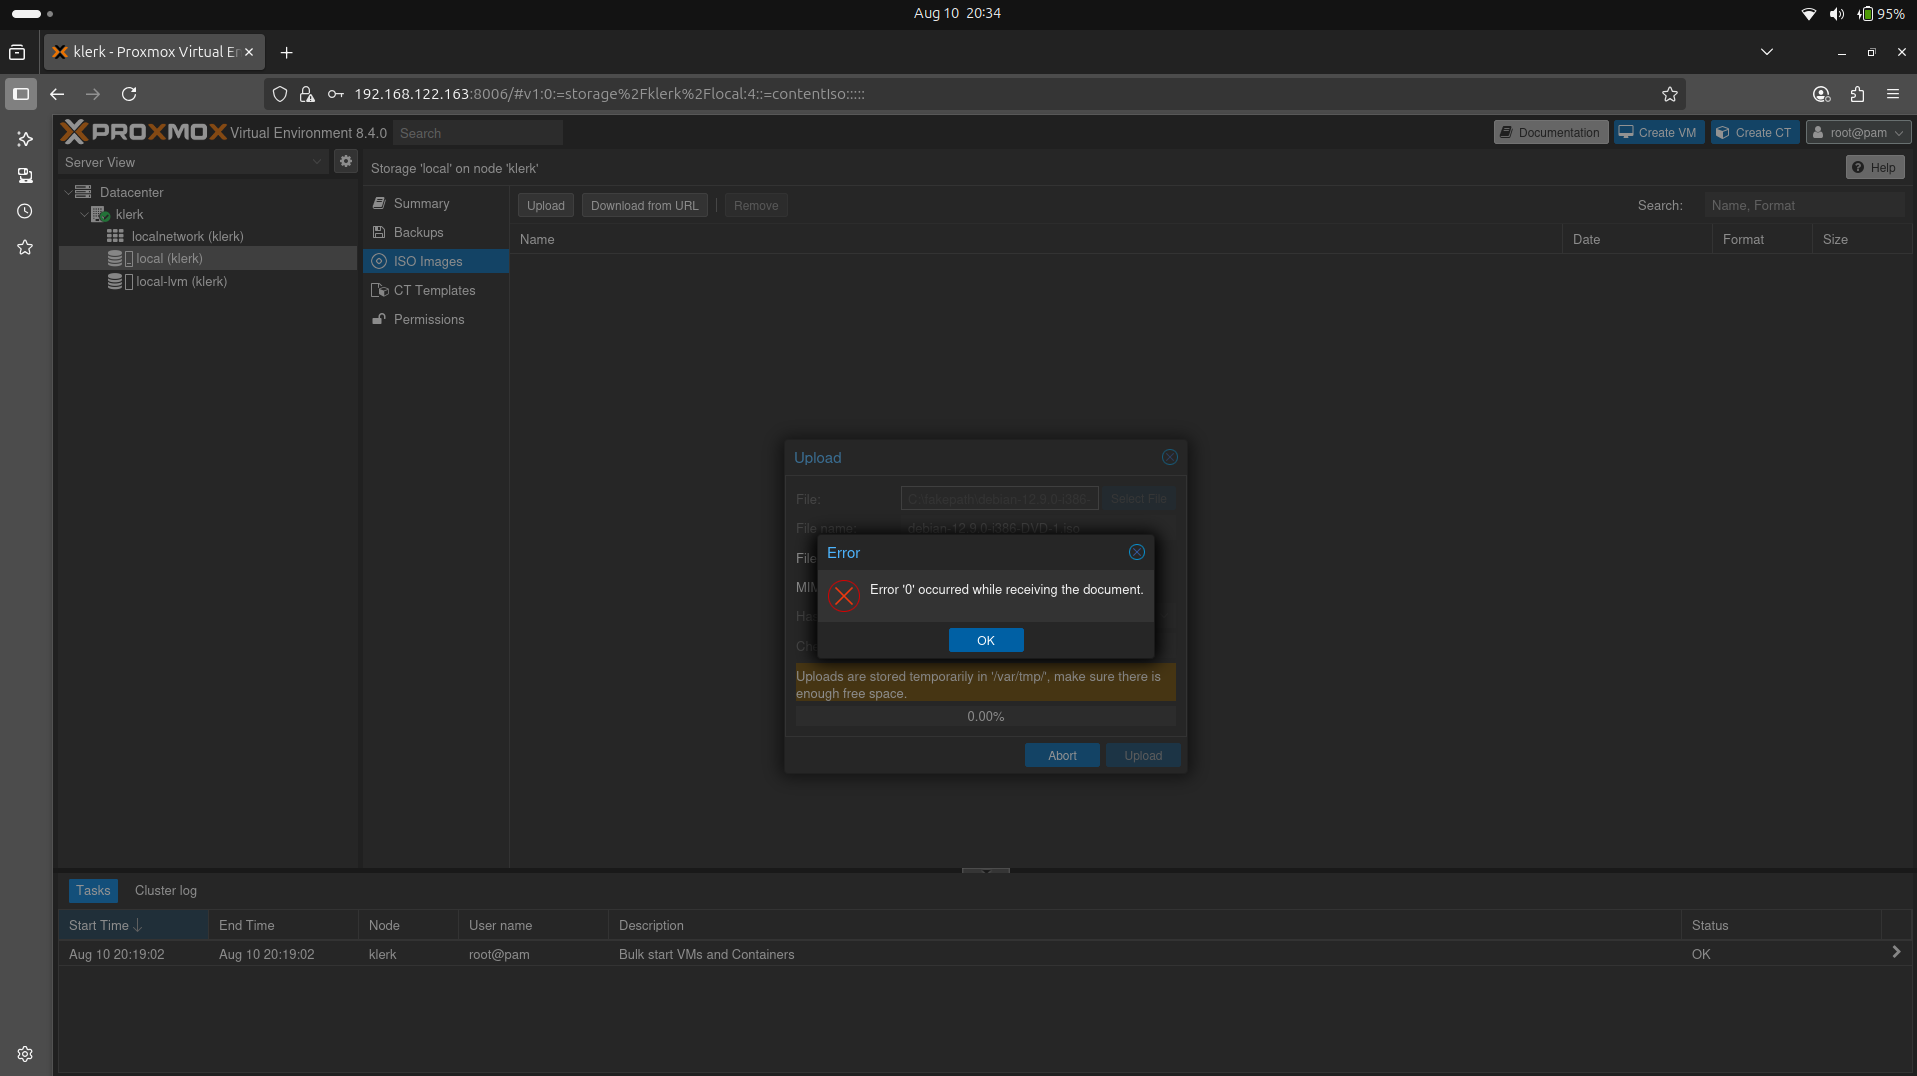
Image 17
19. After successfully uploading, you will get a 'TASK OK' output. ( Image 18)
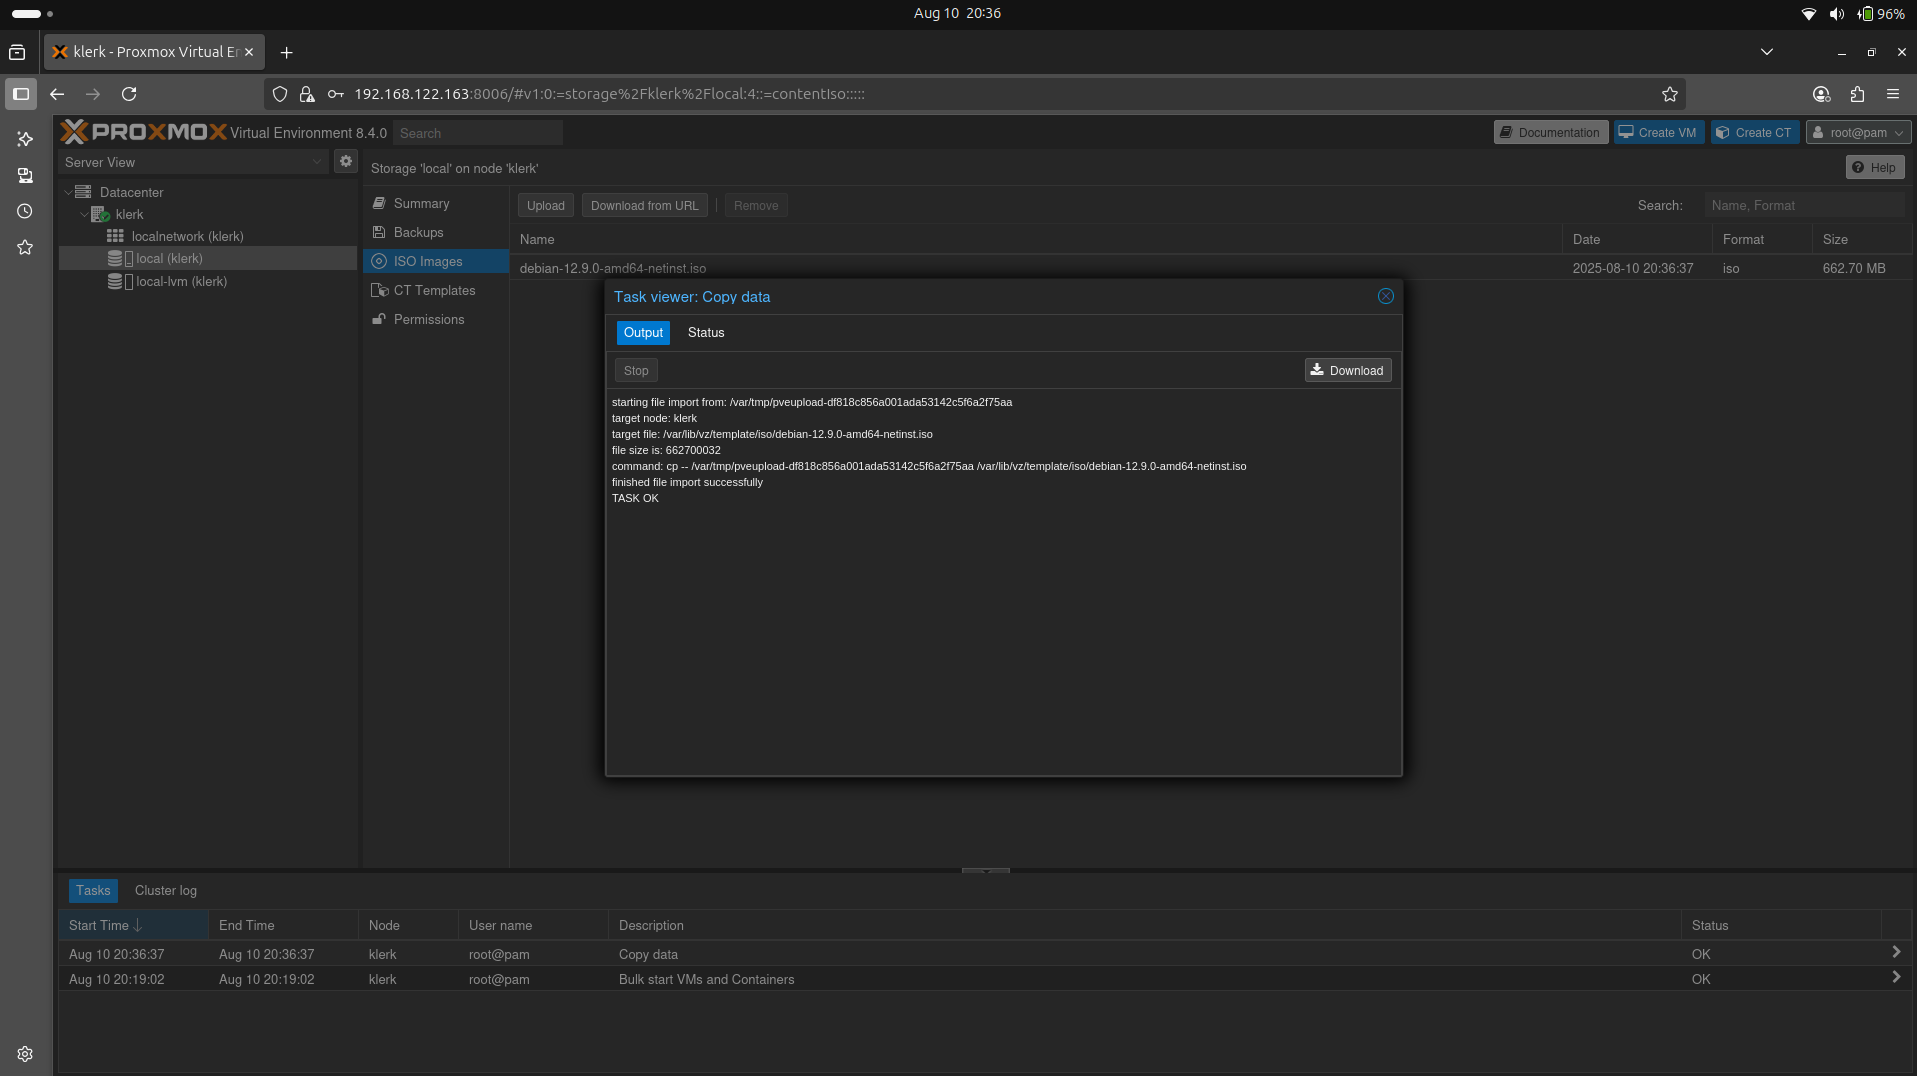
Image 18
20. Click the 'Create VM' button, select 'Use CD/DVD disk image file(iso), from the drop-down menu select your local iso image file and press the 'Next'. ( Image 19)
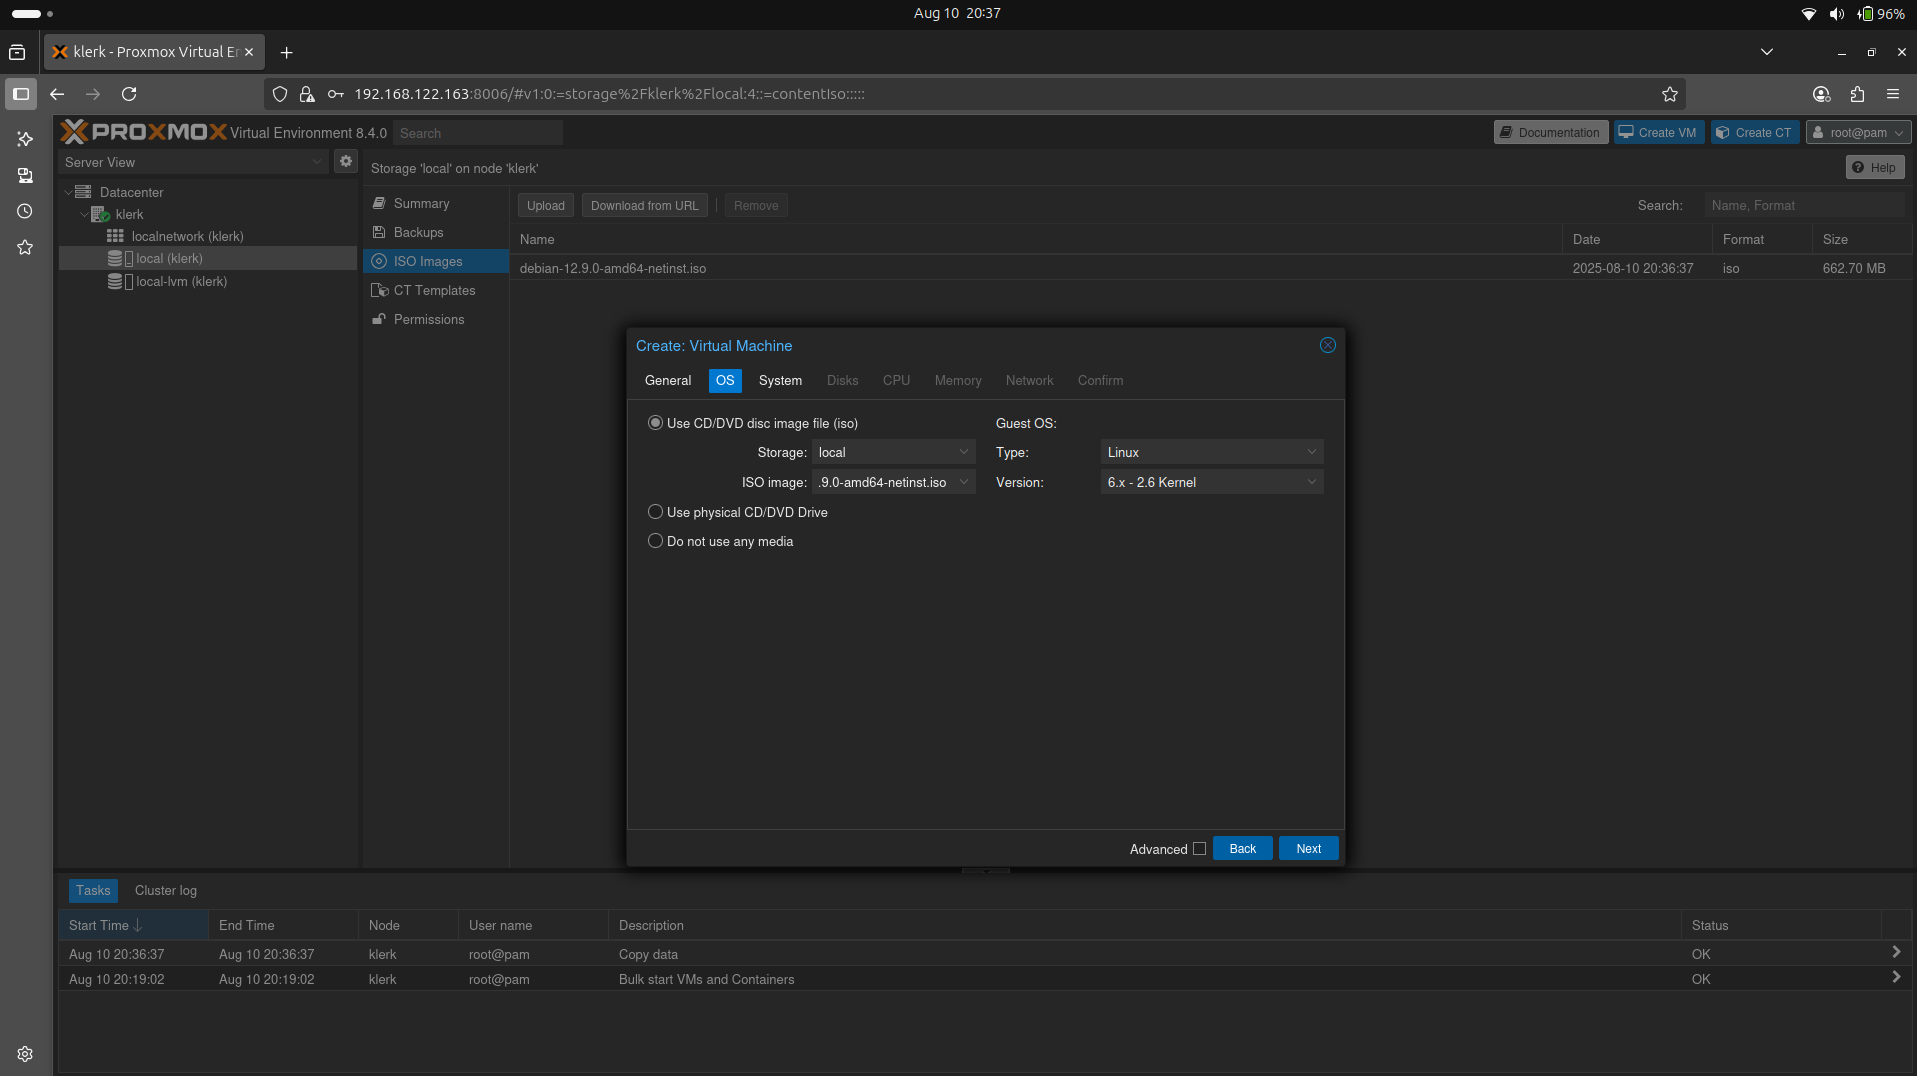
Image 19
21. The 'System' settings leave default and press 'Next'. ( Image 20)
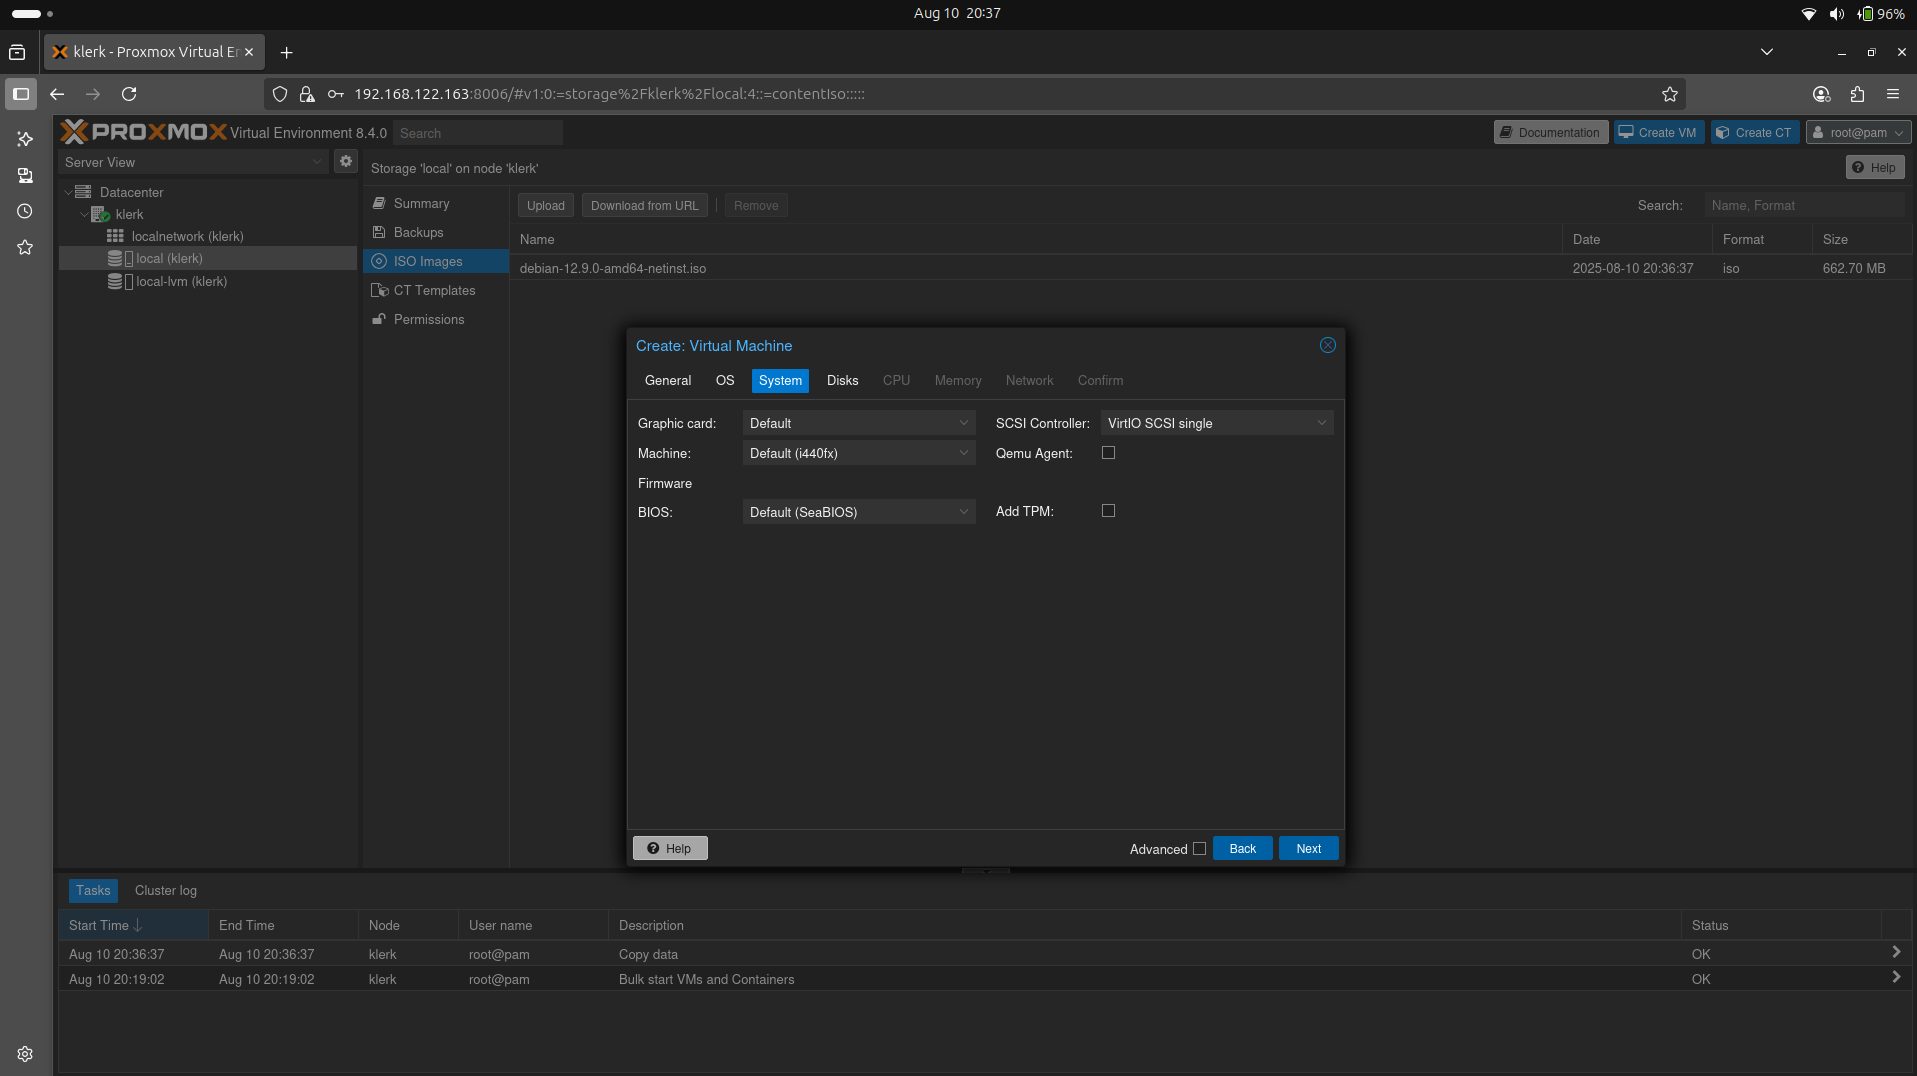
Image 20
22. The 'Disks' settings leave default and press 'Next'. ( Image 21)
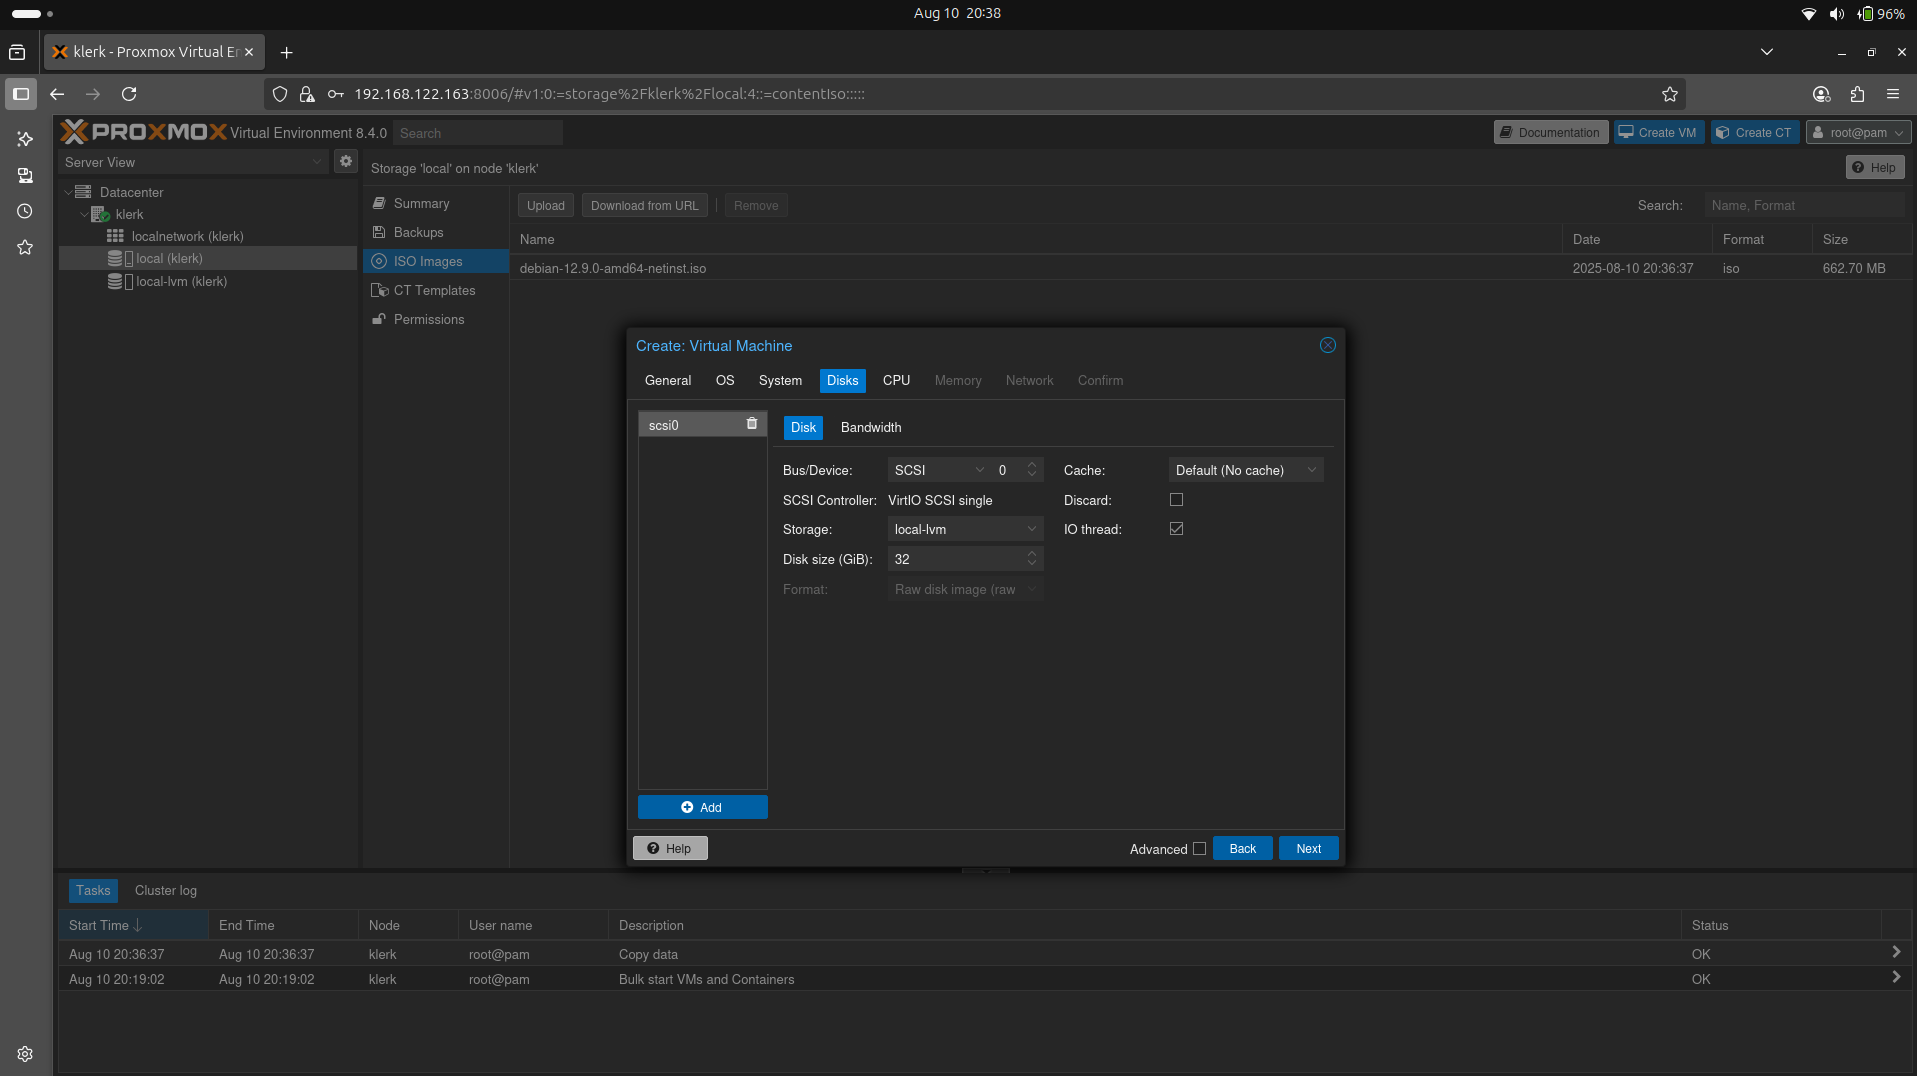
Image 21
23. The 'CPU' settings leave default(you can add more cores if you want) and press 'Next'. ( Image 22)

Image 22
24. For Debian a minimum of 1GB of RAM is suggested for a desktop installation, but 2GB or more is preferable. After setup 'Memory' settings press 'Next'. (Image 23)
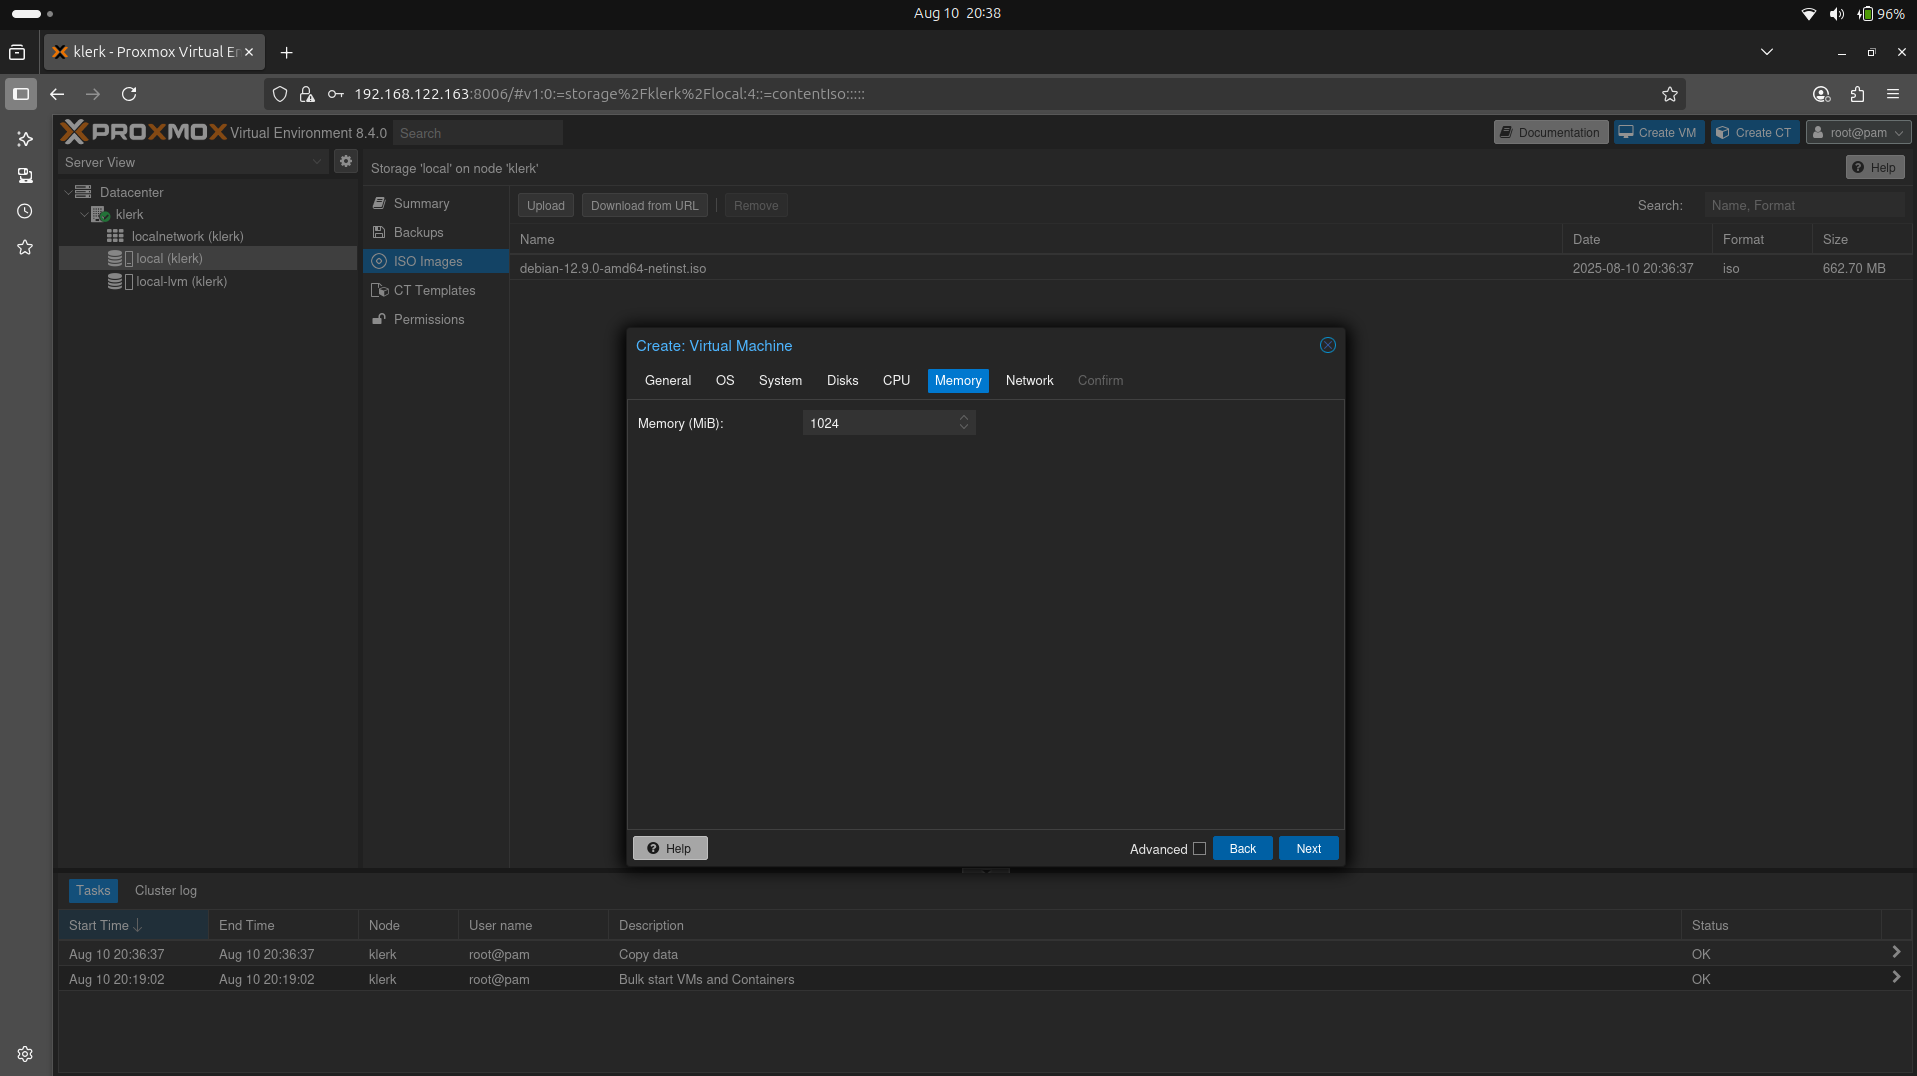
Image 23
25. The 'Network' settings leave default and press 'Next'. ( Image 24)
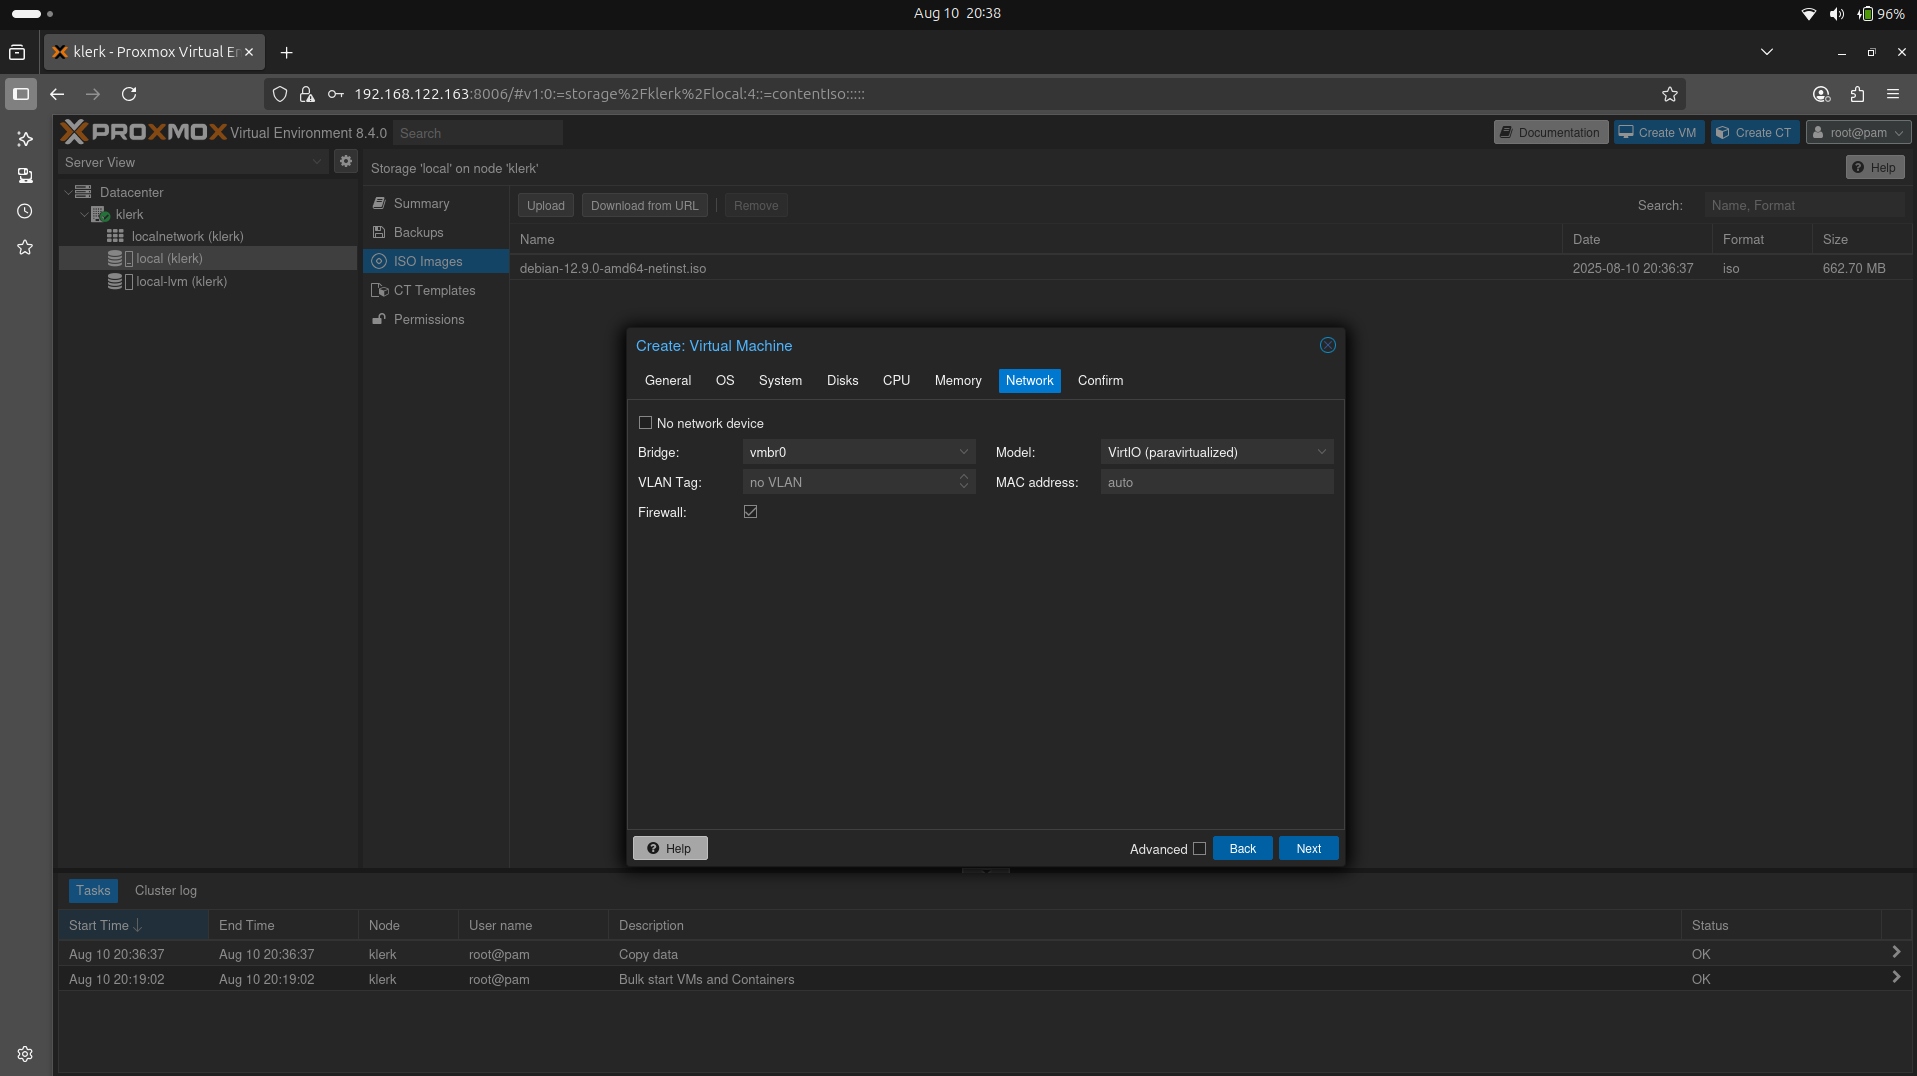
Image 24
26. Check all options and click the 'Finish' button. ( Image 25)
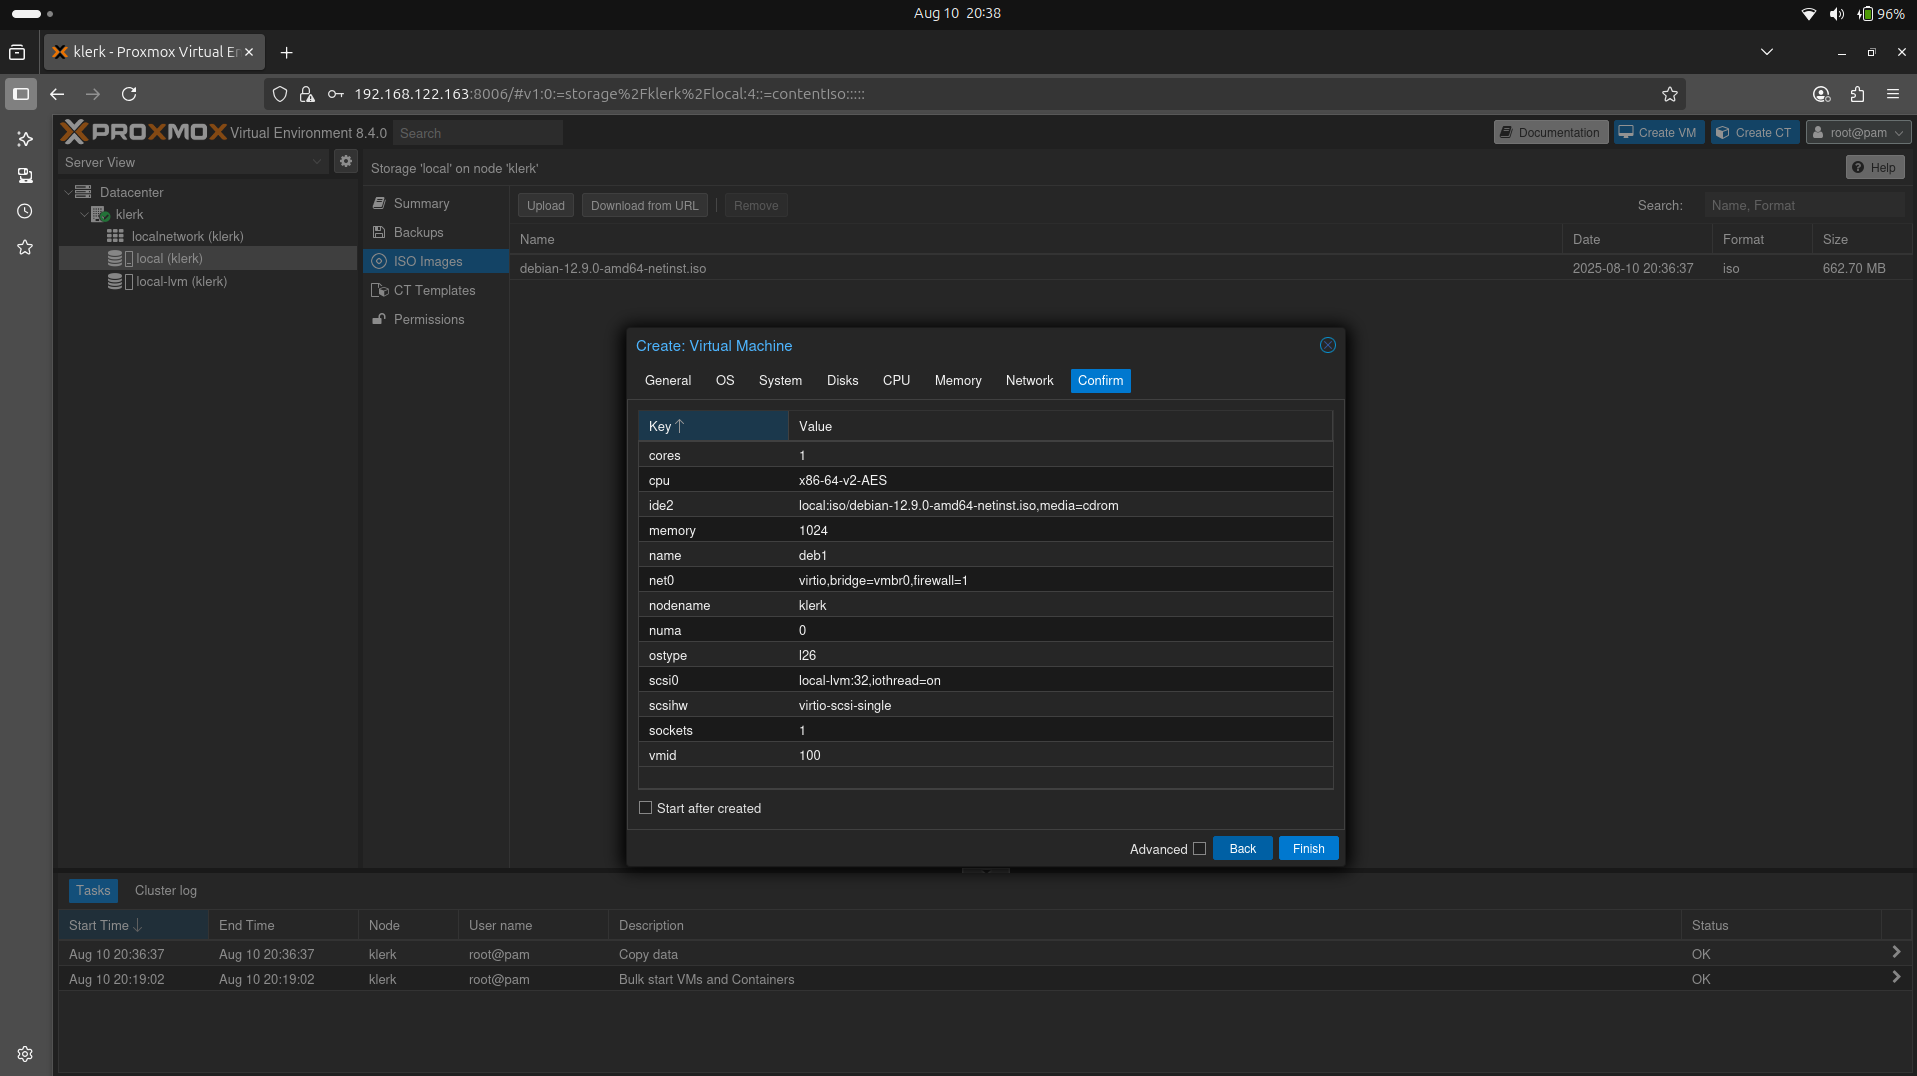
Image 25
27. Click the 'Start' button to create a Virtual Machine. ( Image 26)

Image 26
28. Choose 'console' to see the installation menu. Select which installation method is apropriate for you. ( Image 27)
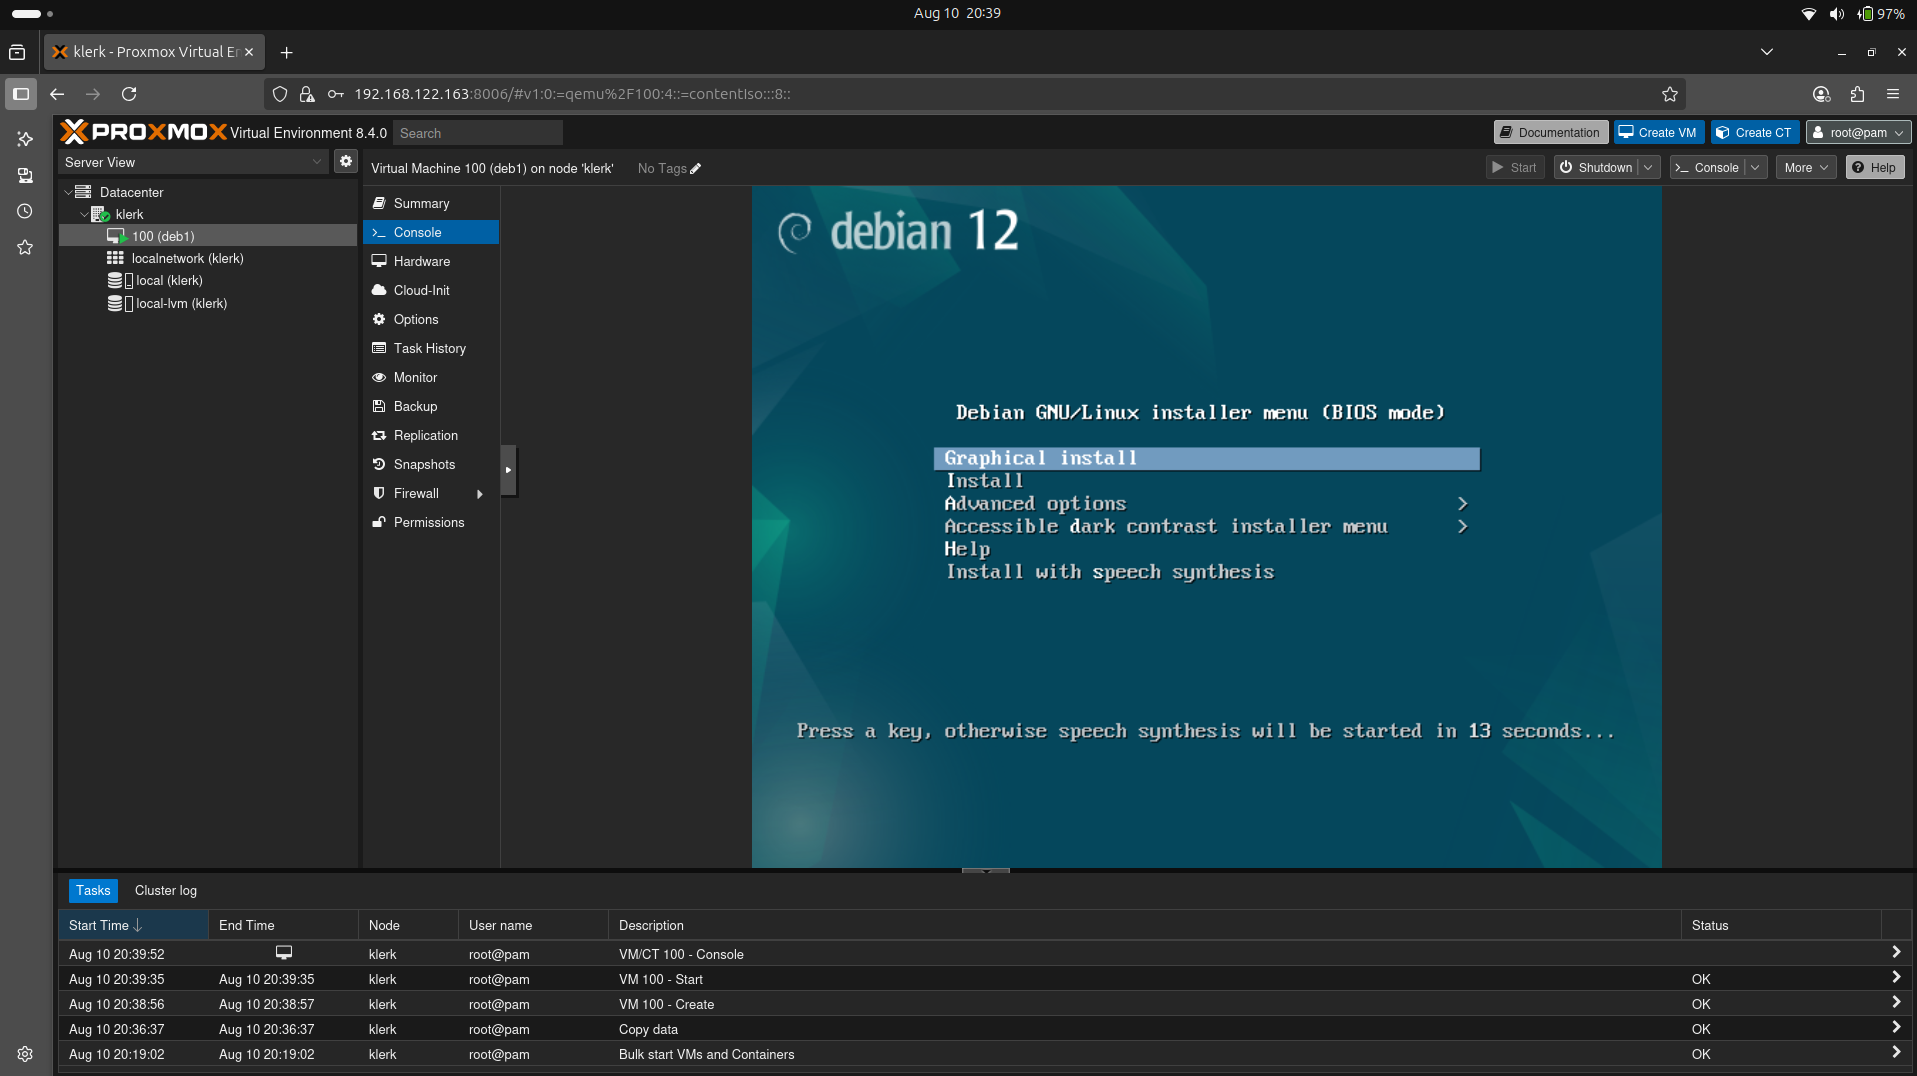
Image 27
29. The installation process of the Debian virtual machine. ( Image 28)
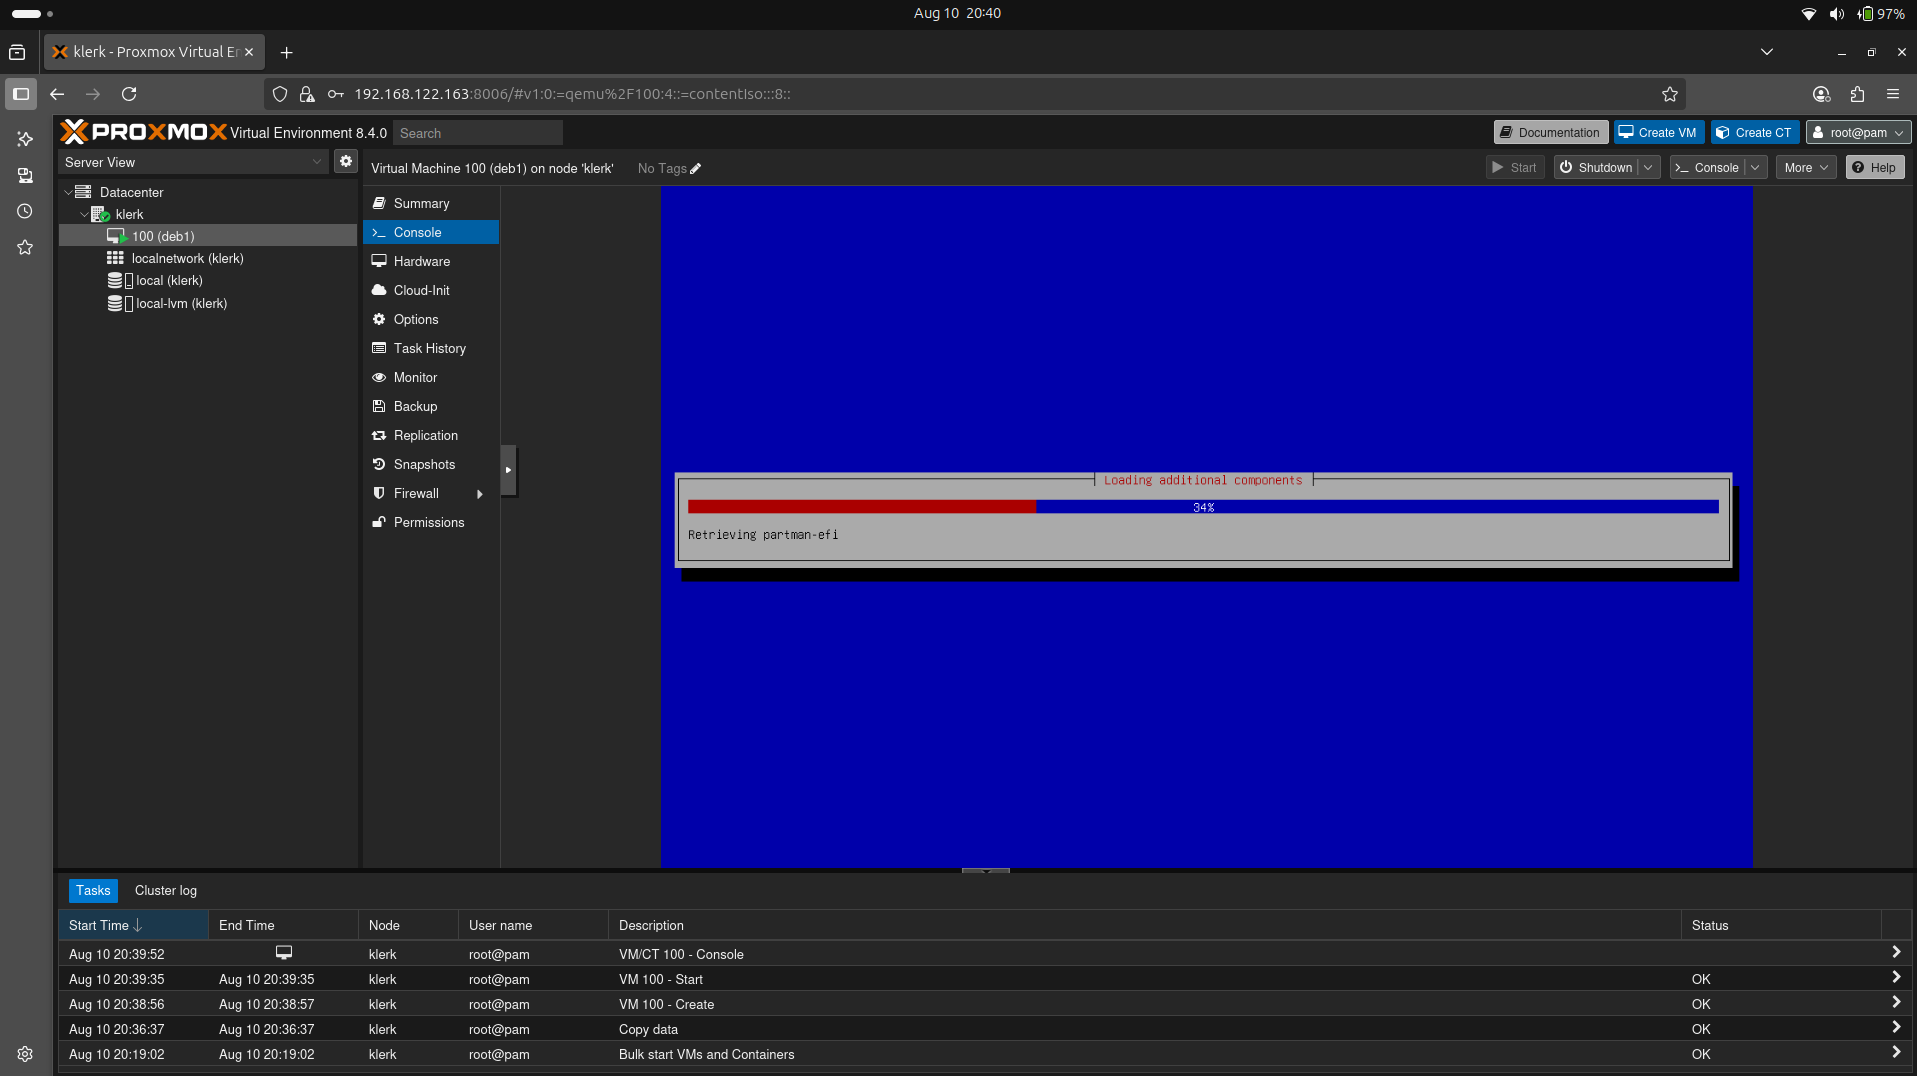
Image 28
30. Booting after installation. ( Image 29)
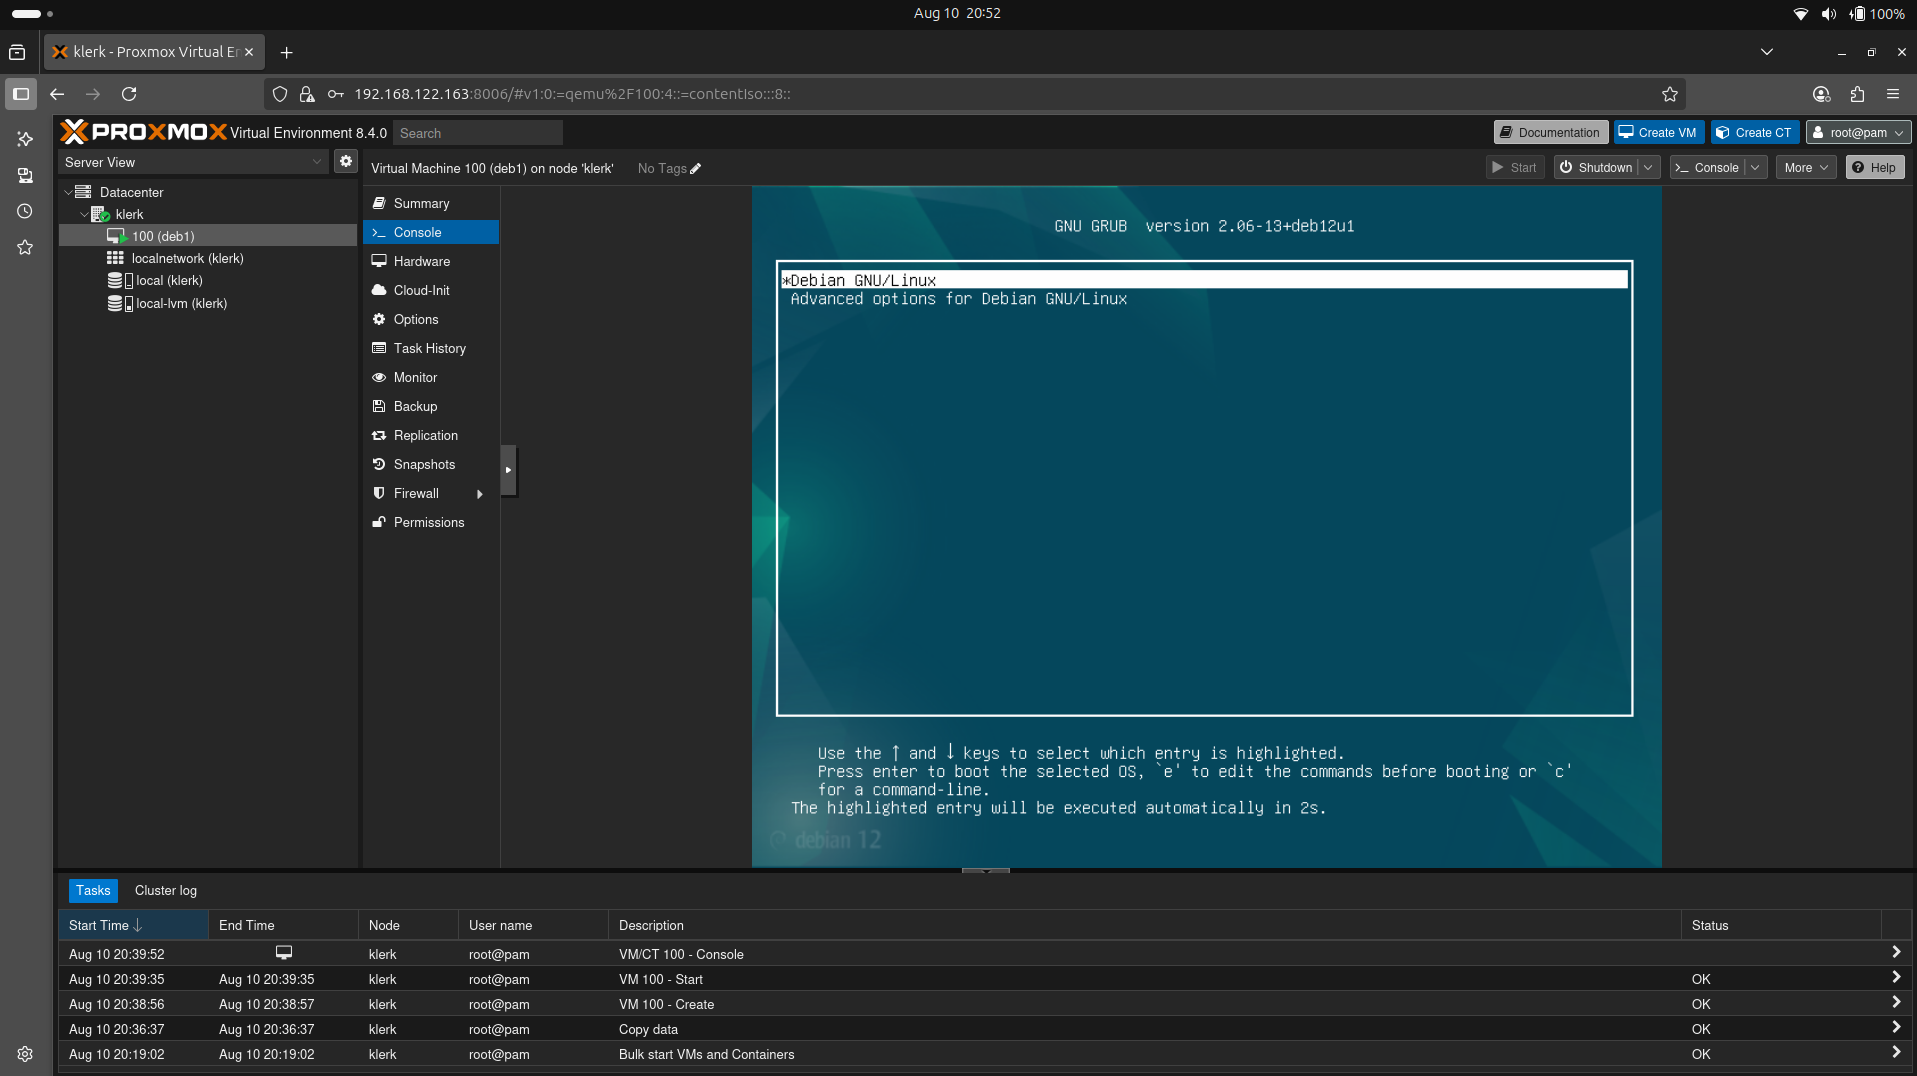
Image 29
31. Checking the hostname and username of a Virtual Machine. ( Image 30)
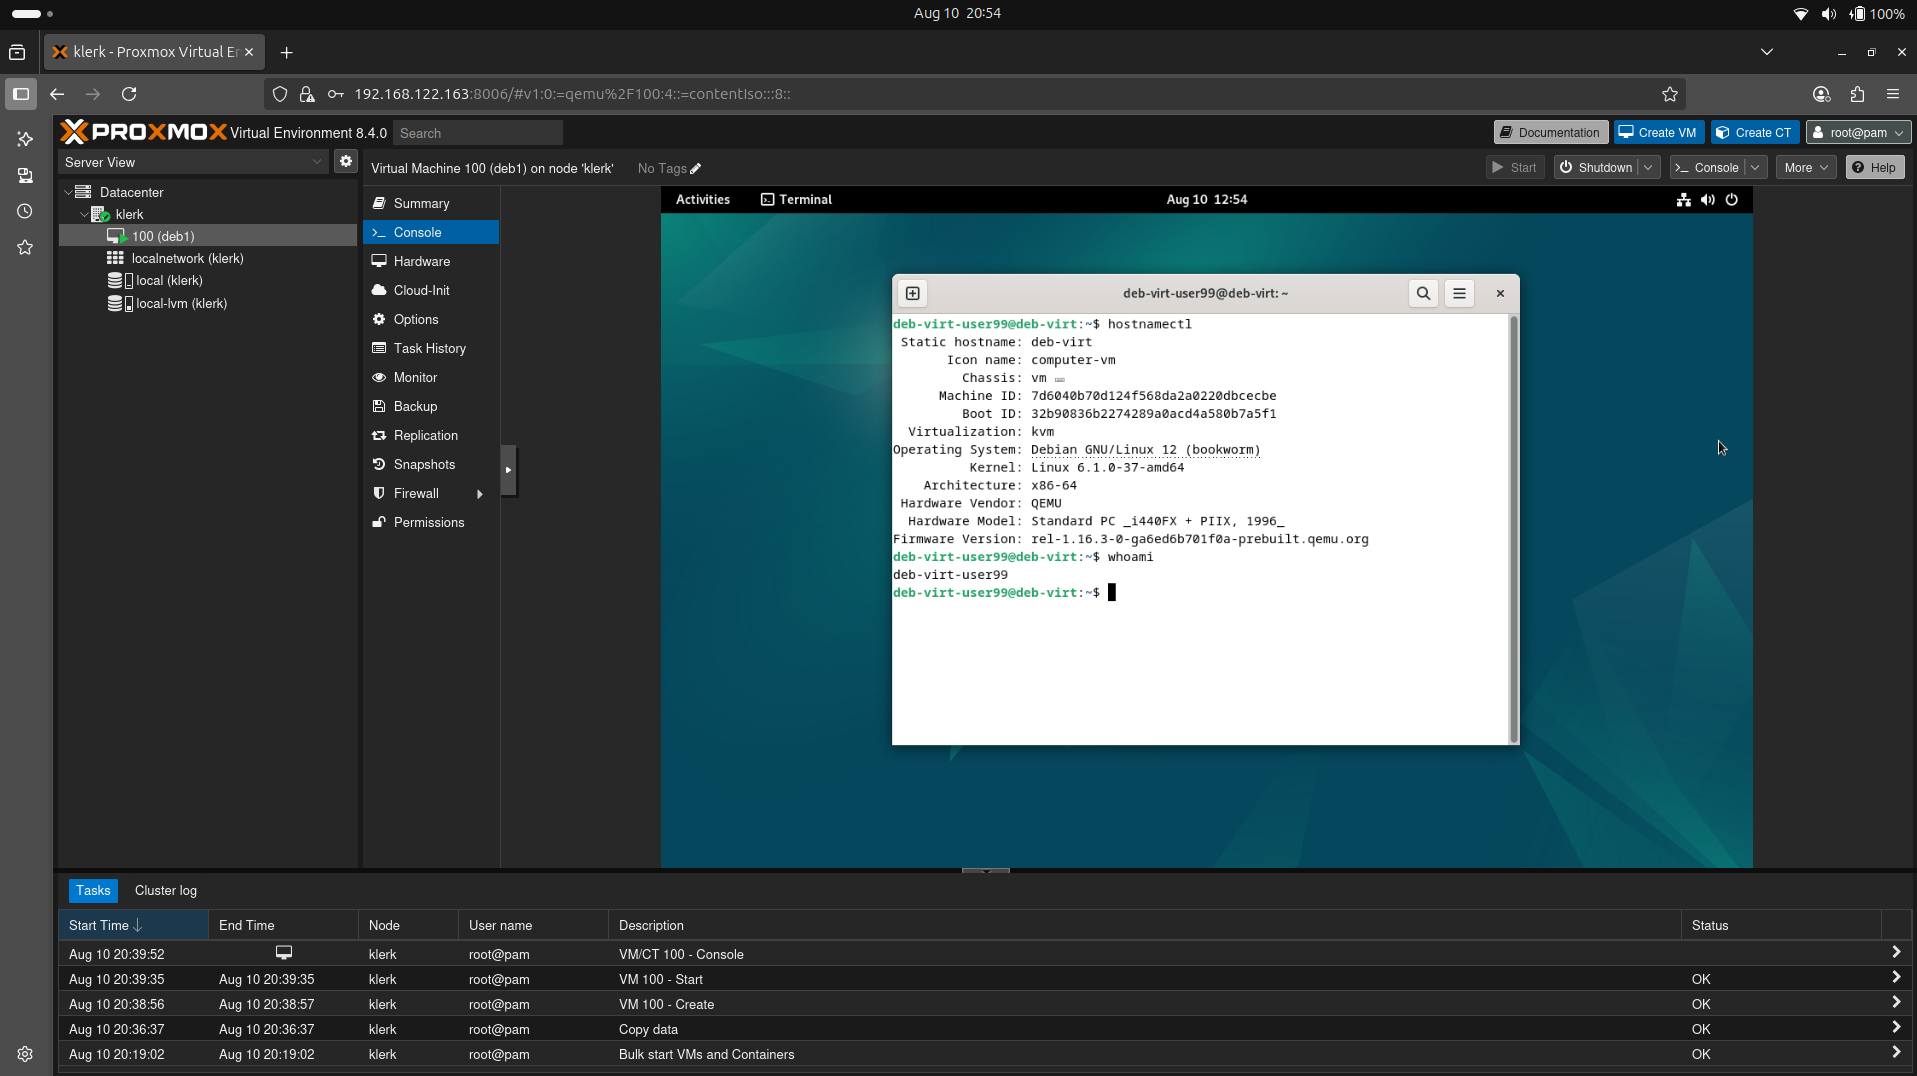
Image 30
32. Click on 'Upload', it will open the 'Upload' window, press 'Select' to select iso from local files. ( Image 31)

Image 31
33. After successfully uploading, you will get a 'TASK OK' output. ( Image 32)
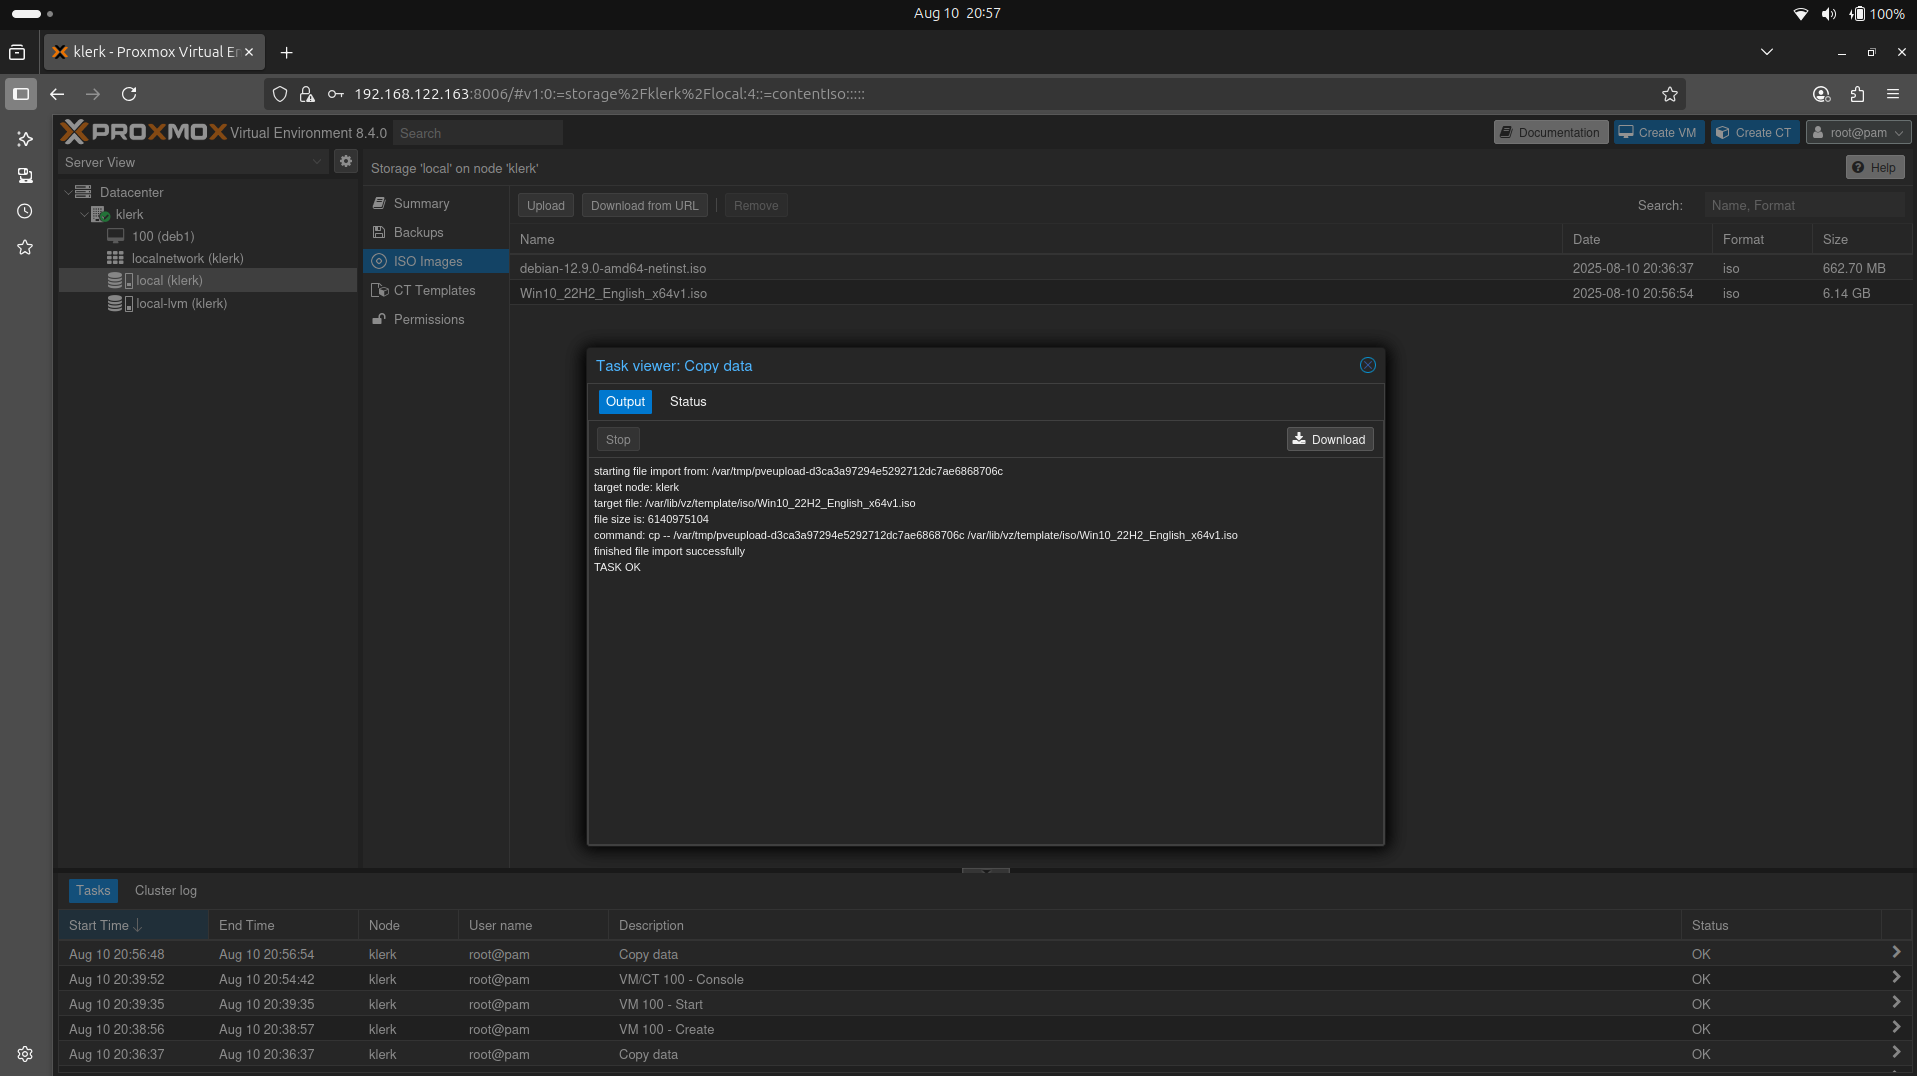
Image 32
34. Click the 'Create VM' button, select 'Use CD/DVD disk image file(iso), from the drop-down menu select your local iso image file and press the 'Next'. ( Image 33)
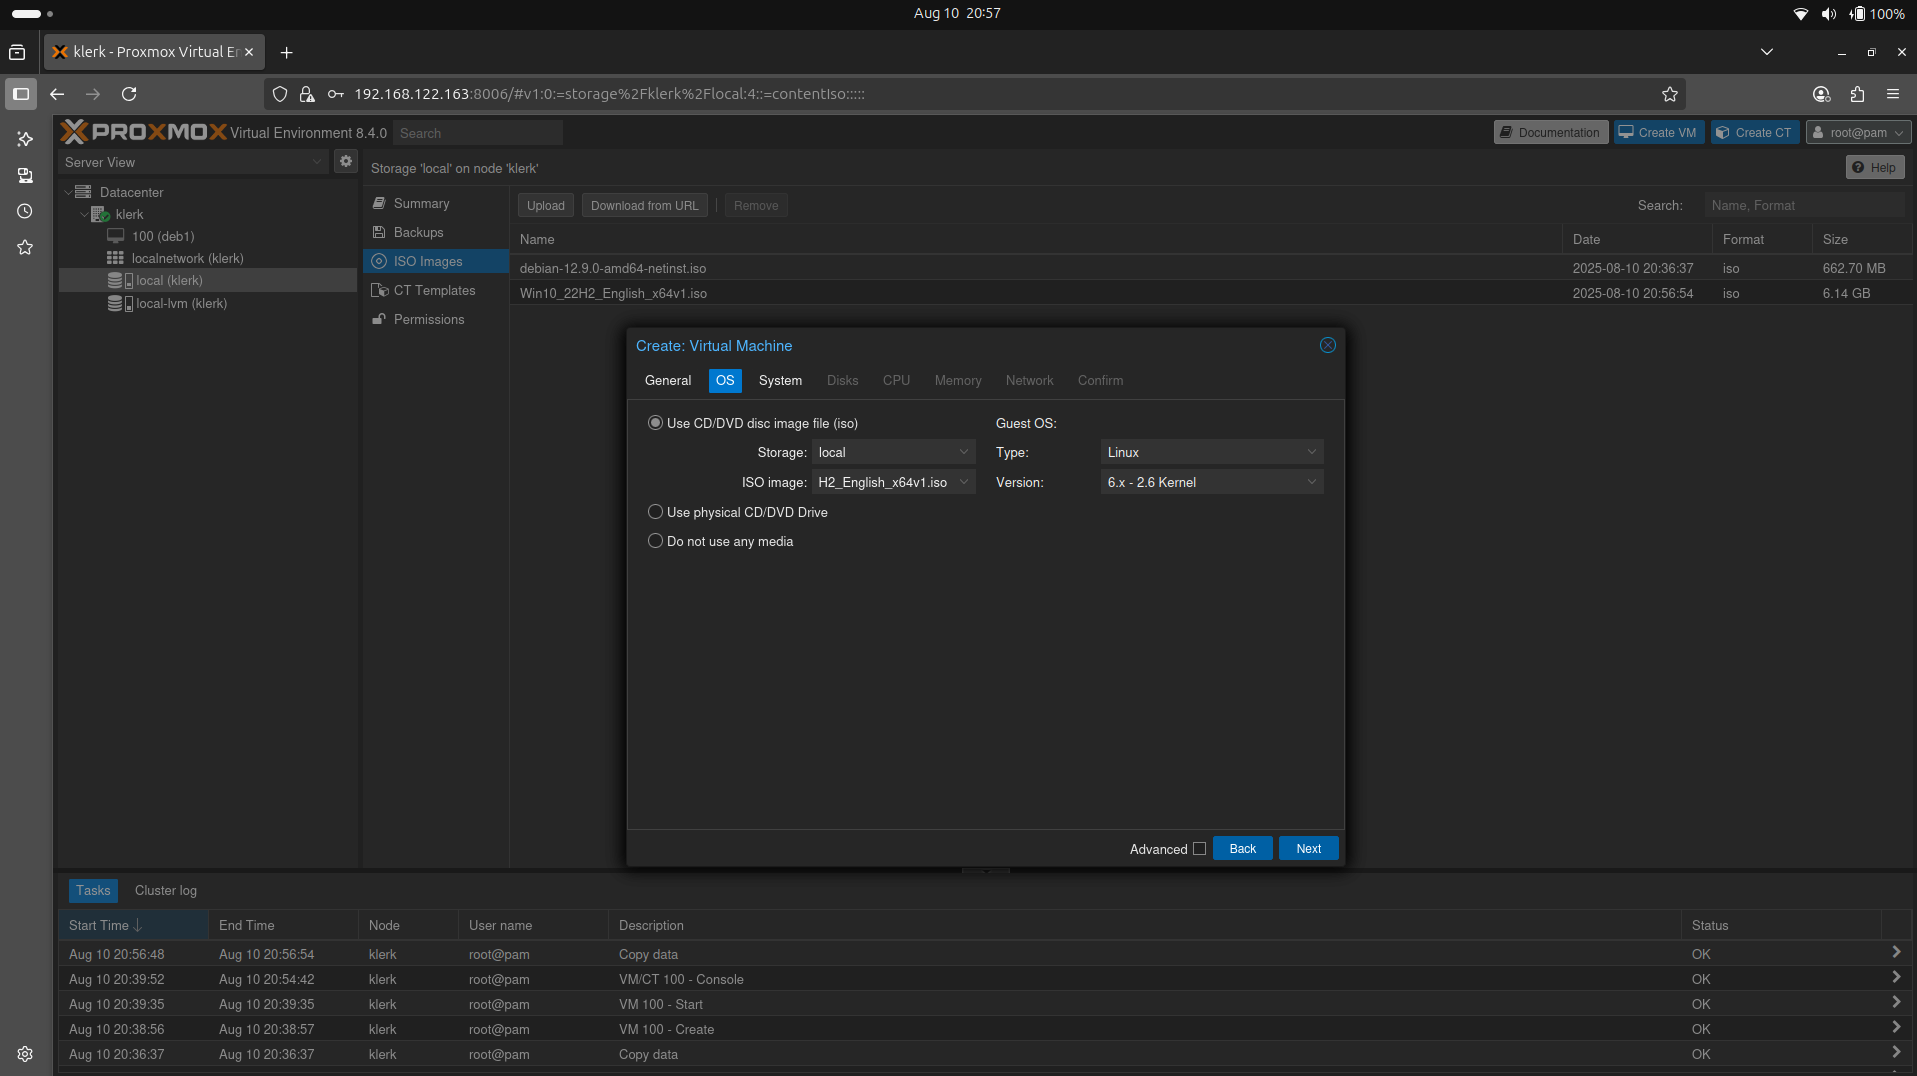
Image 33
35. The 'System' settings leave default and press 'Next'. ( Image 34)
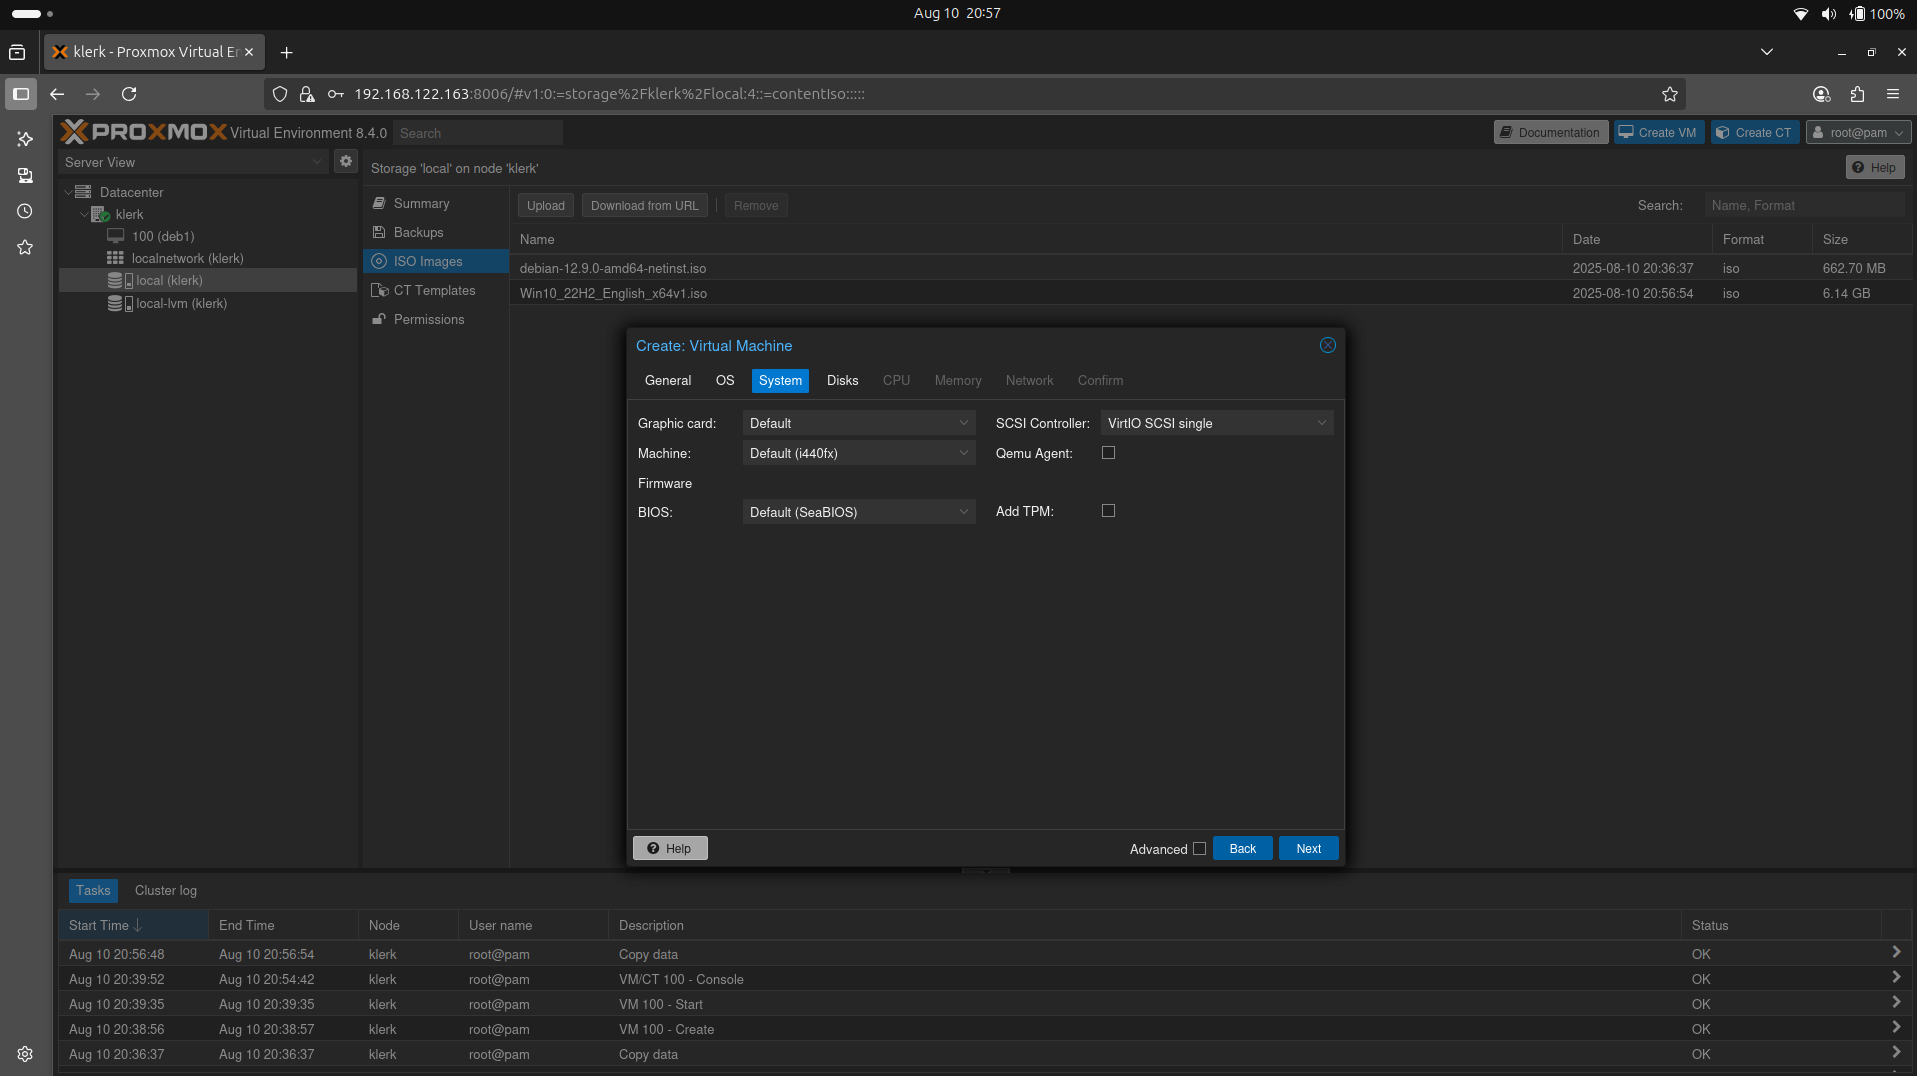
Image 34
36. The 'Disks' settings leave default(If you will challenged to boot a virtual machine, just change 'SCSI0' from drop-down menu to 'SATA'.) and press 'Next'. ( Image 35)
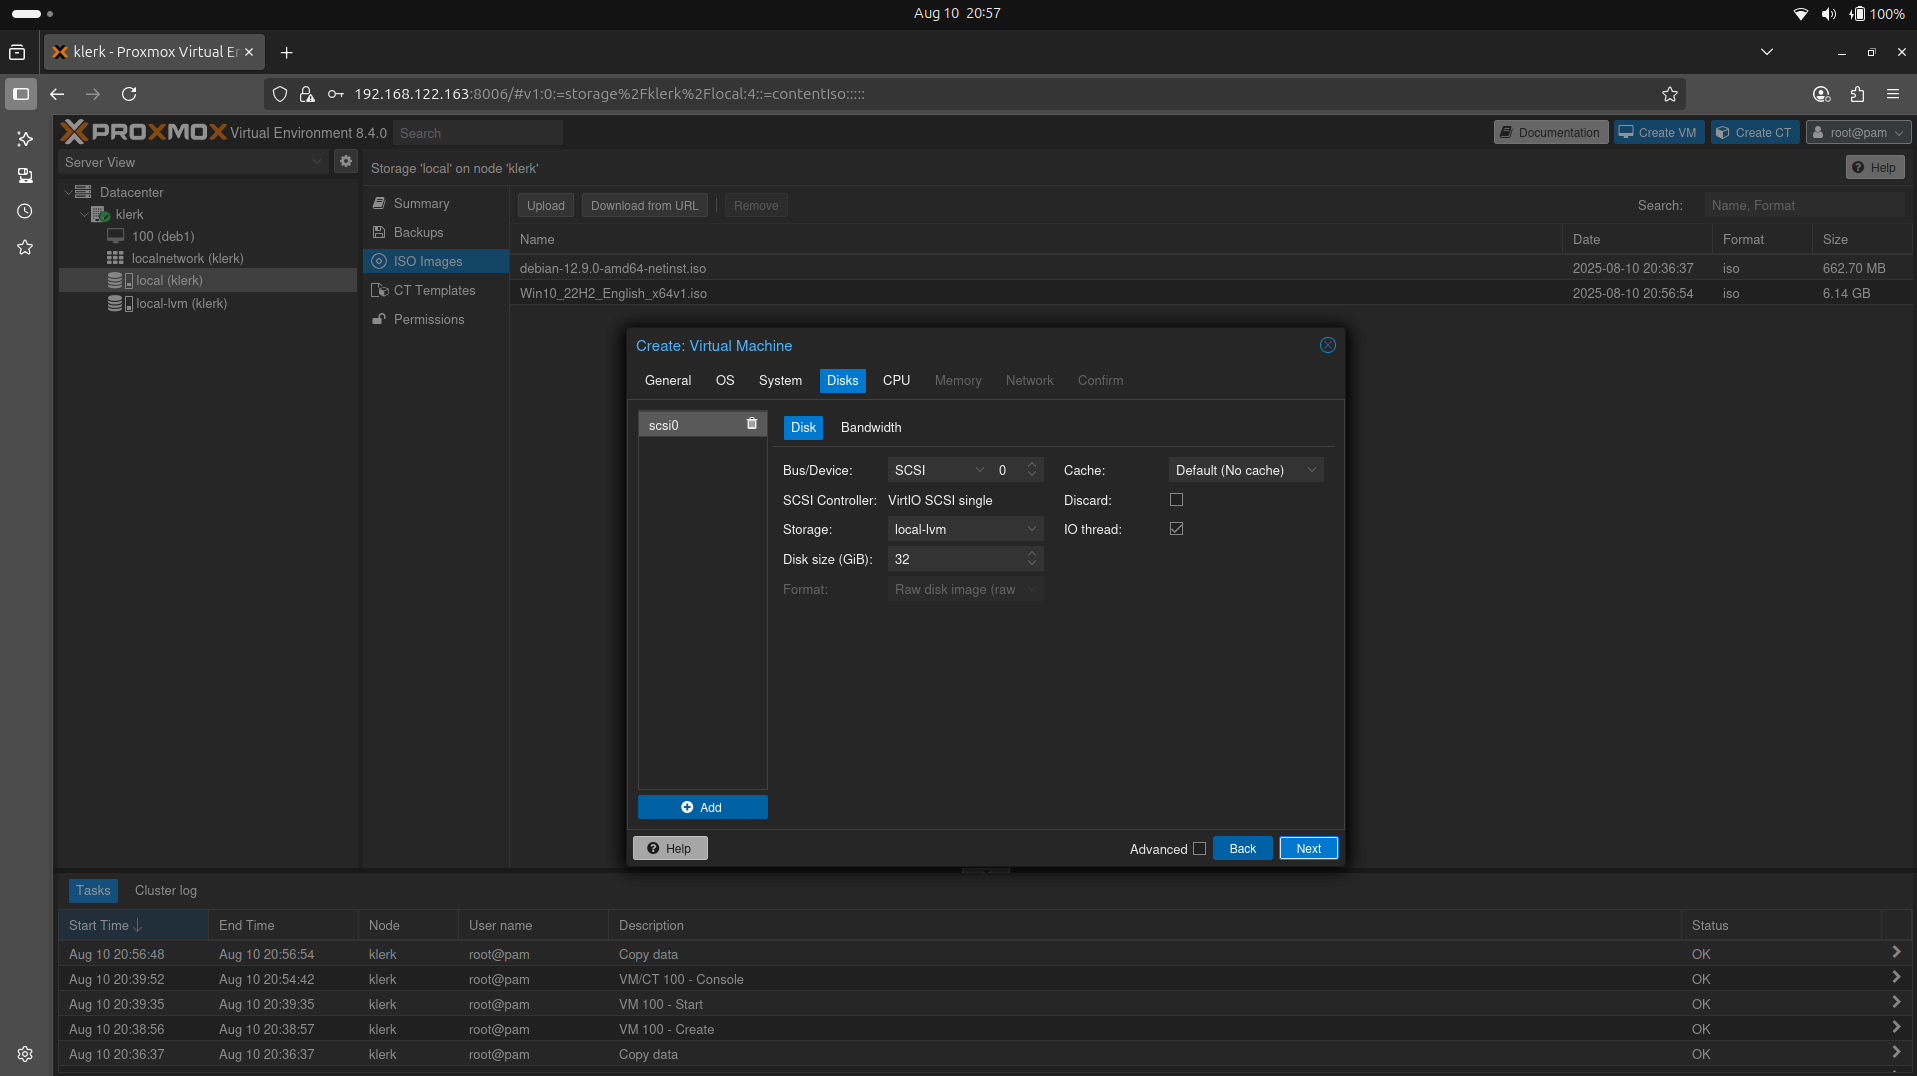
Image 35
37. The 'CPU' settings leave default(you can add more cores if you want) and press 'Next'. ( Image 36)

Image 36
38. For Windows 10 a minimum of 2GB of RAM is suggested for a desktop installation, but 4GB or more is preferable. After setup 'Memory' settings press 'Next'. (Image 37)
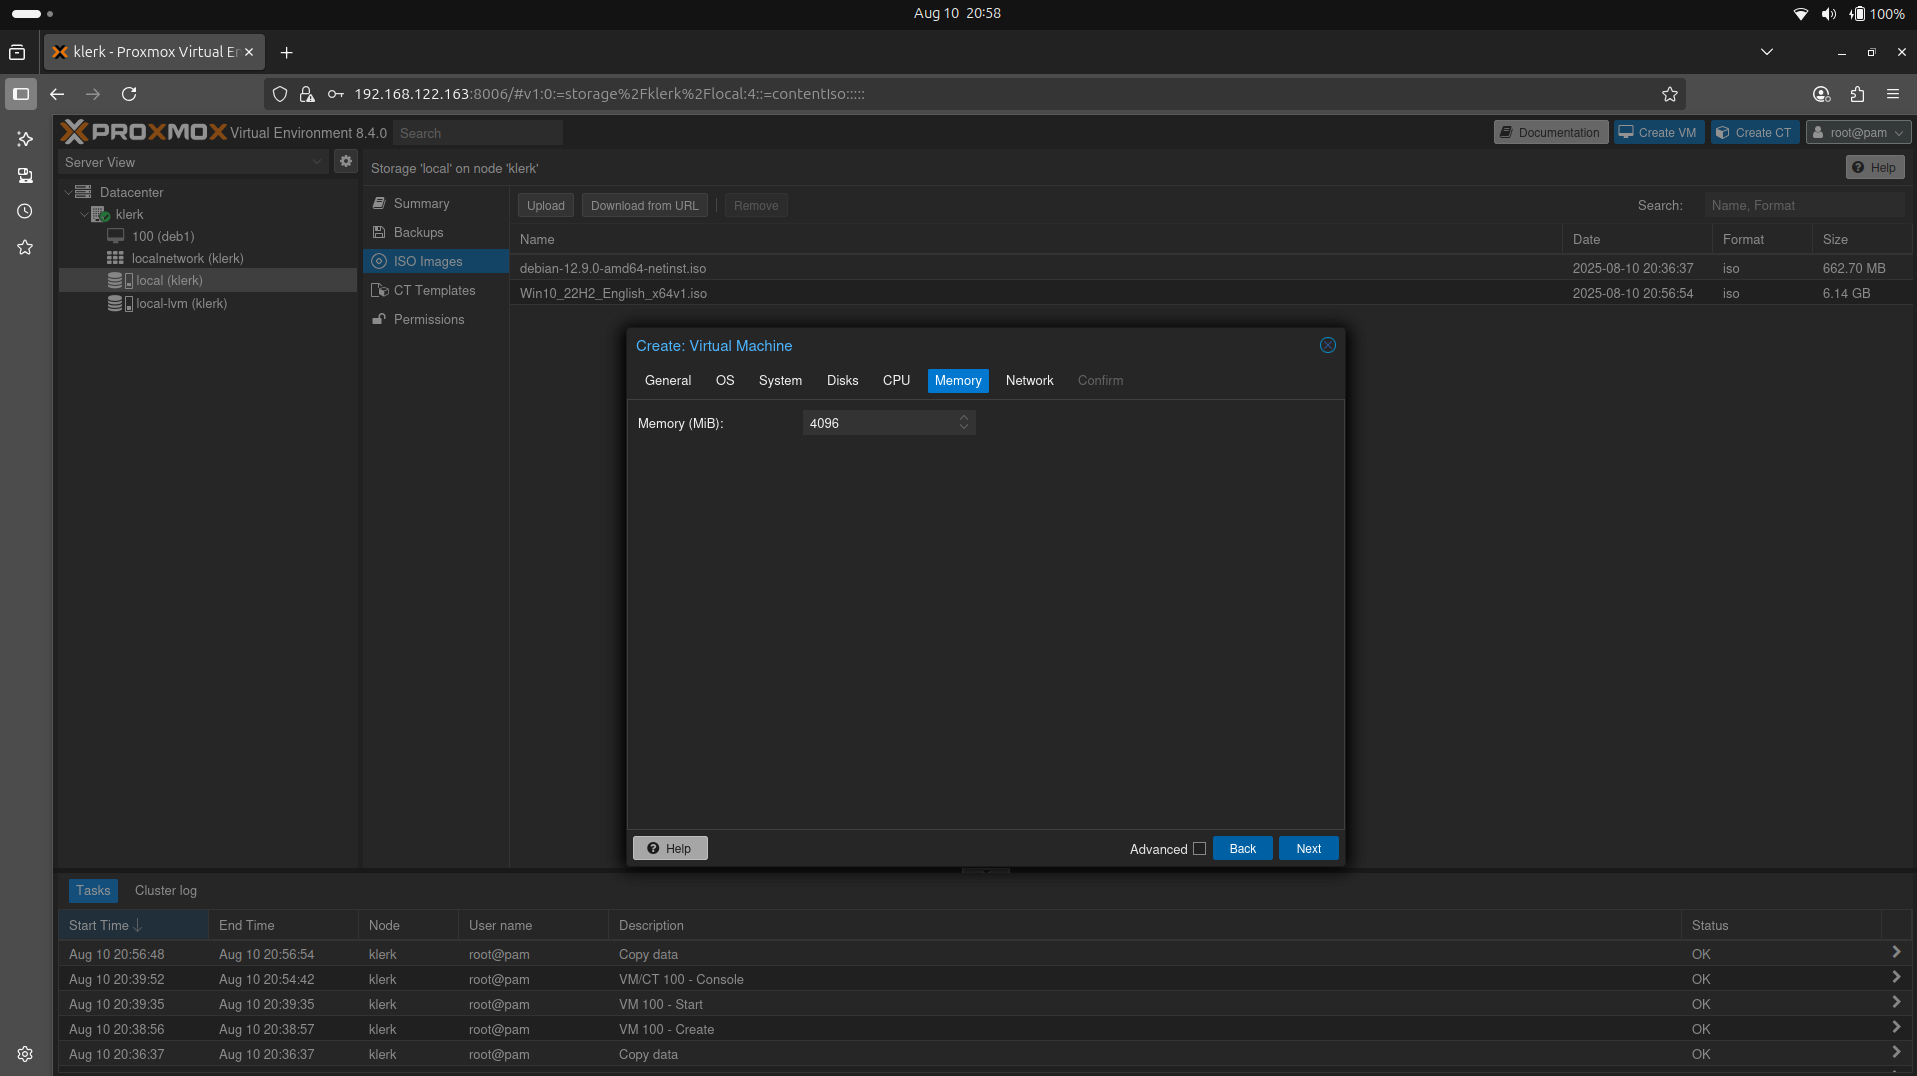
Image 37
39. The 'Network' settings leave default and press 'Next'. ( Image 38)
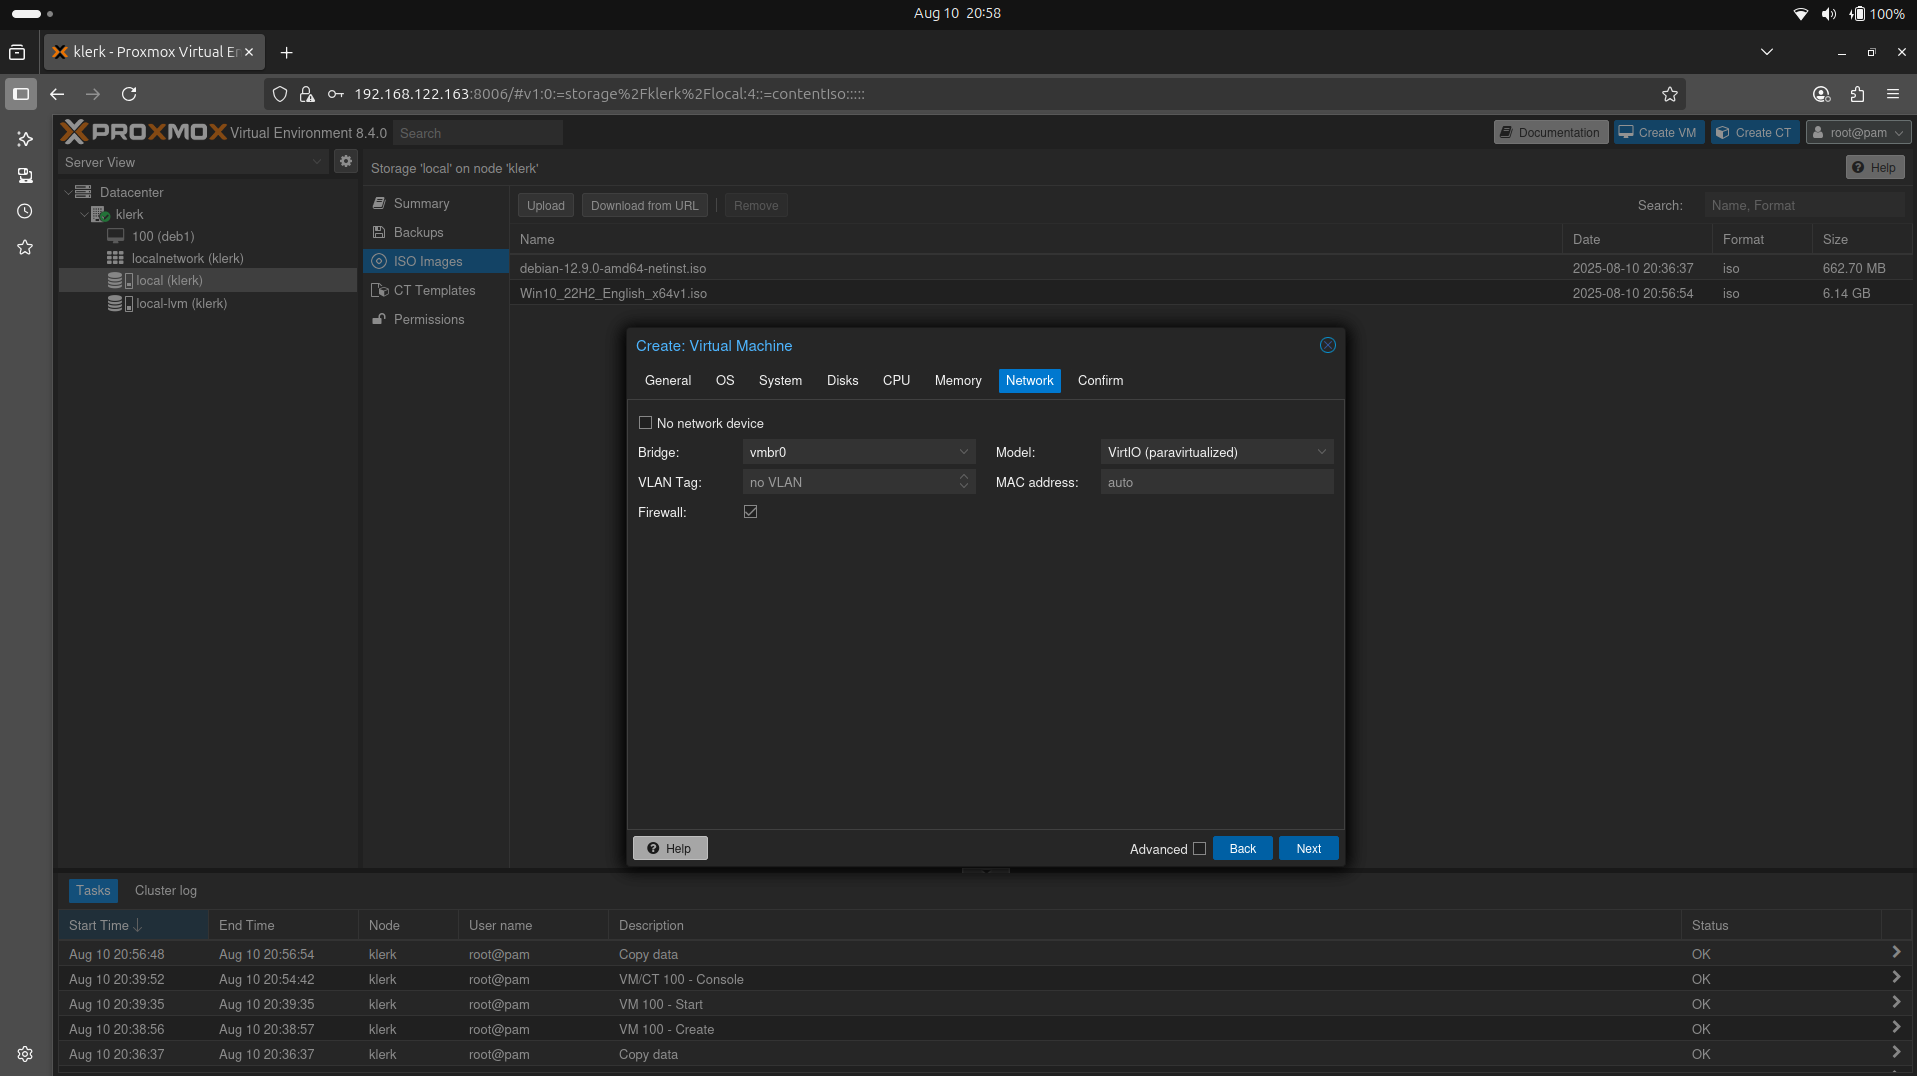
Image 38
40. Check all options and click the 'Finish' button. ( Image 39)
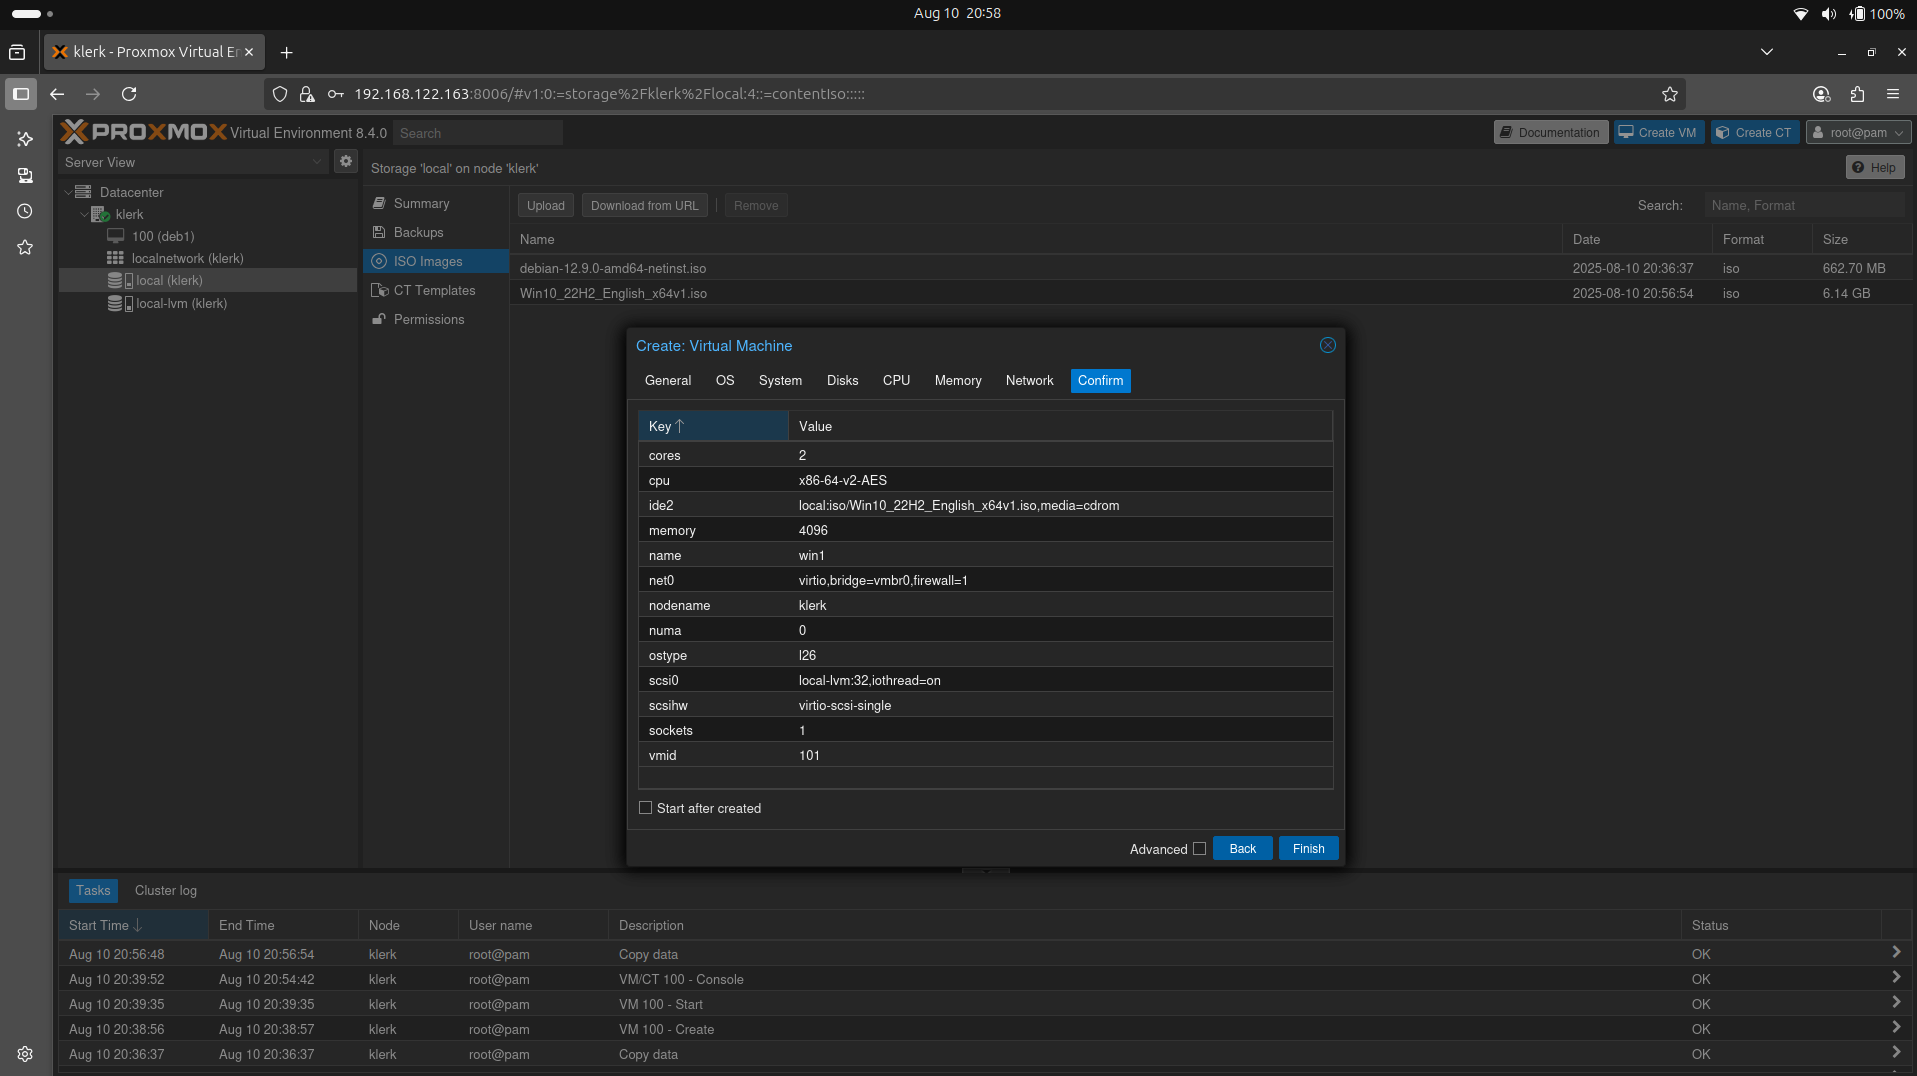
Image 39
41. Click the 'Start' button to create a Virtual Machine. ( Image 40)

Image 40
42. Choose 'console' to see the installation menu. Select which installation method is apropriate for you. ( Image 41)
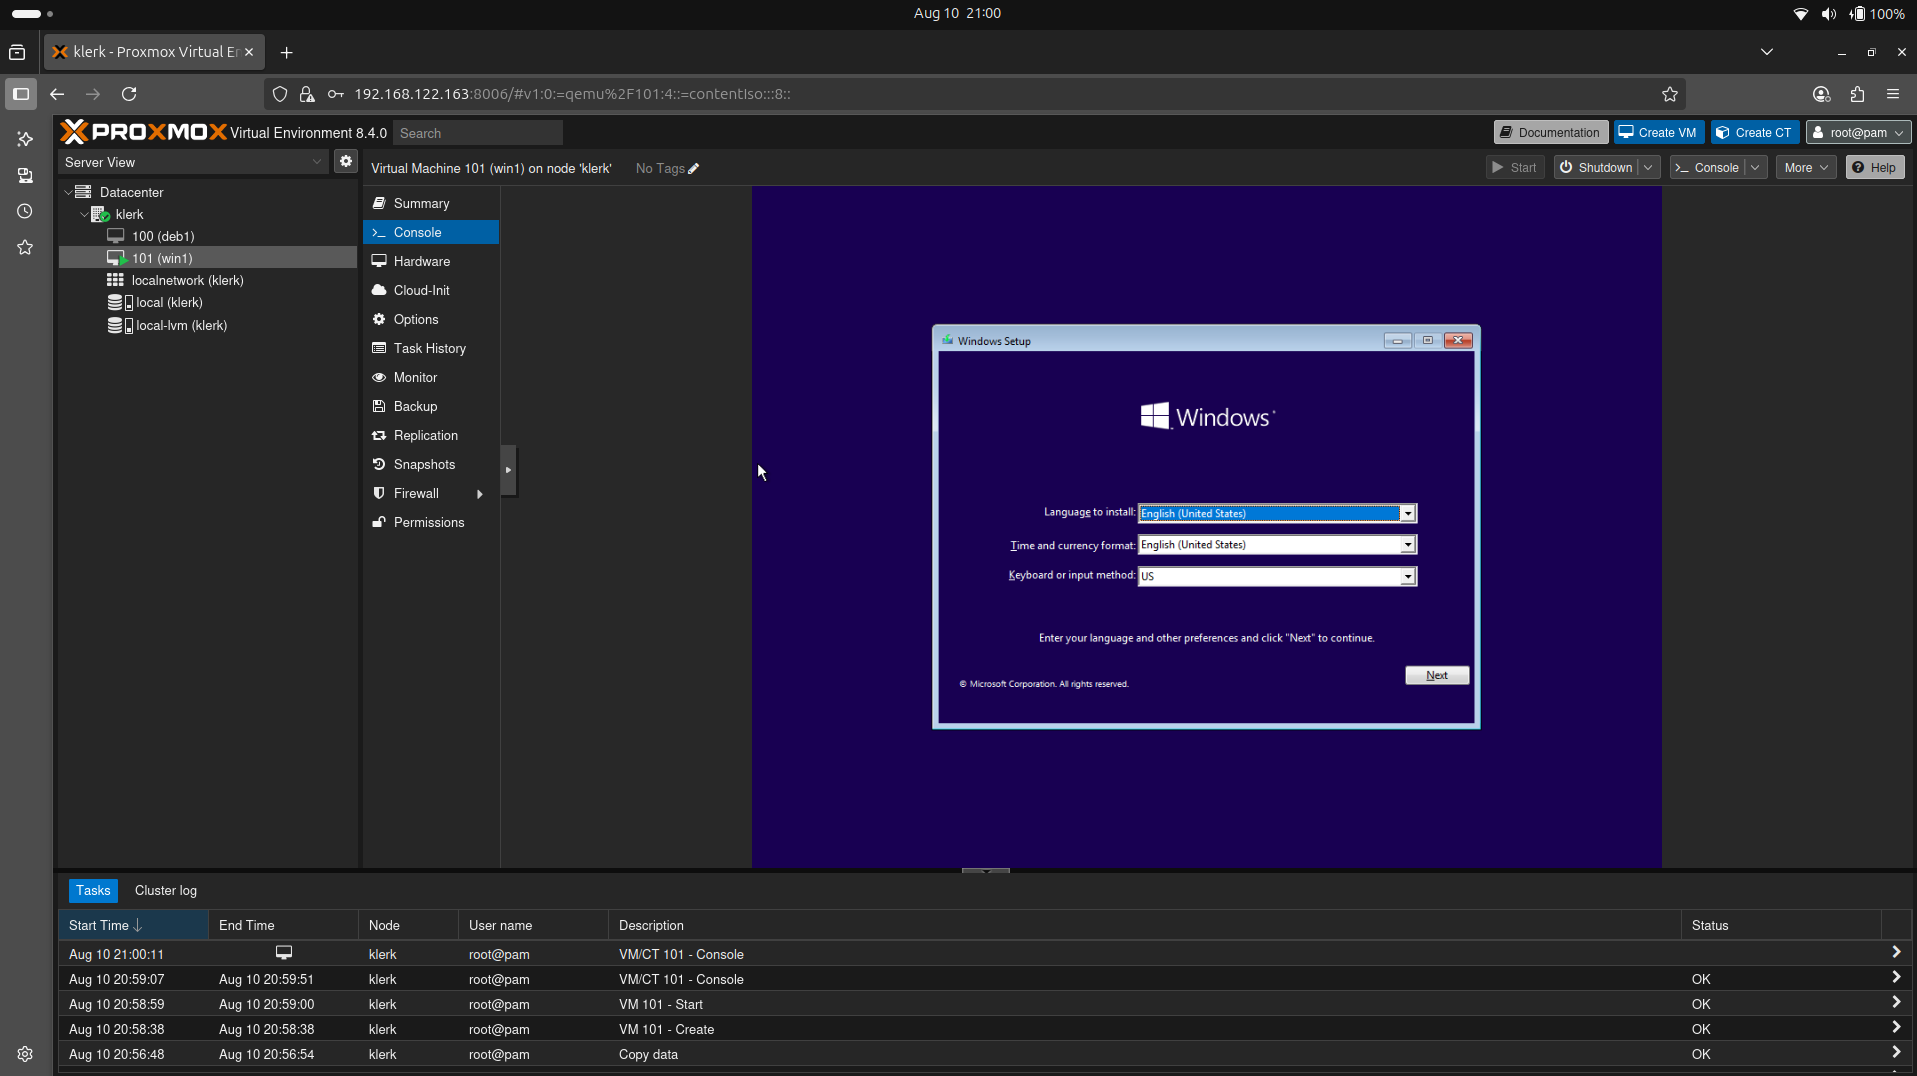
Image 41
43. Booting Windows 10 virtual machine. ( Image 42)
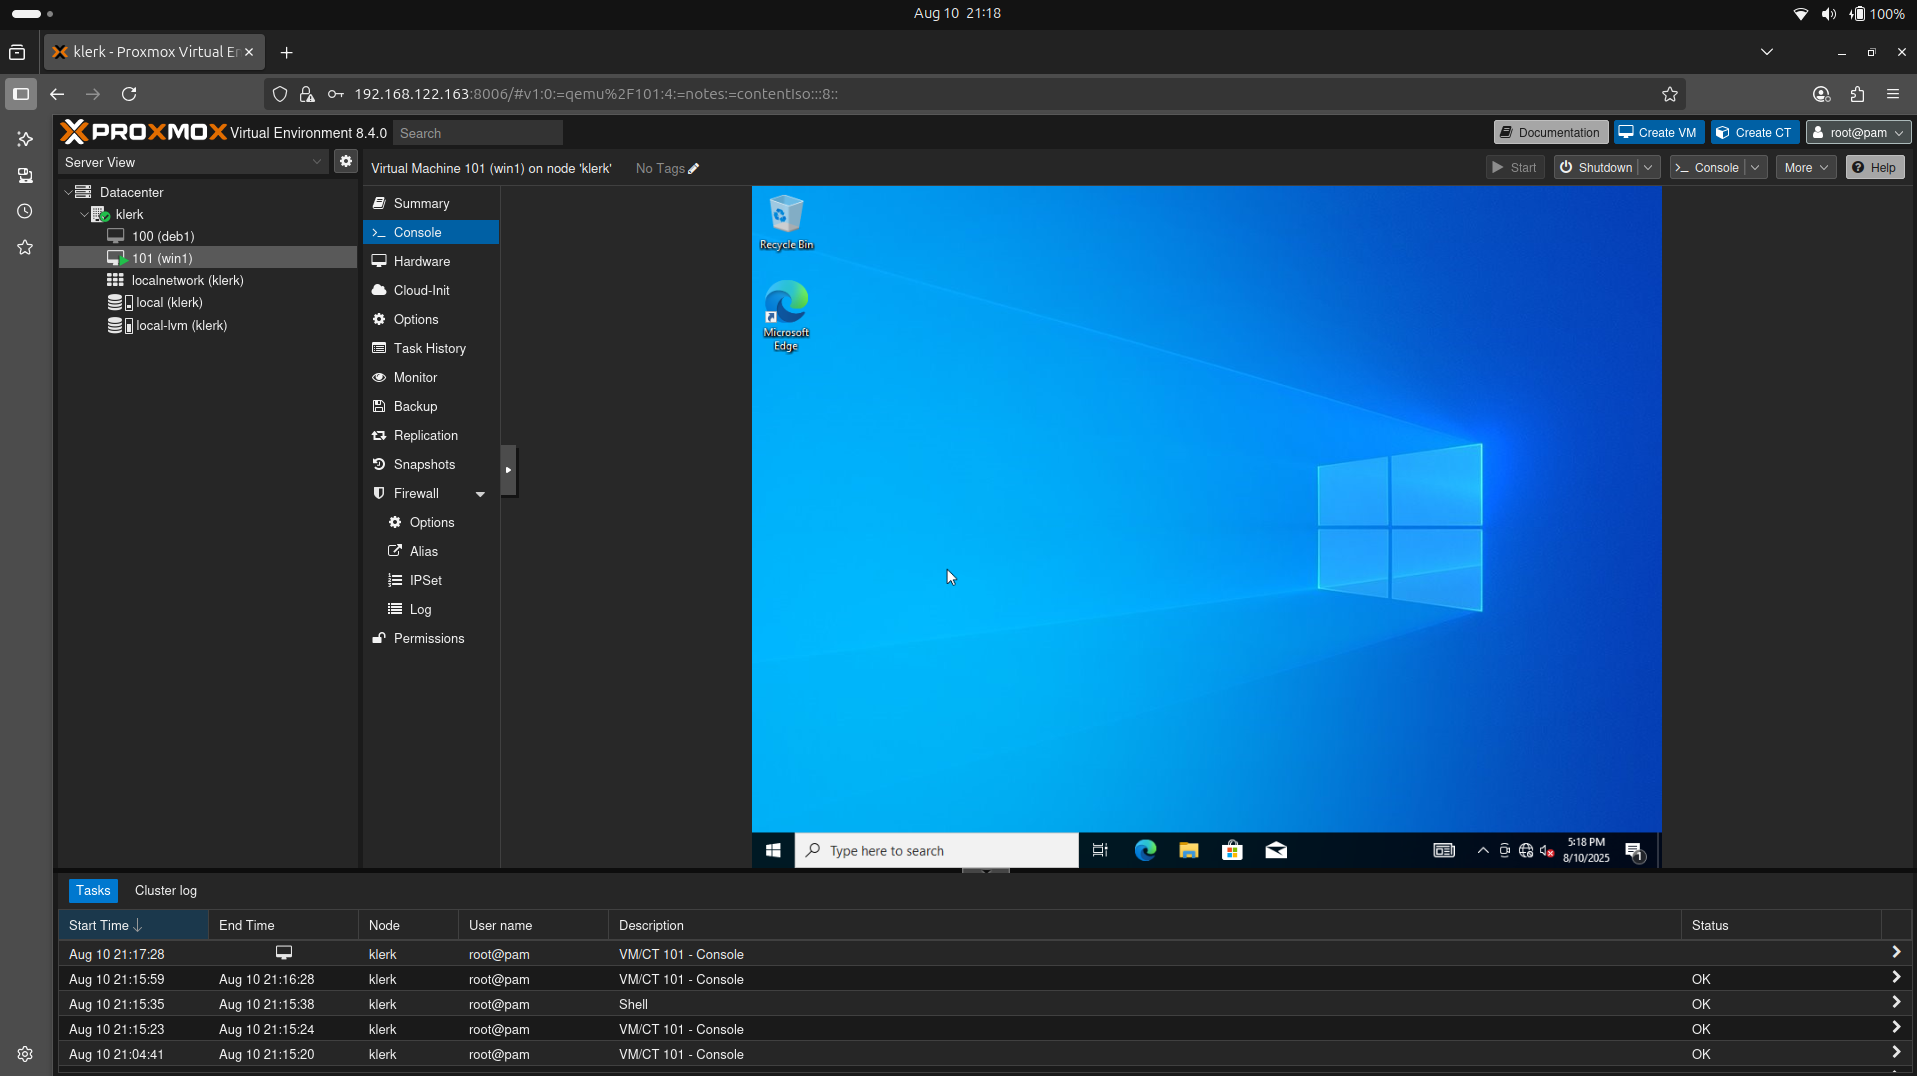
Image 42
44. Overview of the datacenter with all nodes and virtual machines. ( Image 43)
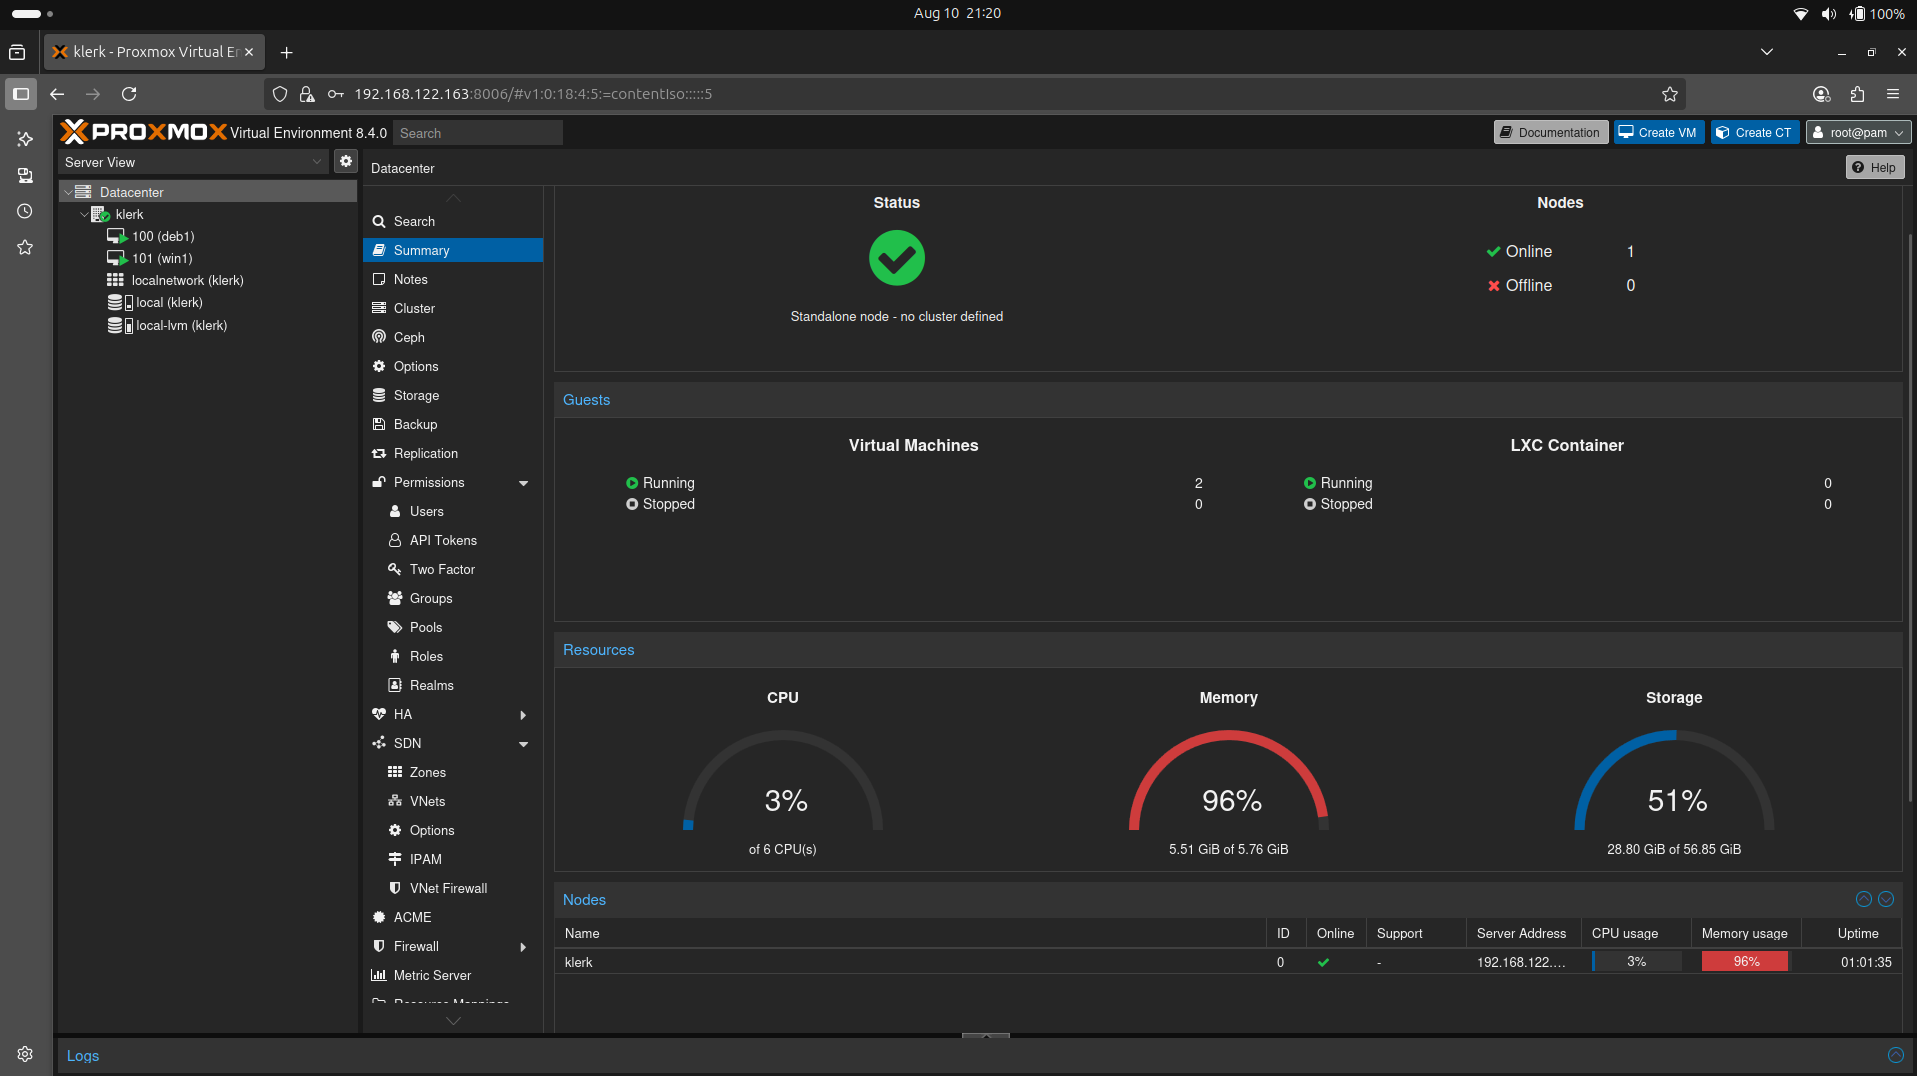
Image 43
45. The node summary. ( Image 44)
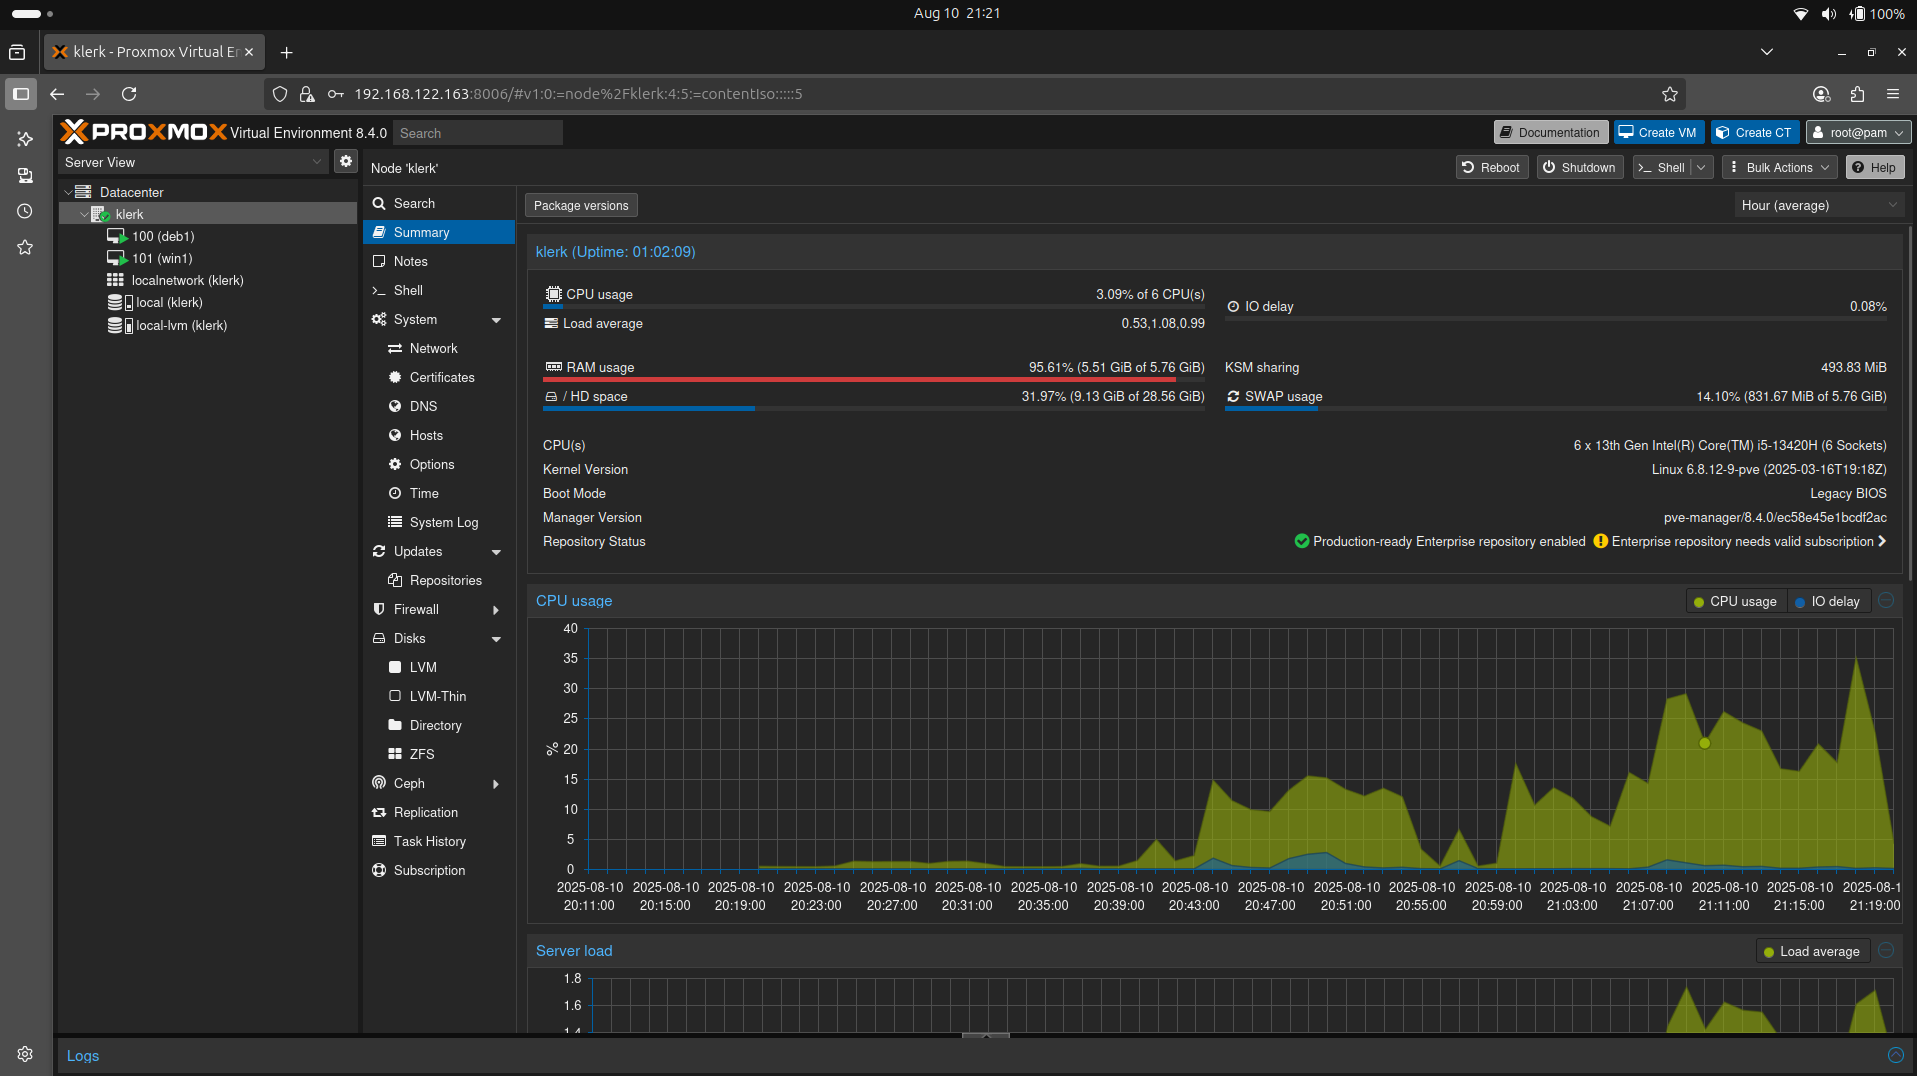
Image 44
46. The Debian Virtual Machine summary. ( Image 45)
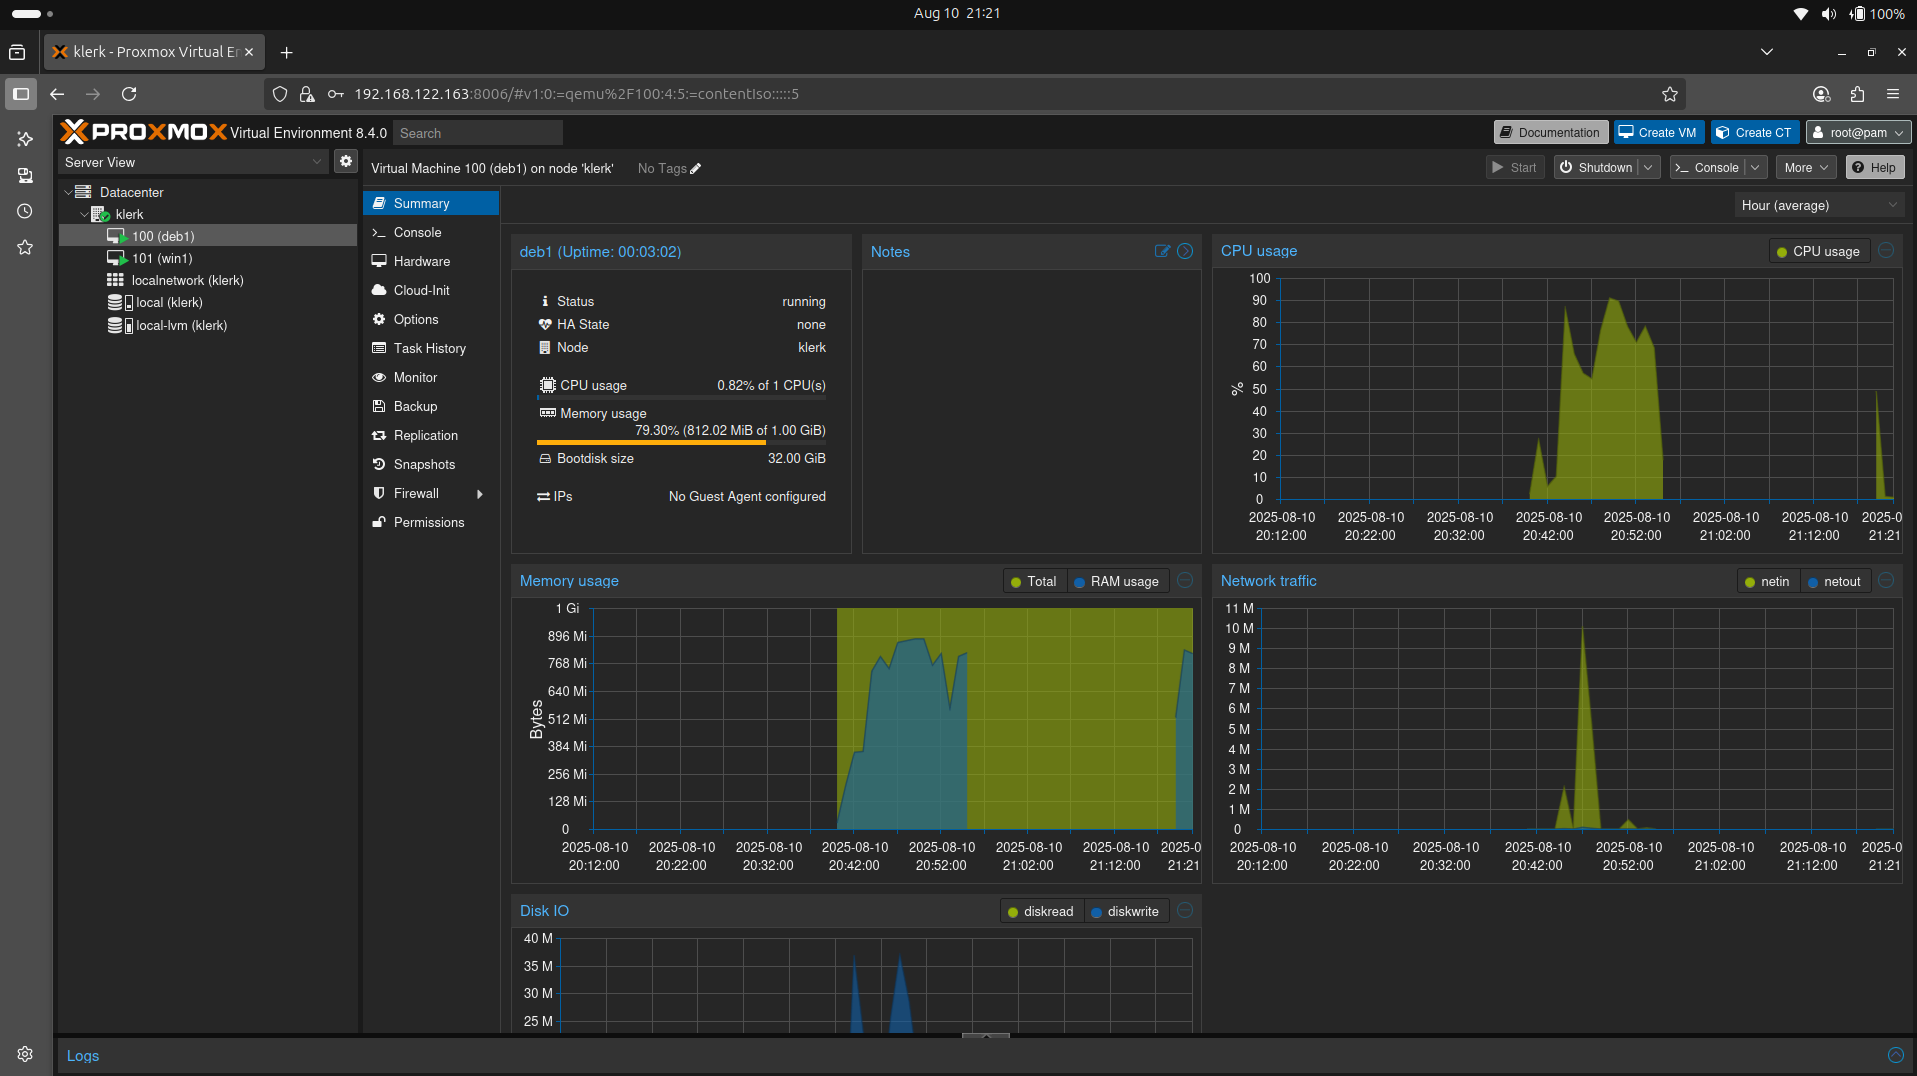
Image 45
47. The Windows 10 Virtual Machine summary. ( Image 46)
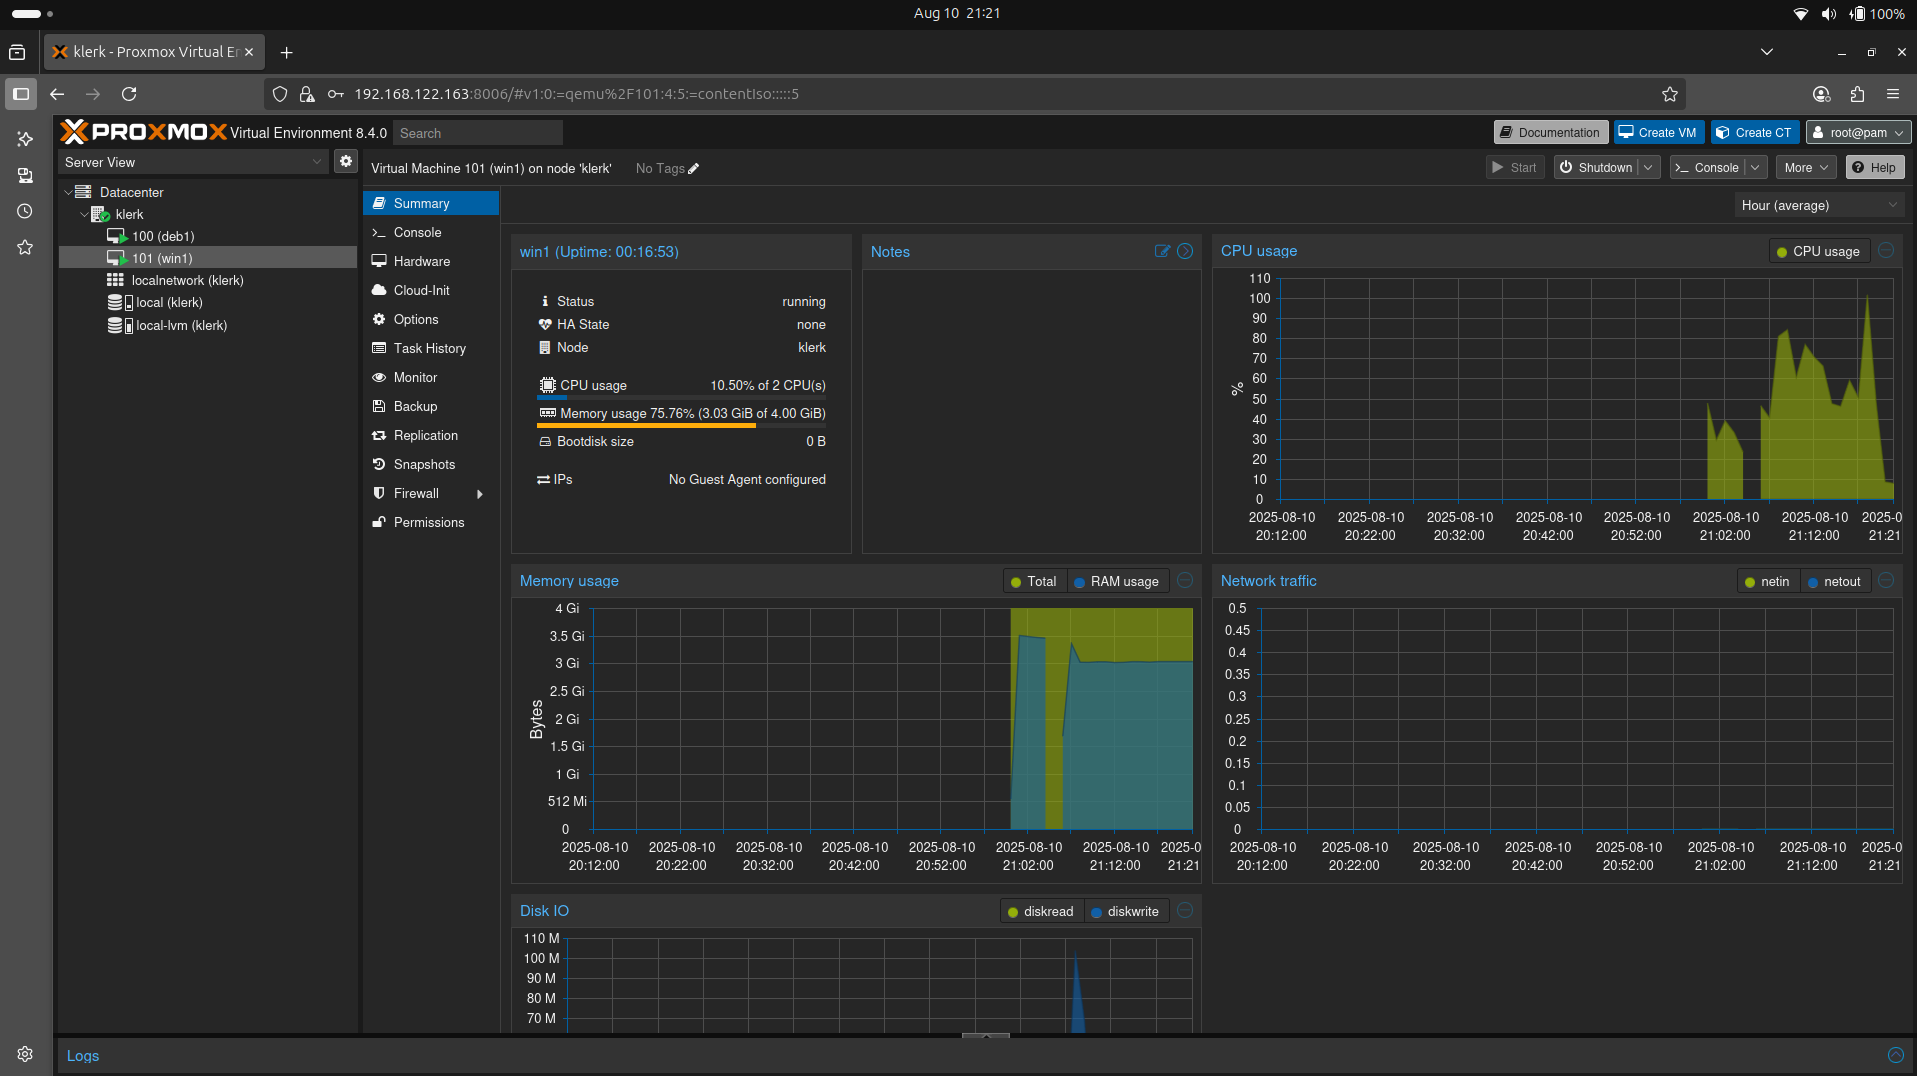
Image 46